2024-07-26
Removing Powerwall
Tools and Equipment:
- HV protective glove set rated for 500 VAC/750 VDC, Class 00
- Safety glasses
- Bar, metal or sheet metal or thin screwdriver, minimum 0.6 m (2 ft) long
- Cardboard, 0.5 x 1.5 m (22 x 58 in)
- Dolly
- Lift truck, adjustable platform
- T20 Torx bit
-
Turn off power to the Powerwall
system (Powerwall 2 Lockout/Tagout).
CAUTIONDo not rock the Powerwall on its feet or allow the white enclosure to touch the ground. Doing so could cause damage.
- Remove the left side cover (Removing Left Side Cover).
-
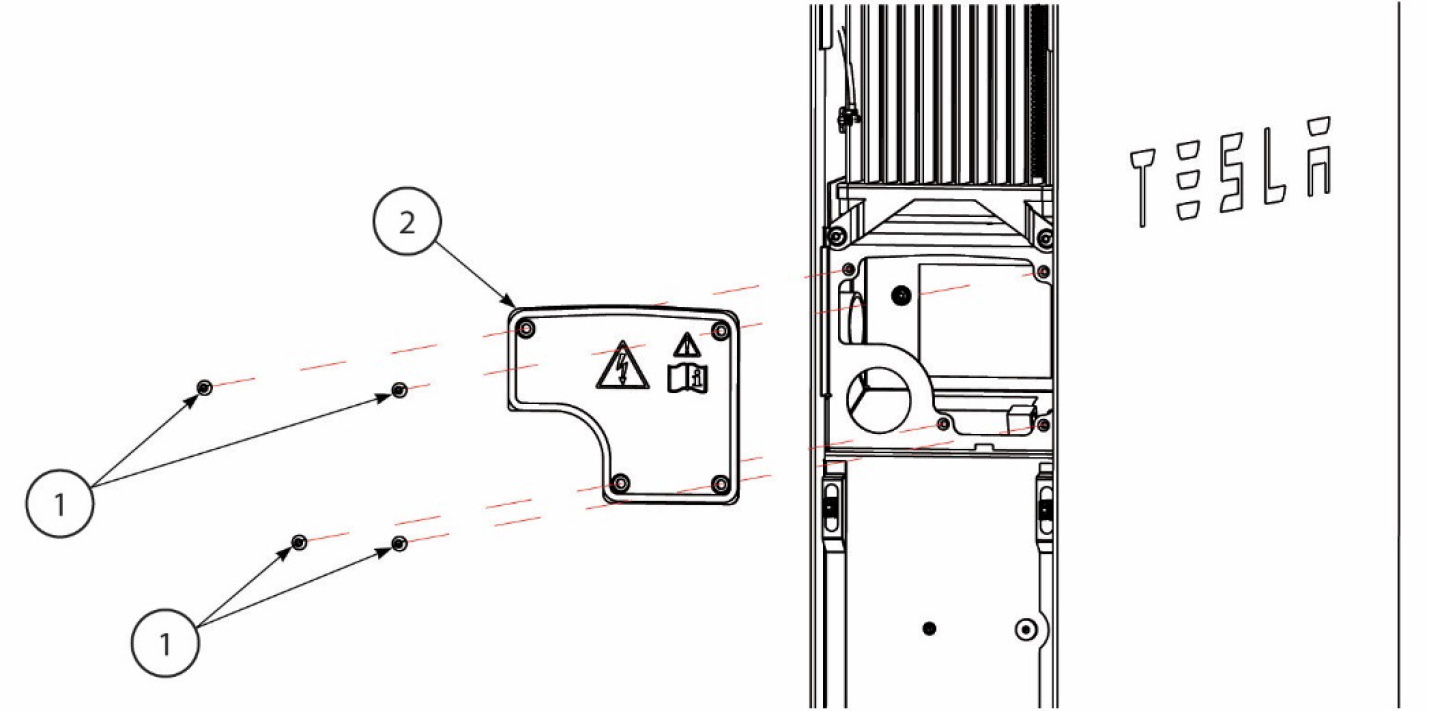
Use a T20 bit to remove the four
M4 screws (Figure 1, 1) securing the junction box cover (2). Remove the junction
box cover.
- Disconnect all electrical connections from the Powerwall.
- Wrap cardboard around the bottom, front, and top of the Powerwall.
-
Insert a metal bar (Figure 2, 1)
behind the Powerwall to touch the center of the mounting bracket’s top
edge.
NoteIf necessary for access, the metal bar may be inserted from the side of the Powerwall.
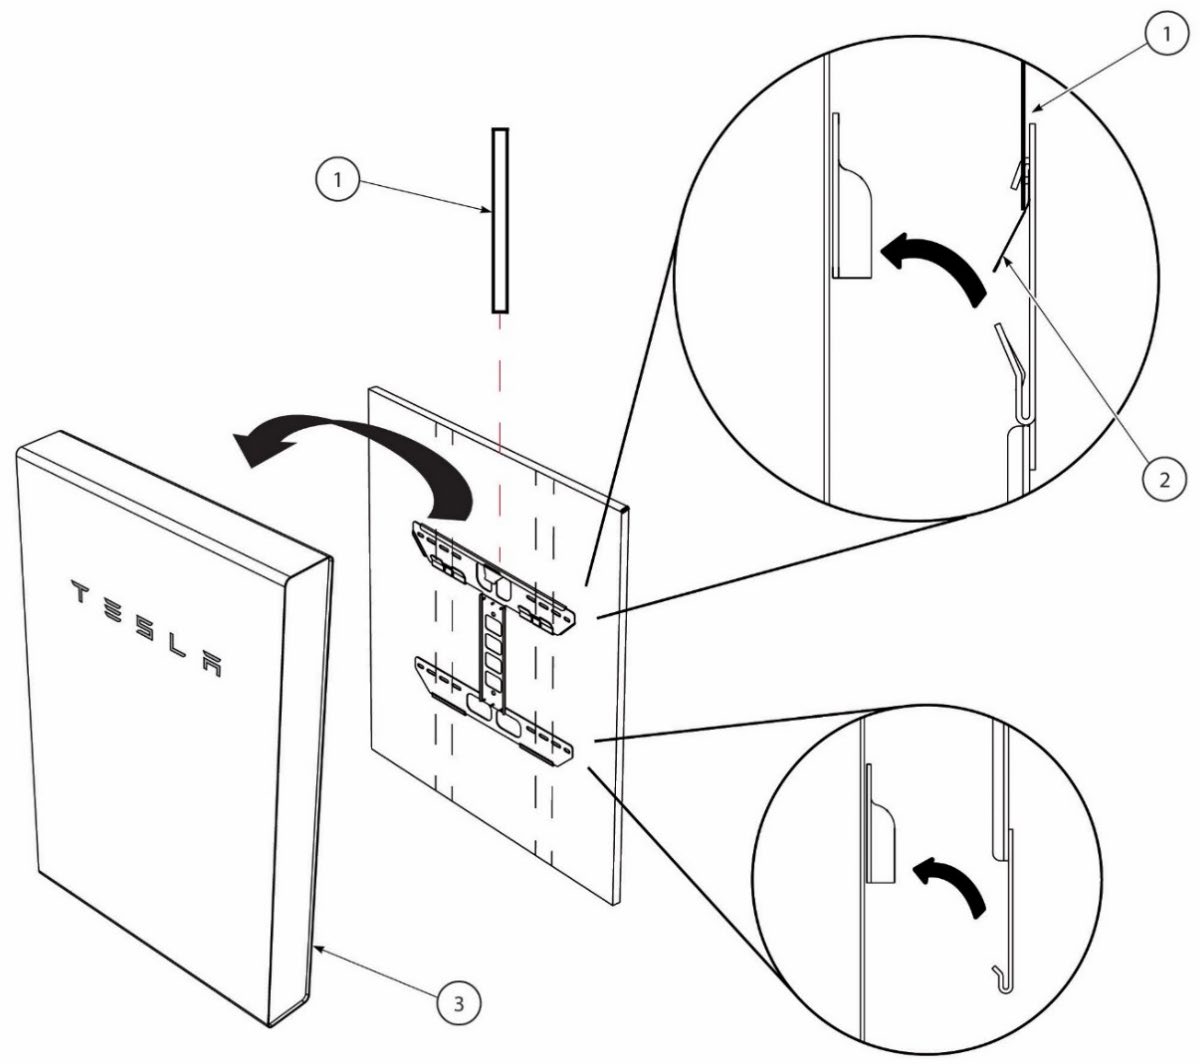
-
Press down on the locking
mechanism (2) on the bracket with the metal bar (1), disengaging the Powerwall
from the bracket.
CAUTIONDo not rock the Powerwall on its feet or allow the white enclosure to touch the ground. Doing so could cause damage.
- For floor mounted Powerwalls, use a dolly to lift the Powerwall off the bracket while keeping the metal bar engaged on the locking mechanism.
- For wall mounted Powerwalls, use a lift truck to lift the Powerwall off the bracket while keeping the metal bar engaged on the locking mechanism. Strap the Powerwall to the lift truck during removal.
- Package the Powerwall for transportation.
Removing with Powerwall Dolly