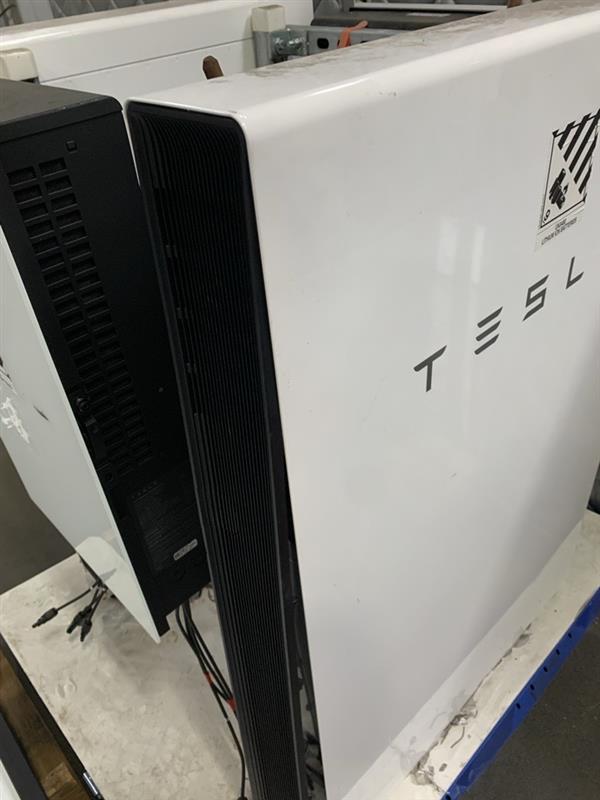
Powerwall 2 Remove and Replace RMA
Hazards: Arc flash, electrical shock, ergonomic risk, and pinching.
Tools and Equipment:
- Safety Glasses (ANSI Z87 rated)
- Class 0 insulated electrical gloves with leather protectors
- Cut Resistant Gloves (ANSI cut level A2)
- Safety Footwear with composite of steel toe
- Caution Tape
- Check with Tier 2 to confirm that the Powerwall being removed has been discharged to a safe level for shipping.
- Wear adequate PPE for Powerwall
work:
- Safety Footwear with composite of steel toe
- Cut Resistant Gloves (ANSI cut level A2) or Class 0 insulated electrical gloves with leather protectors
- Safety Glasses (ANSI Z87 rated)
- If the homeowner is home, knock on the door to inform them of the work taking place. This may be a good time to ask them for the Wi-Fi SSID and password for commissioning later as well.
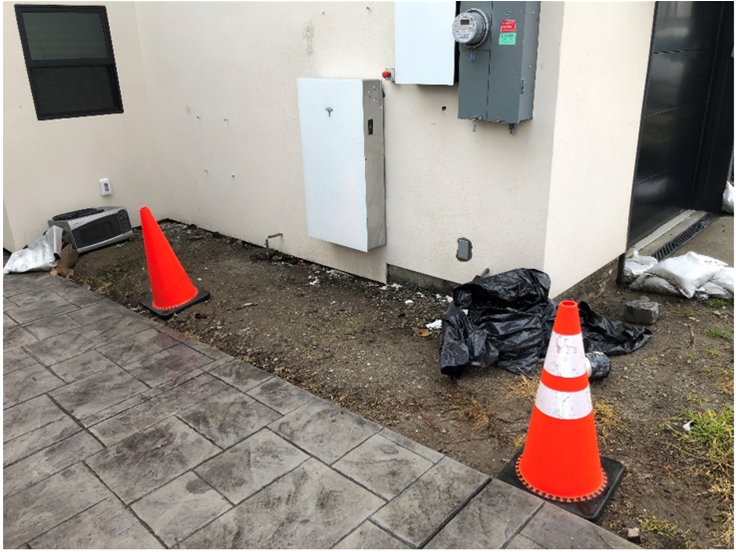
- Place caution tape/cones around
the area of work to alert of the hazard. Ensure the area is clear and there is a
path from the work truck to the site wide enough to maneuver the Powerwall and
dolly through.
- Remove the old Powerwall as described in Removing Powerwall.
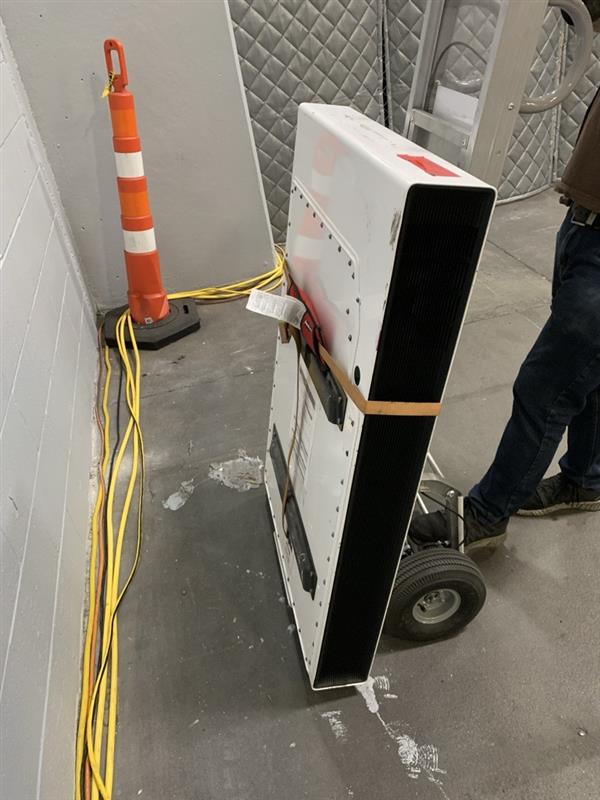
- Using the dolly/escalera move the
old Powerwall to the work vehicle. Remove the strap and set the Powerwall aside
for now until the packaging from the new unit is available to place it
into.
Ensure the Powerwall unit is placed somewhere it will not be knocked over or pose a falling risk. Strap the unit to prevent any movement.
- Open the packaging of the new Powerwall battery unit. Set aside the foam inserts but do not dispose of them, they will be used to repackage the removed unit.
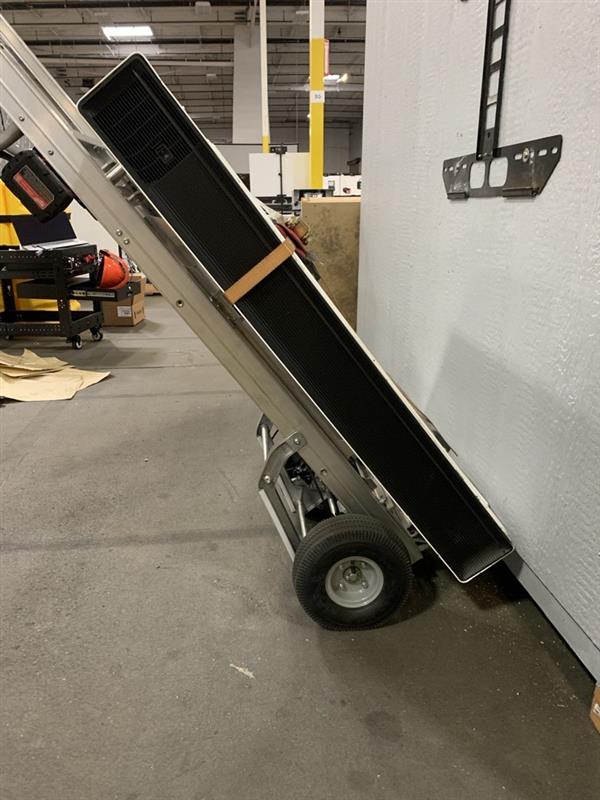
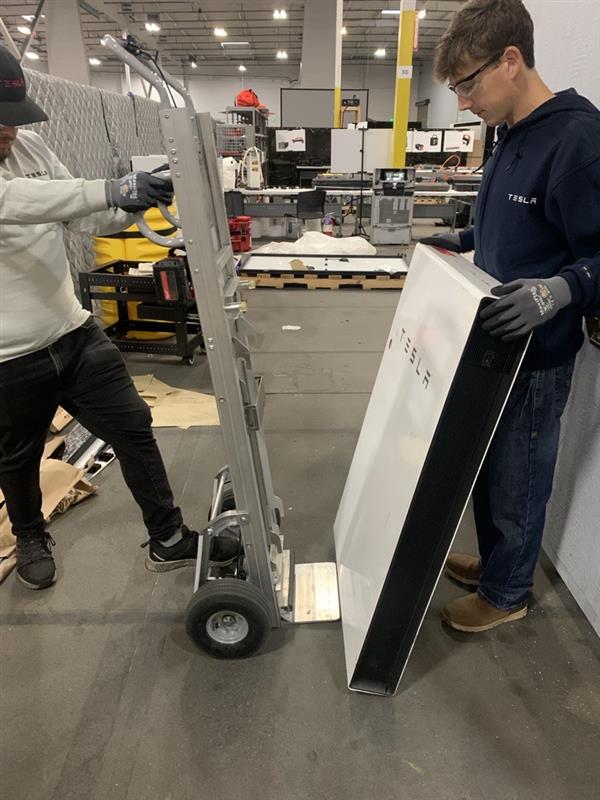
- With two operators, lift the
Powerwall in its packaging from the top so that it is standing upright. With one
operator tilting the Powerwall back and one operating the dolly, load the
Powerwall onto the lifting device.CAUTIONWhile removing Powerwall from packaging two people should always be in contact with the Powerwall to avoid dropping it.
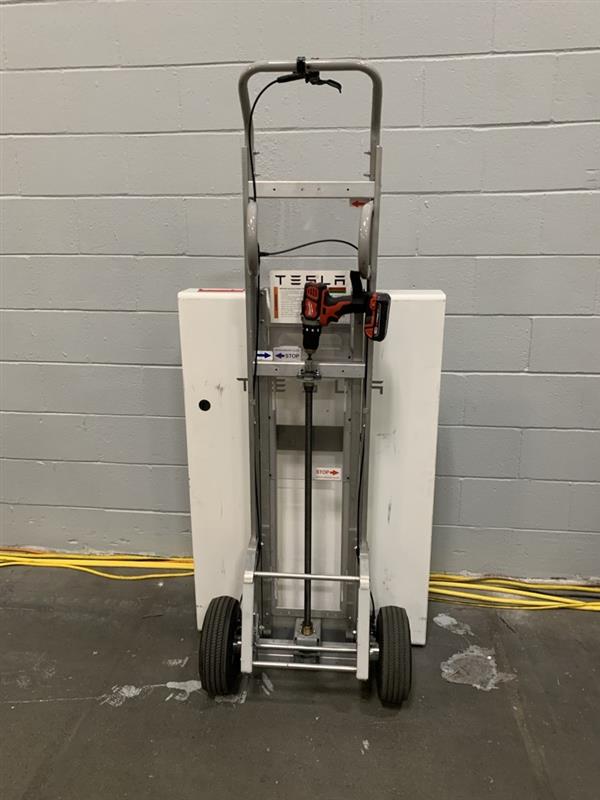
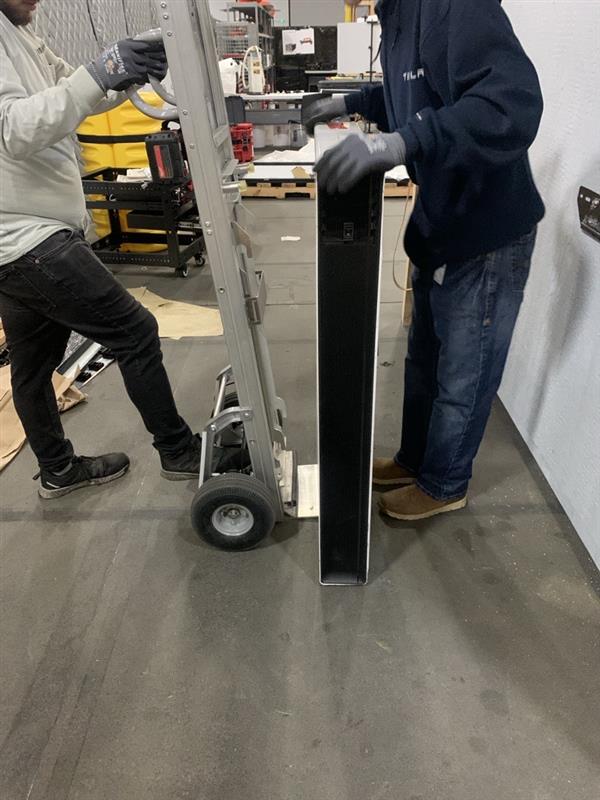
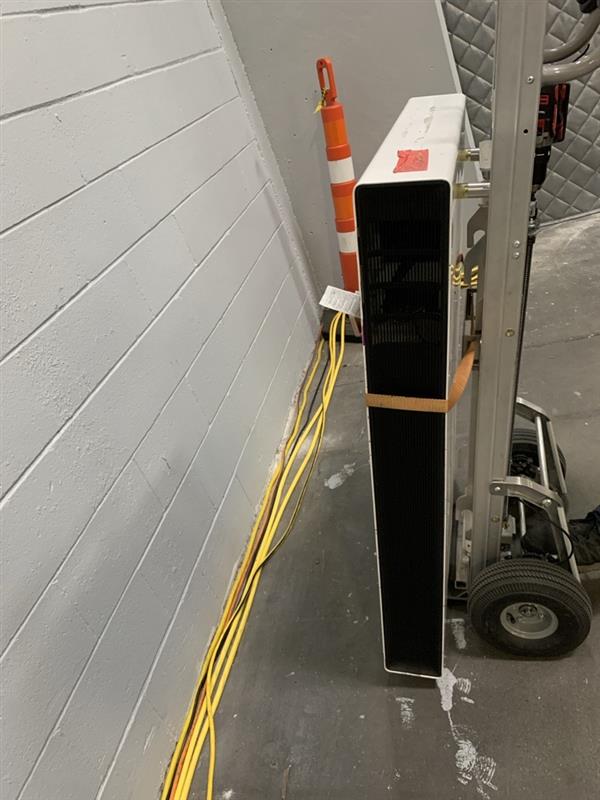
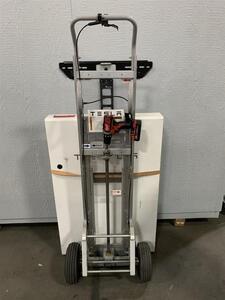
- Shift the Powerwall to the very
back of the lifting device platform, up against the vertical rails, and secure
with the built in strap or a ratchet strap.
- Follow the video or steps 12 through 17 to mount the Powerwall.
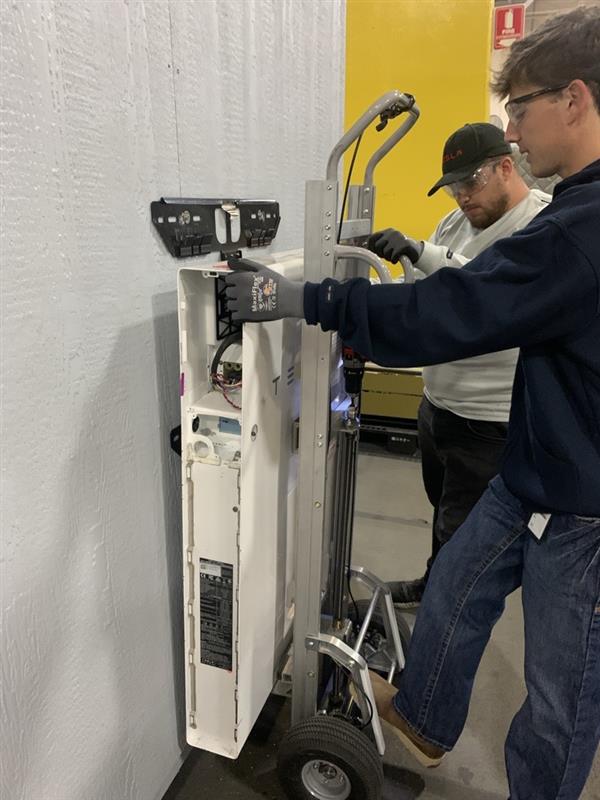
- Mount the Powerwall:
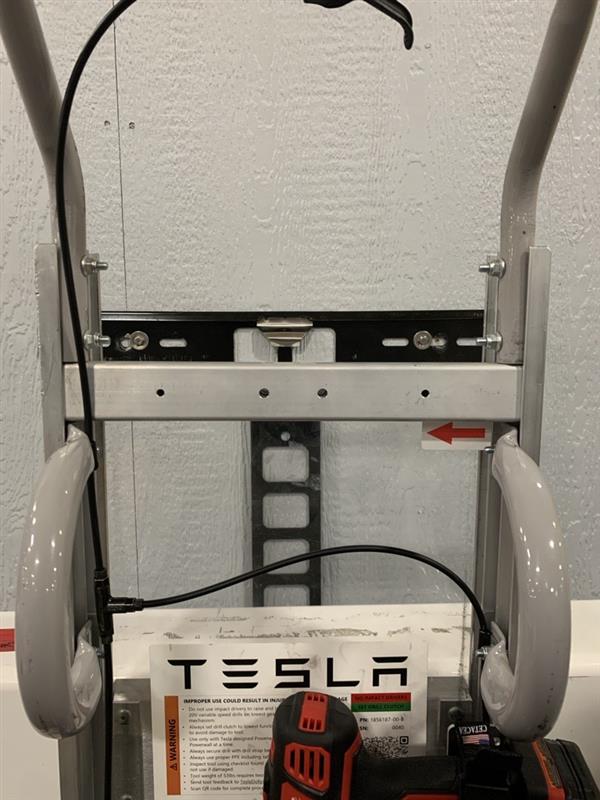
- Wheel the lifting
platform with the new Powerwall unit to the location where it will be
mounted. Line the platform up with the wall bracket to make it easier to
align the Powerwall later.


- Ensure the unit is
centered horizontally on the bracket. Again using two operators (one to
hold and guide the Powerwall, and one to raise the platform), begin
raising the Powerwall up to the height of the mounting bracket.NoteIf possible keep the ratchet strap on the Powerwall through the mounting process. If this is not possible, ensure that two operators are handling the Powerwall at all times during the install process.
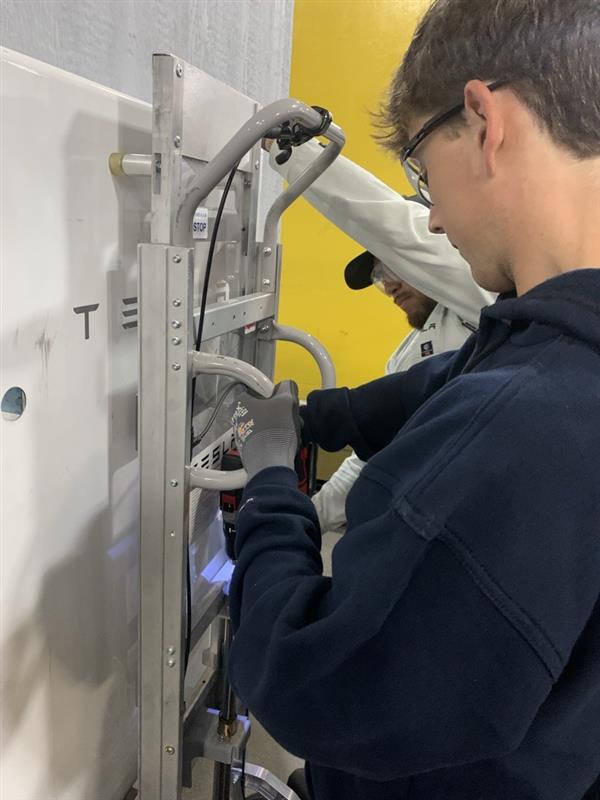
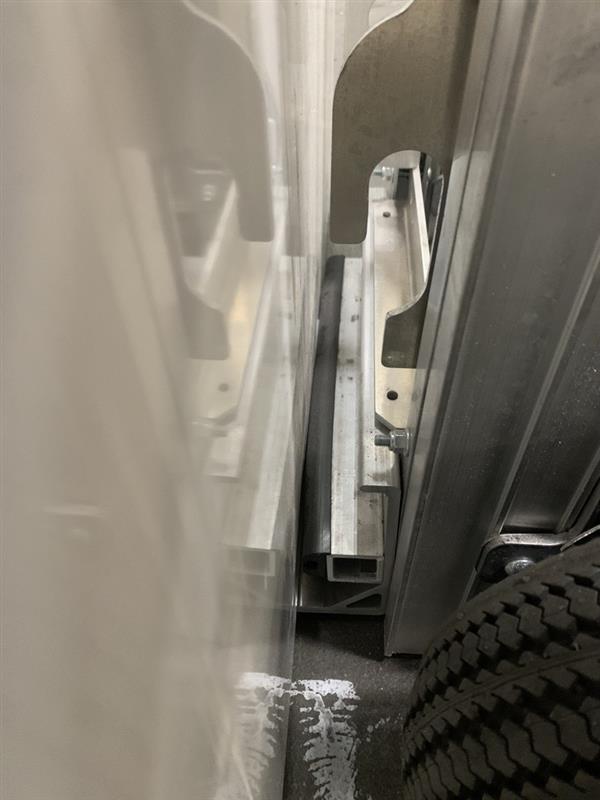
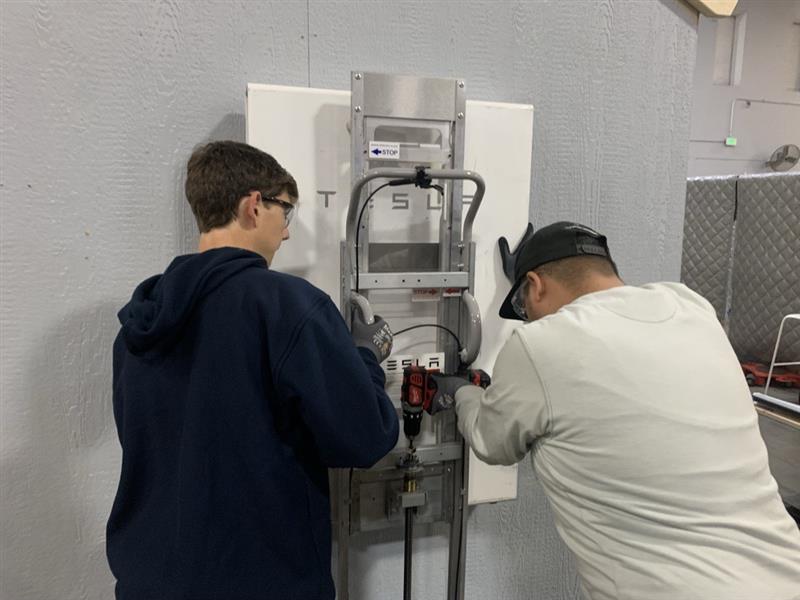
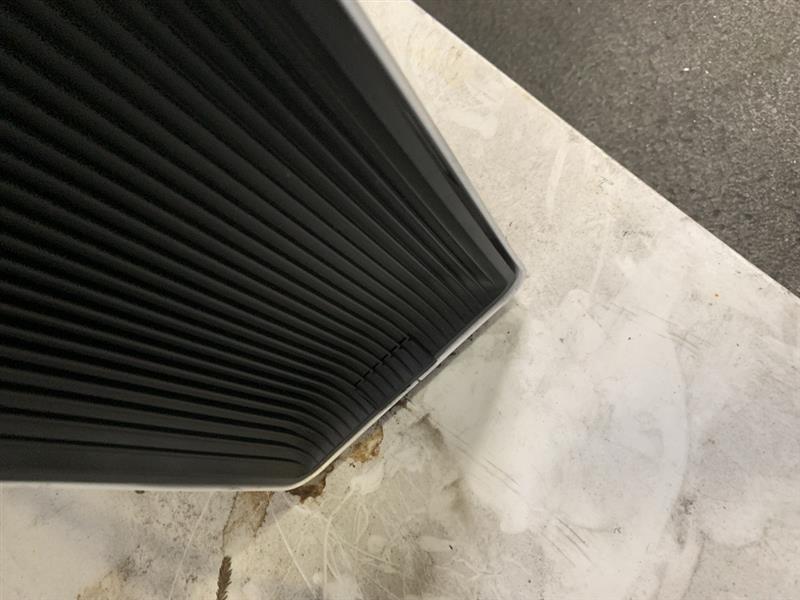
- The Powerwall should be
raised until the grooves in the Powerwall enclosure sit above the cleats
on the mounting bracket. Once raised enough the operator guiding the
Powerwall should push the unit against the wall while the platform is
lowered.WarningThe bottom hooks of the Powerwall often don't naturally fall above the bottom cleat of the mounting bracket. Operators need to apply pressure to the Powerwall against wall to ensure alignment.CAUTIONDo not remove the dolly from underneath Powerwall during this process, as there is a risk of dropping it.

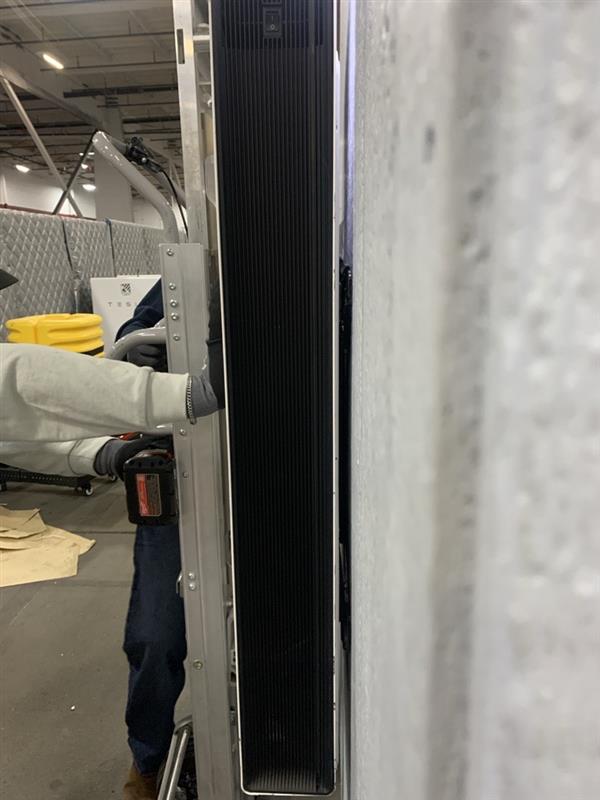
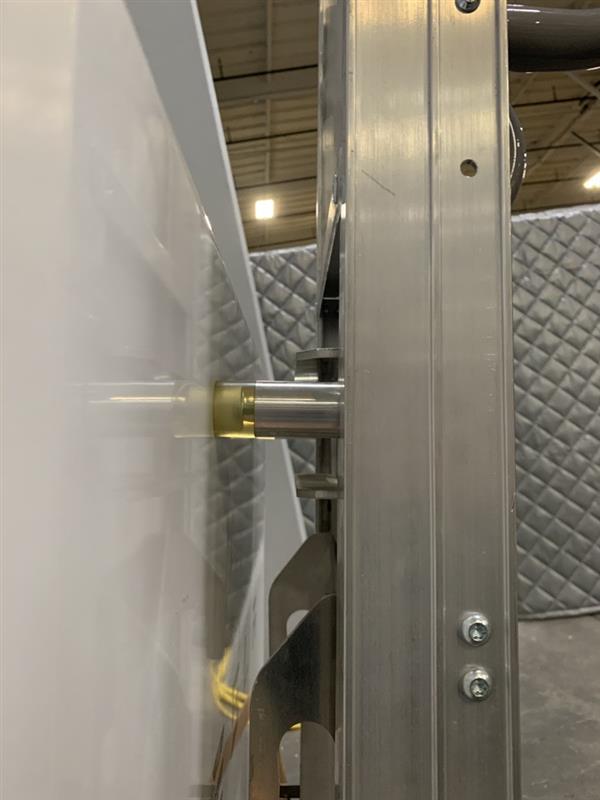
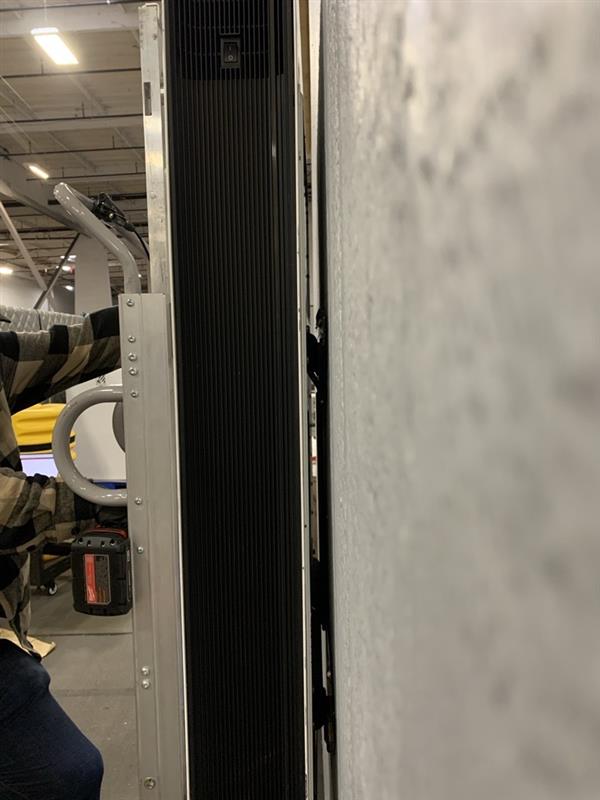
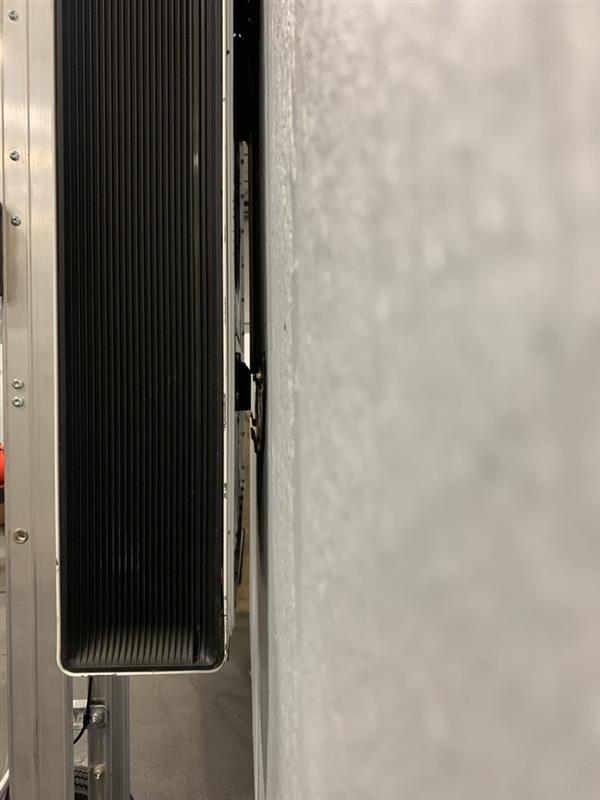
- Looking from the side,
check to make sure Powerwall is seated on the mounting bracket
correctly. If it is not, raise the Powerwall unit and repeat the steps
to engage the cleats.NoteFrom the side you should no longer be able to see the cleats on the wall mounting bracket. This will indicate that the Powerwall is properly installed.
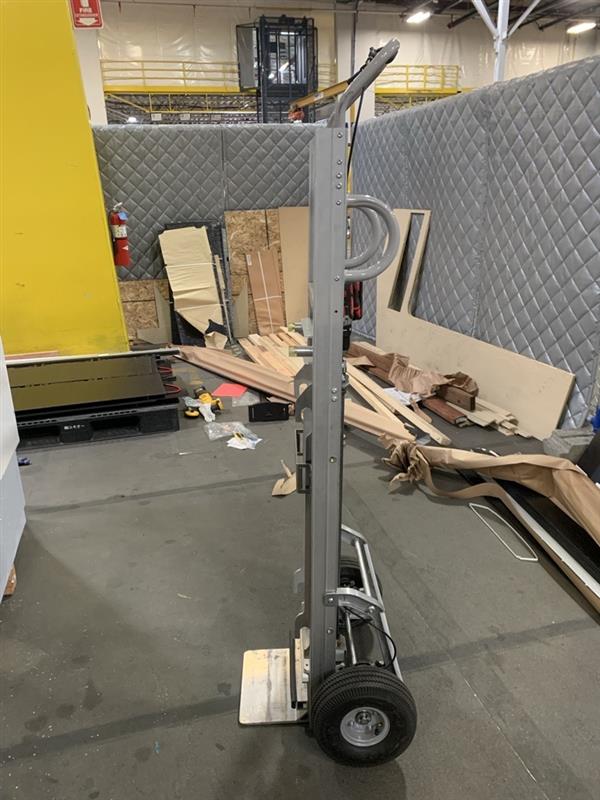
- Lower the lifting
platform all the way to the lowest setting and remove the dolly/escalera
from the work area.
- Wheel the lifting
platform with the new Powerwall unit to the location where it will be
mounted. Line the platform up with the wall bracket to make it easier to
align the Powerwall later.
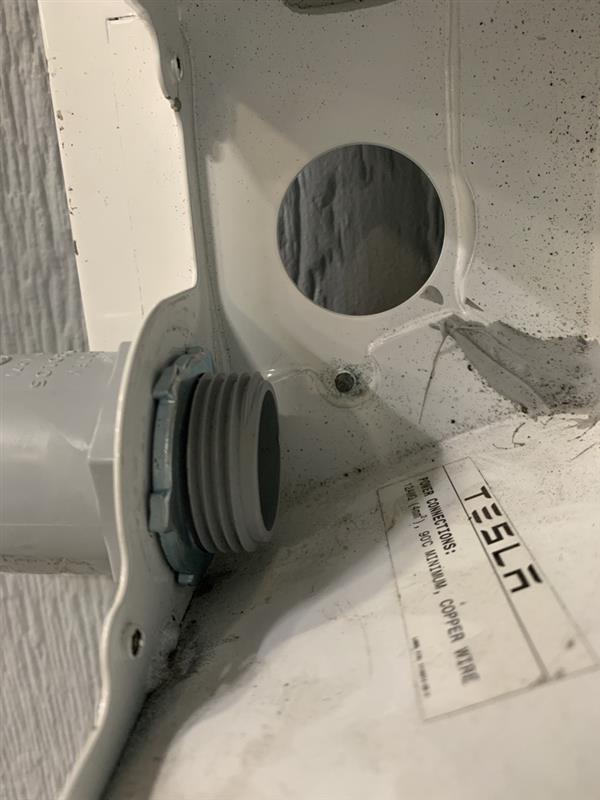
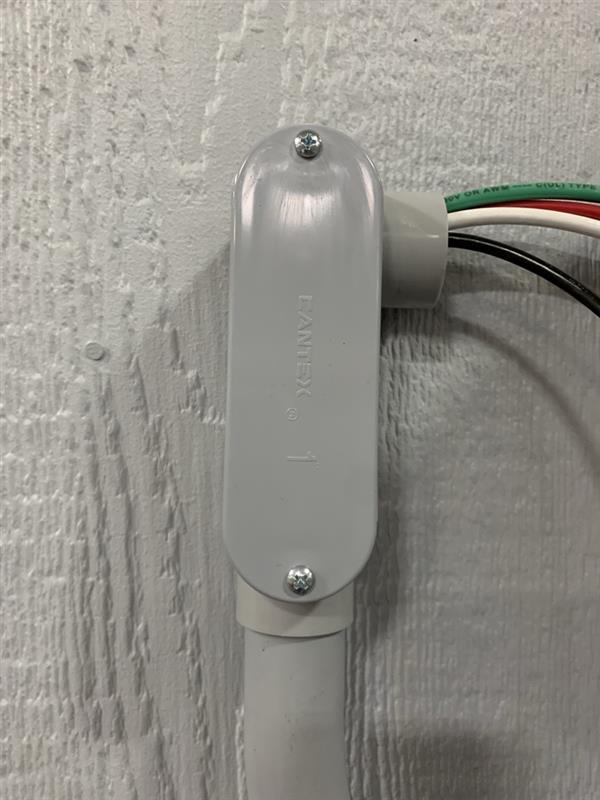
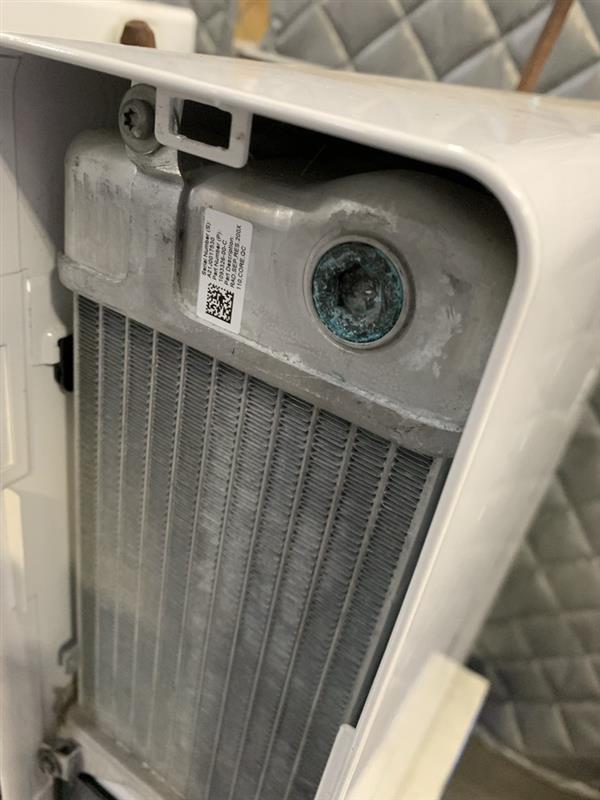
- Attach the conduit to the
Powerwall and tighten down the locknut to secure it.
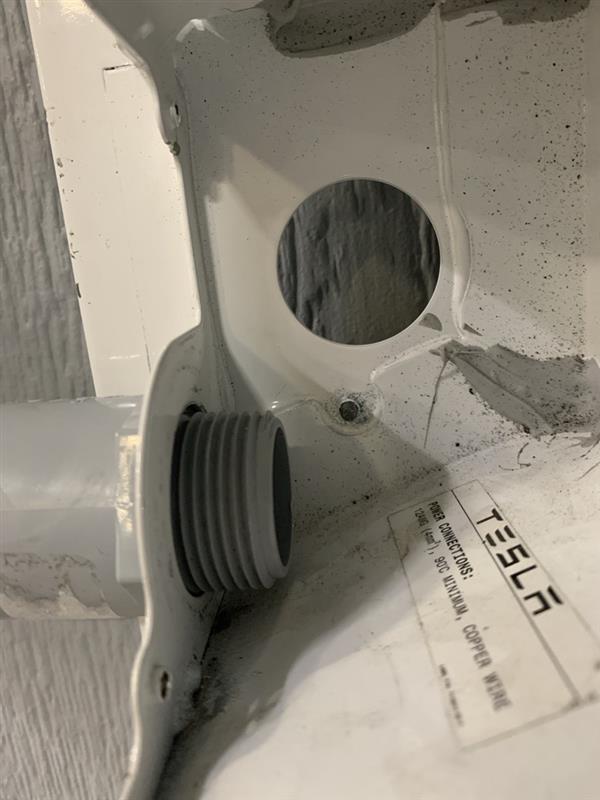

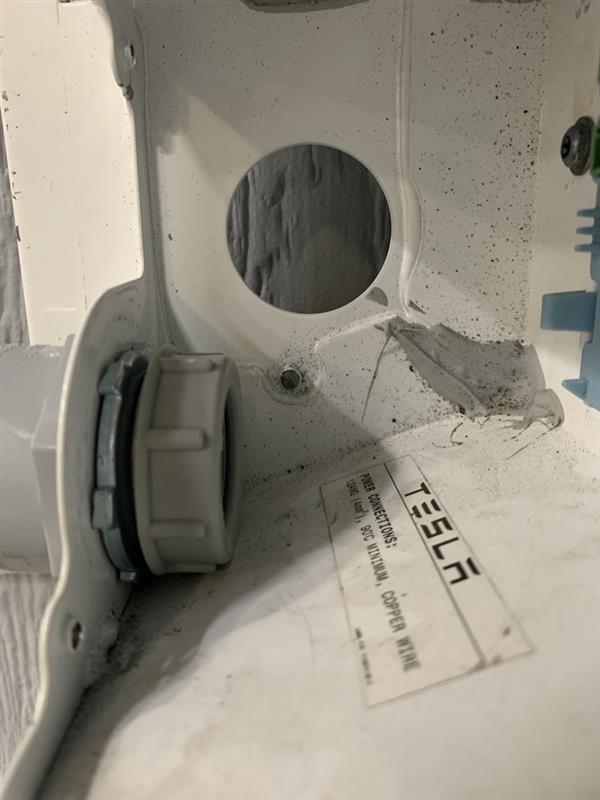
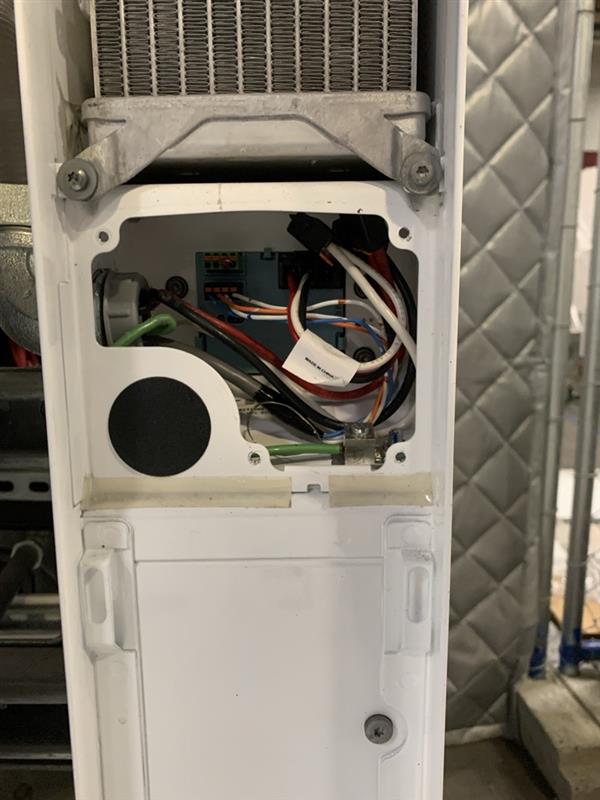
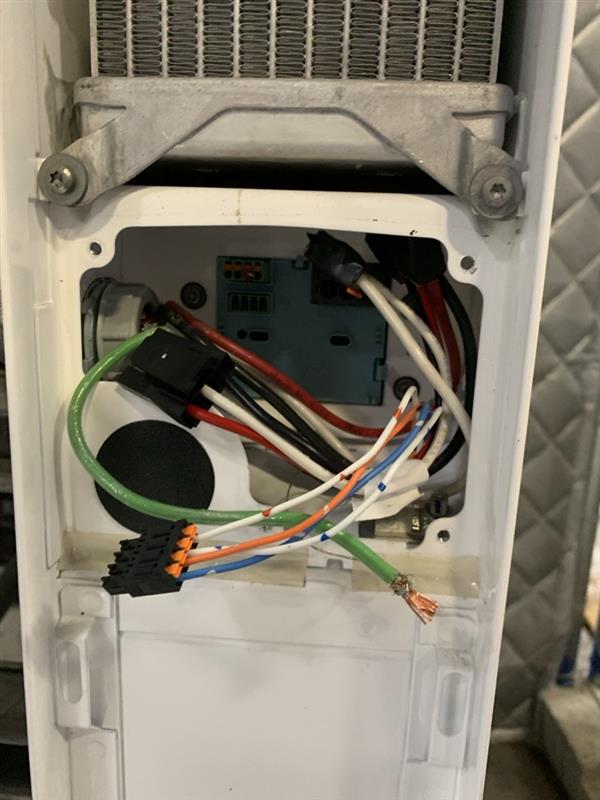
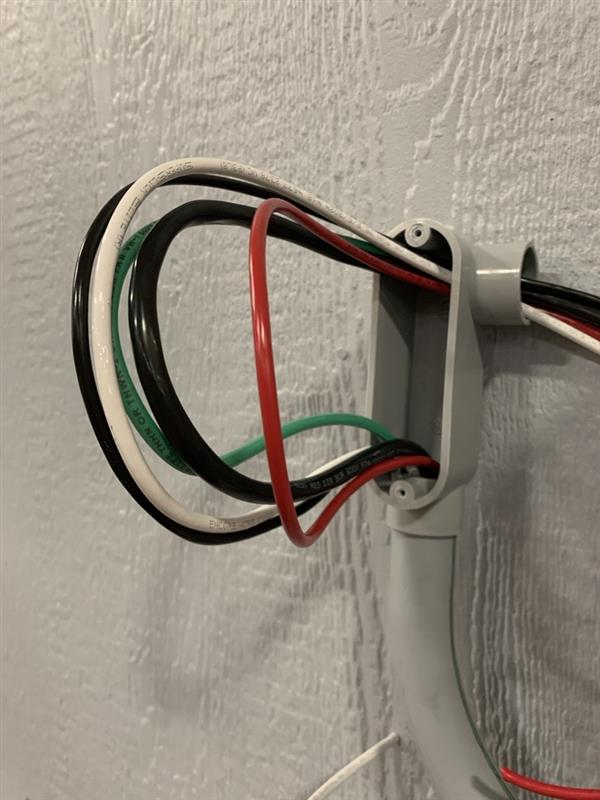
- Feed the wires through the
conduit and into the Powerwall housing. Make connections inside the
compartment.
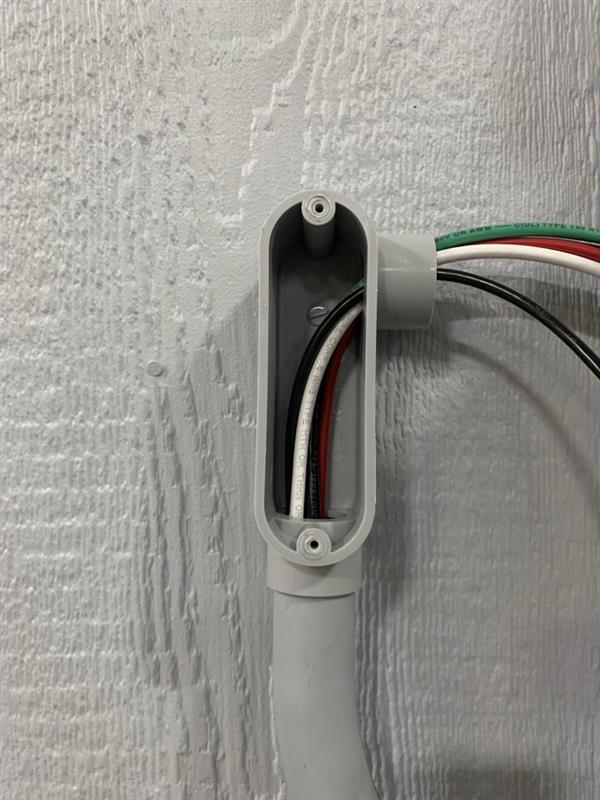
- Install the cover back onto the
LB conduit body.

- Reinstall the deadfront cover on the wiring cabinet.
- Remove LOTO locks and restore power to breakers that were opened earlier.
- Turn the Powerwall switch on.
- Perform commissioning.
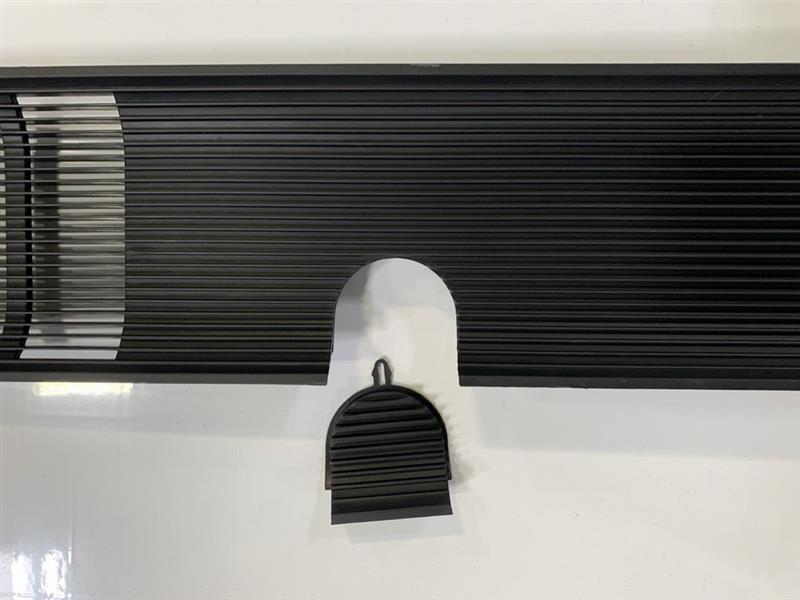
- Remove the insert from the
Powerwall outer cover to fit around the conduit.

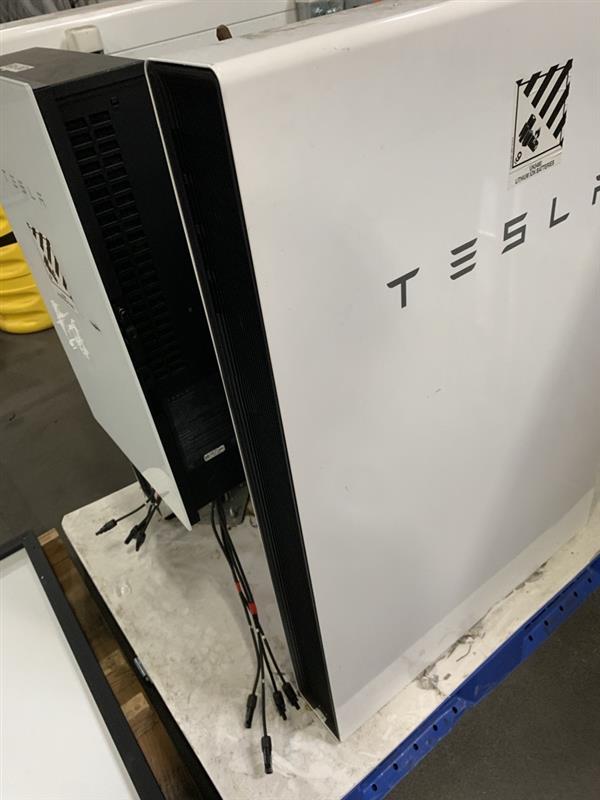
- Install the left side cover back
onto the wiring compartment.NoteStart by pressing the top part on the dead front into the clip then continue down the sides.
- Remove plastic covering from Powerwall enclosure.