2024-07-26
Reattaching Tab Clips
Required Tools:
- 3M multiple ratio two-part applicator
- 3M scotch-weld epoxy adhesive DP-420
- 3M scotch-weld applicator tip
- 2:1 ratio applicator
- Scrap cardboard
- Safety glasses
- IPA wipes
- Masking / painter's tape
-
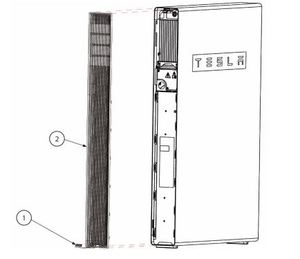
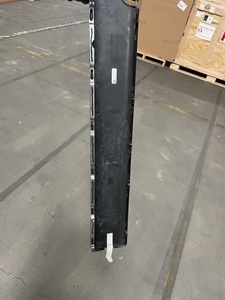
Remove the side panel from
Powerwall to expose the radiator by gently pressing at 1 and 2 before pulling
from the bottom.
NoteThe side panels are held in place using tabs; no special tools are required to pull them out.

-
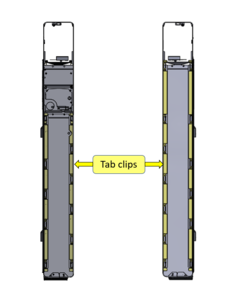
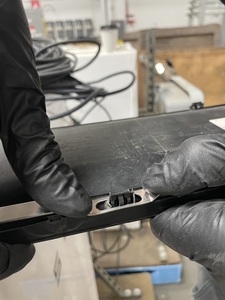
Identify where the tab clip was previously attached to the component, based on
existing residue and reference photos.
NoteTab clips vary in length and design depending on whether they are located on the front, back, left, and/or right side of the product. Note the grooves for key features and ensure the correct placement of each tab clip before dispensing any sealant.
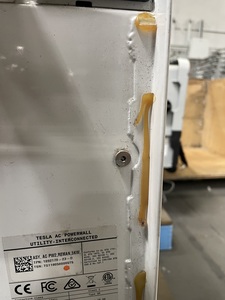
- Using IPA wipes, wipe down the surfaces in and around all sealant locations. Ensure any oils, residue, remnants of prior sealant, and other surface contaminants are removed.
-
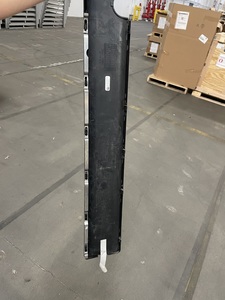
Prepare for sealant application by attaching the front face of the tab clip
onto the back face of the cover. Ensure all tab clip holes line up with the
cover.
-
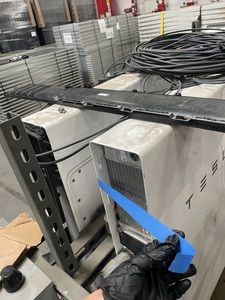
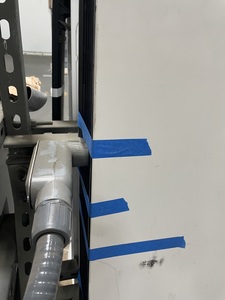
Cut 6 strips of masking tape 8" (20 cm) long and pre-attach one end of each
along the height of the Powerwall.
WarningDo not use high-strength masking or outdoor tapes.
- Prepare the applicator gun by disengaging the locking tab, inserting the plunger through the front, sliding in the Duo-Pak, and securing the locking tab.
-
Remove the twist cap on the cartridge end and expel sealant on a scrap piece of
cardboard. Ensure both channels are being dispensed.

- Secure the cartridge end with an applicator tip, rotating it 90 degrees to lock into place.
-
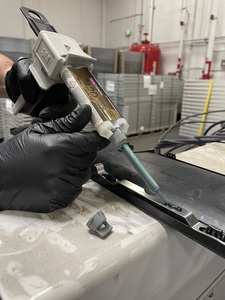
Squeeze the applicator gun's trigger until uniformly mixed sealant is dispensed
in a 2:1 ratio.
NoteThe sealant mix ratio is 2:1 and provides 20 minutes of work-life, allowing time to adjust for the desired fit prior to curing.
-
Apply a thin layer of sealant along the back face of the tab clip.
- Firmly press the side panel and tab clip together onto the Powerwall and hold in place for 30 seconds.
-
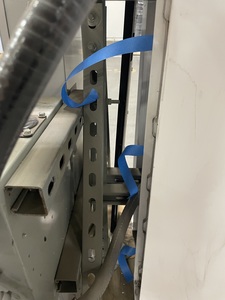
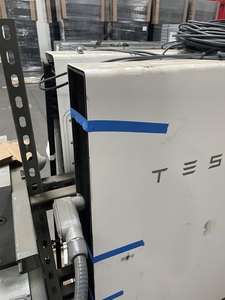
Fully attach the masking tape to maintain pressure and hold the tab clip in
place during curing. Add additional tape as needed, especially around key
features or bulging areas. Ensure that the cover is flush with the Powerwall and
that the masking tape is not touching any sealant before it hardens.
- Communicate to the customer that the sealant will take 24 hours to fully cure at 72 F (22 C). Instruct them to remove the masking tape after this duration.
- Using IPA wipes, wipe down the surfaces in and around all sealant locations. Ensure any oils, residue, remnants of prior sealant, and other surface contaminants are removed.