Mount Powerwall 3
Mounting Notes
Choose Knockouts
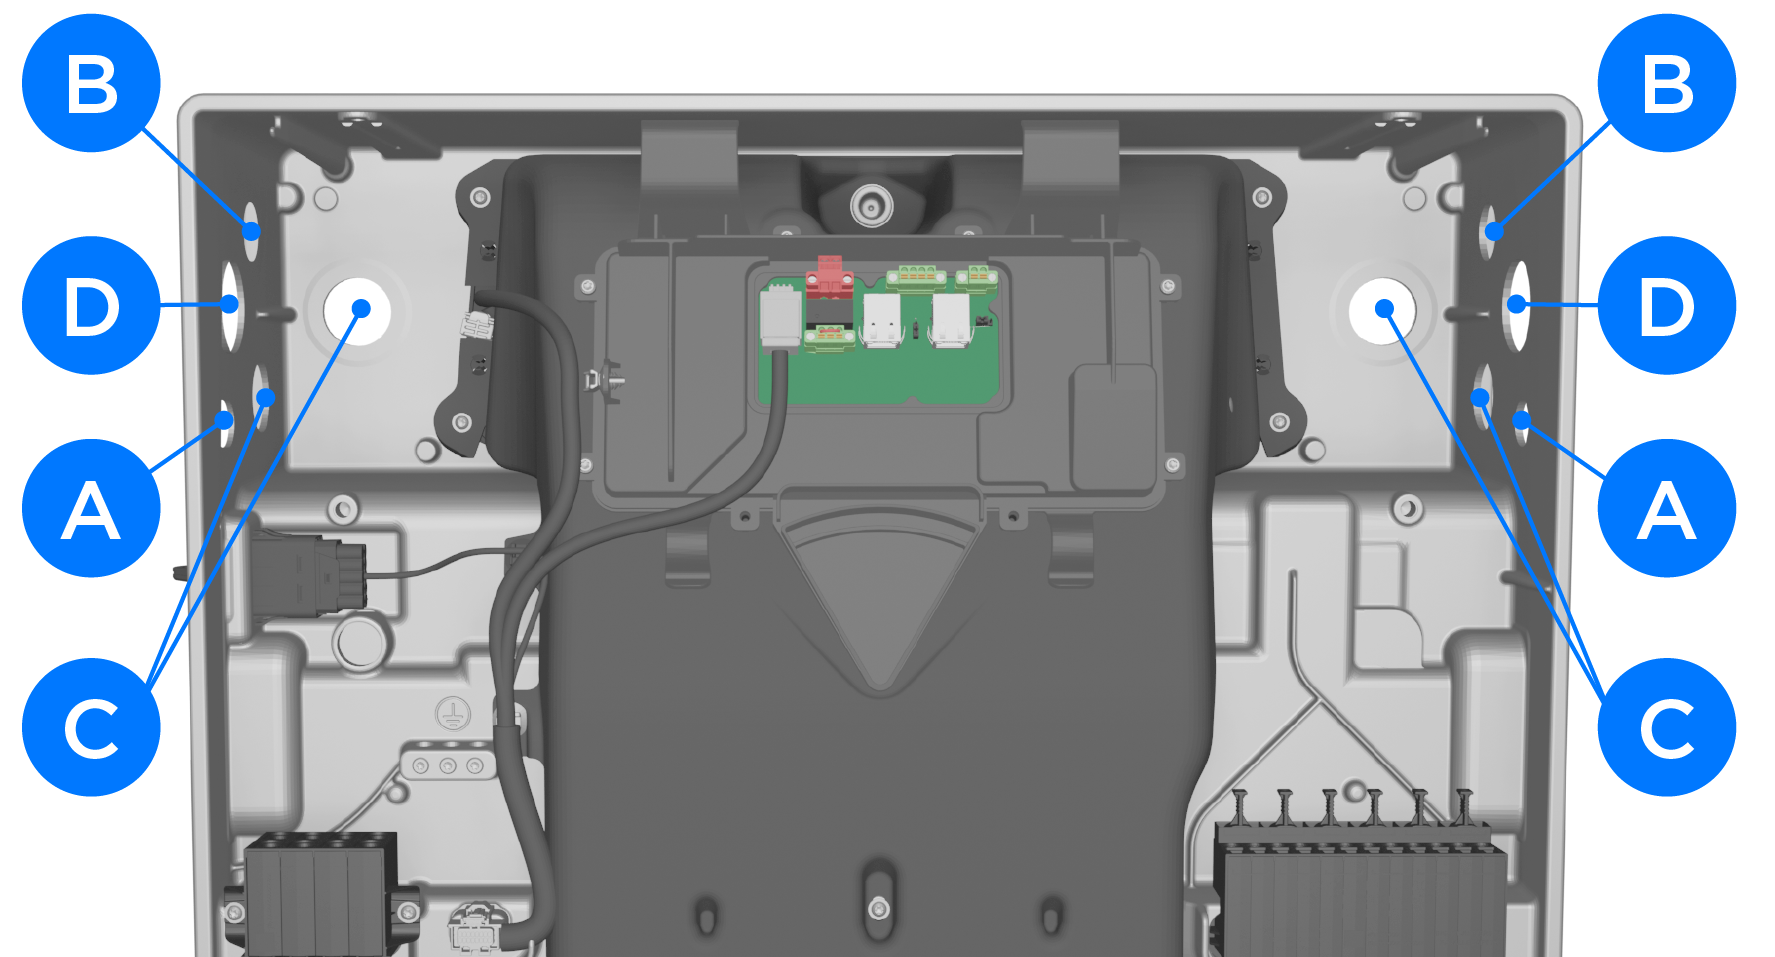
| A | ½ inch |
| B | ¾ inch |
| C | 1 inch |
| D | 1-¼ inch |
CAUTION
Do not enlarge knockouts or create additional conduit
entries
Transport Option A: Transport Powerwall 3 Using Powerwall Dolly
Note
See the Powerwall
Dolly User Manual for complete instructions and videos on transporting
Powerwall with the dolly.
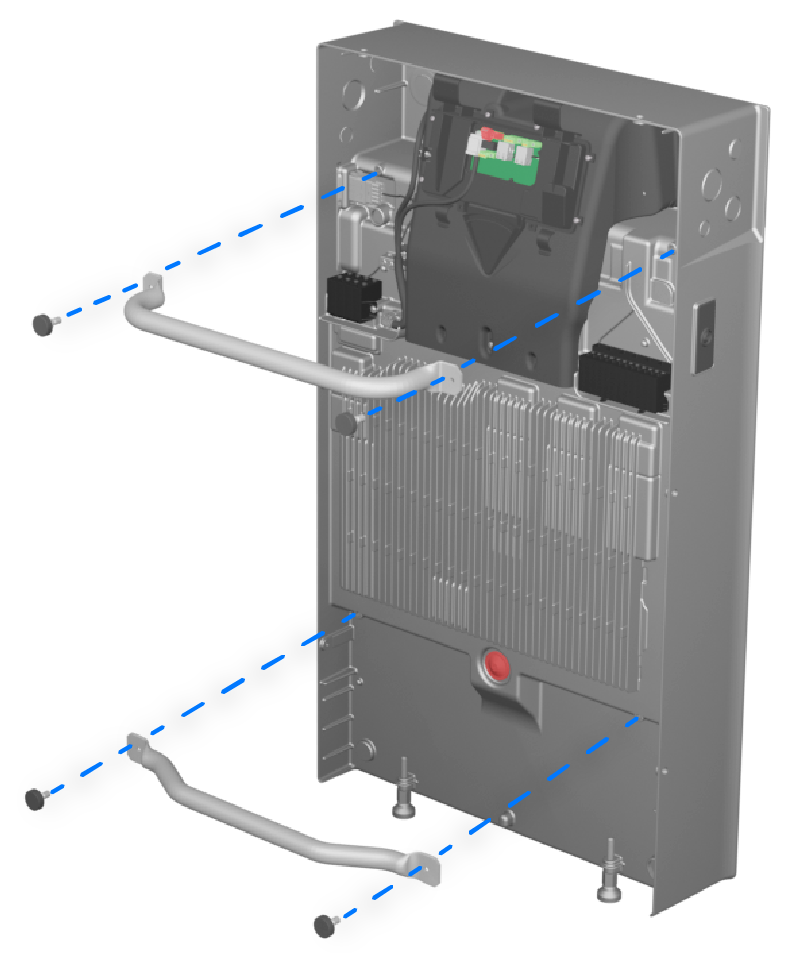
- Remove handles from Powerwall dolly.
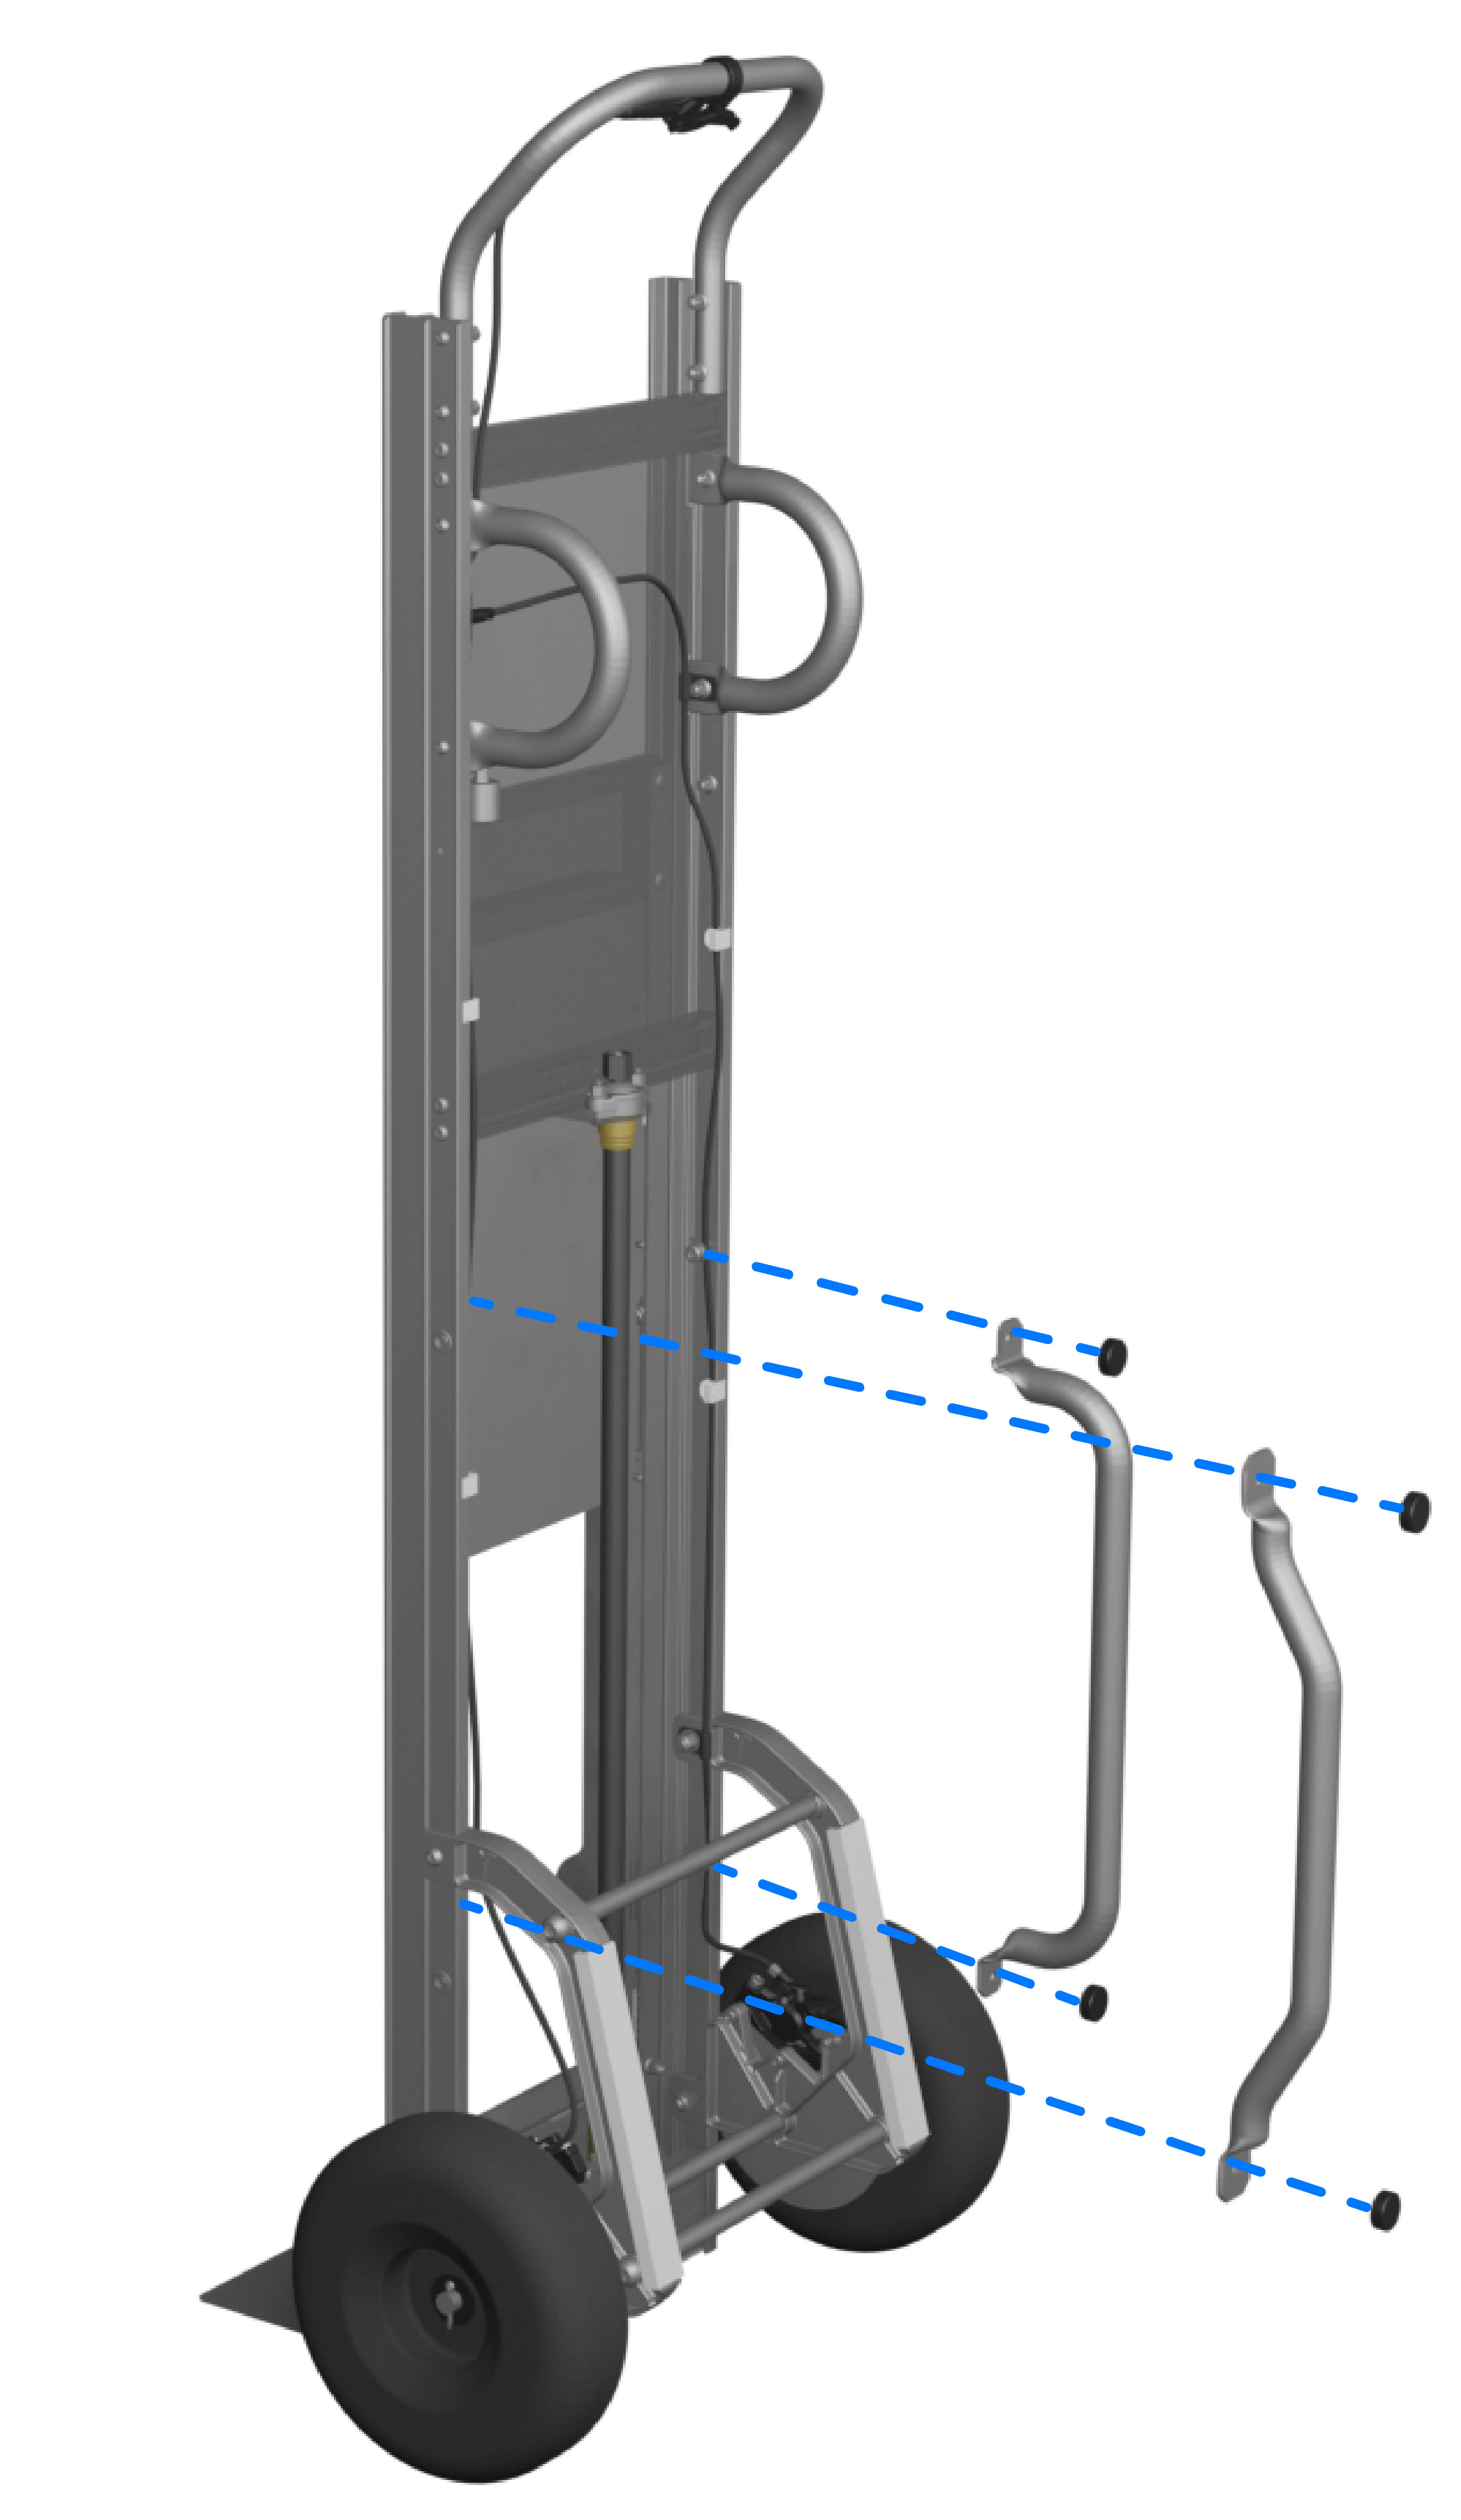
- Attach the handles to Powerwall 3 and hand tighten the (2X) fasteners on each handle.
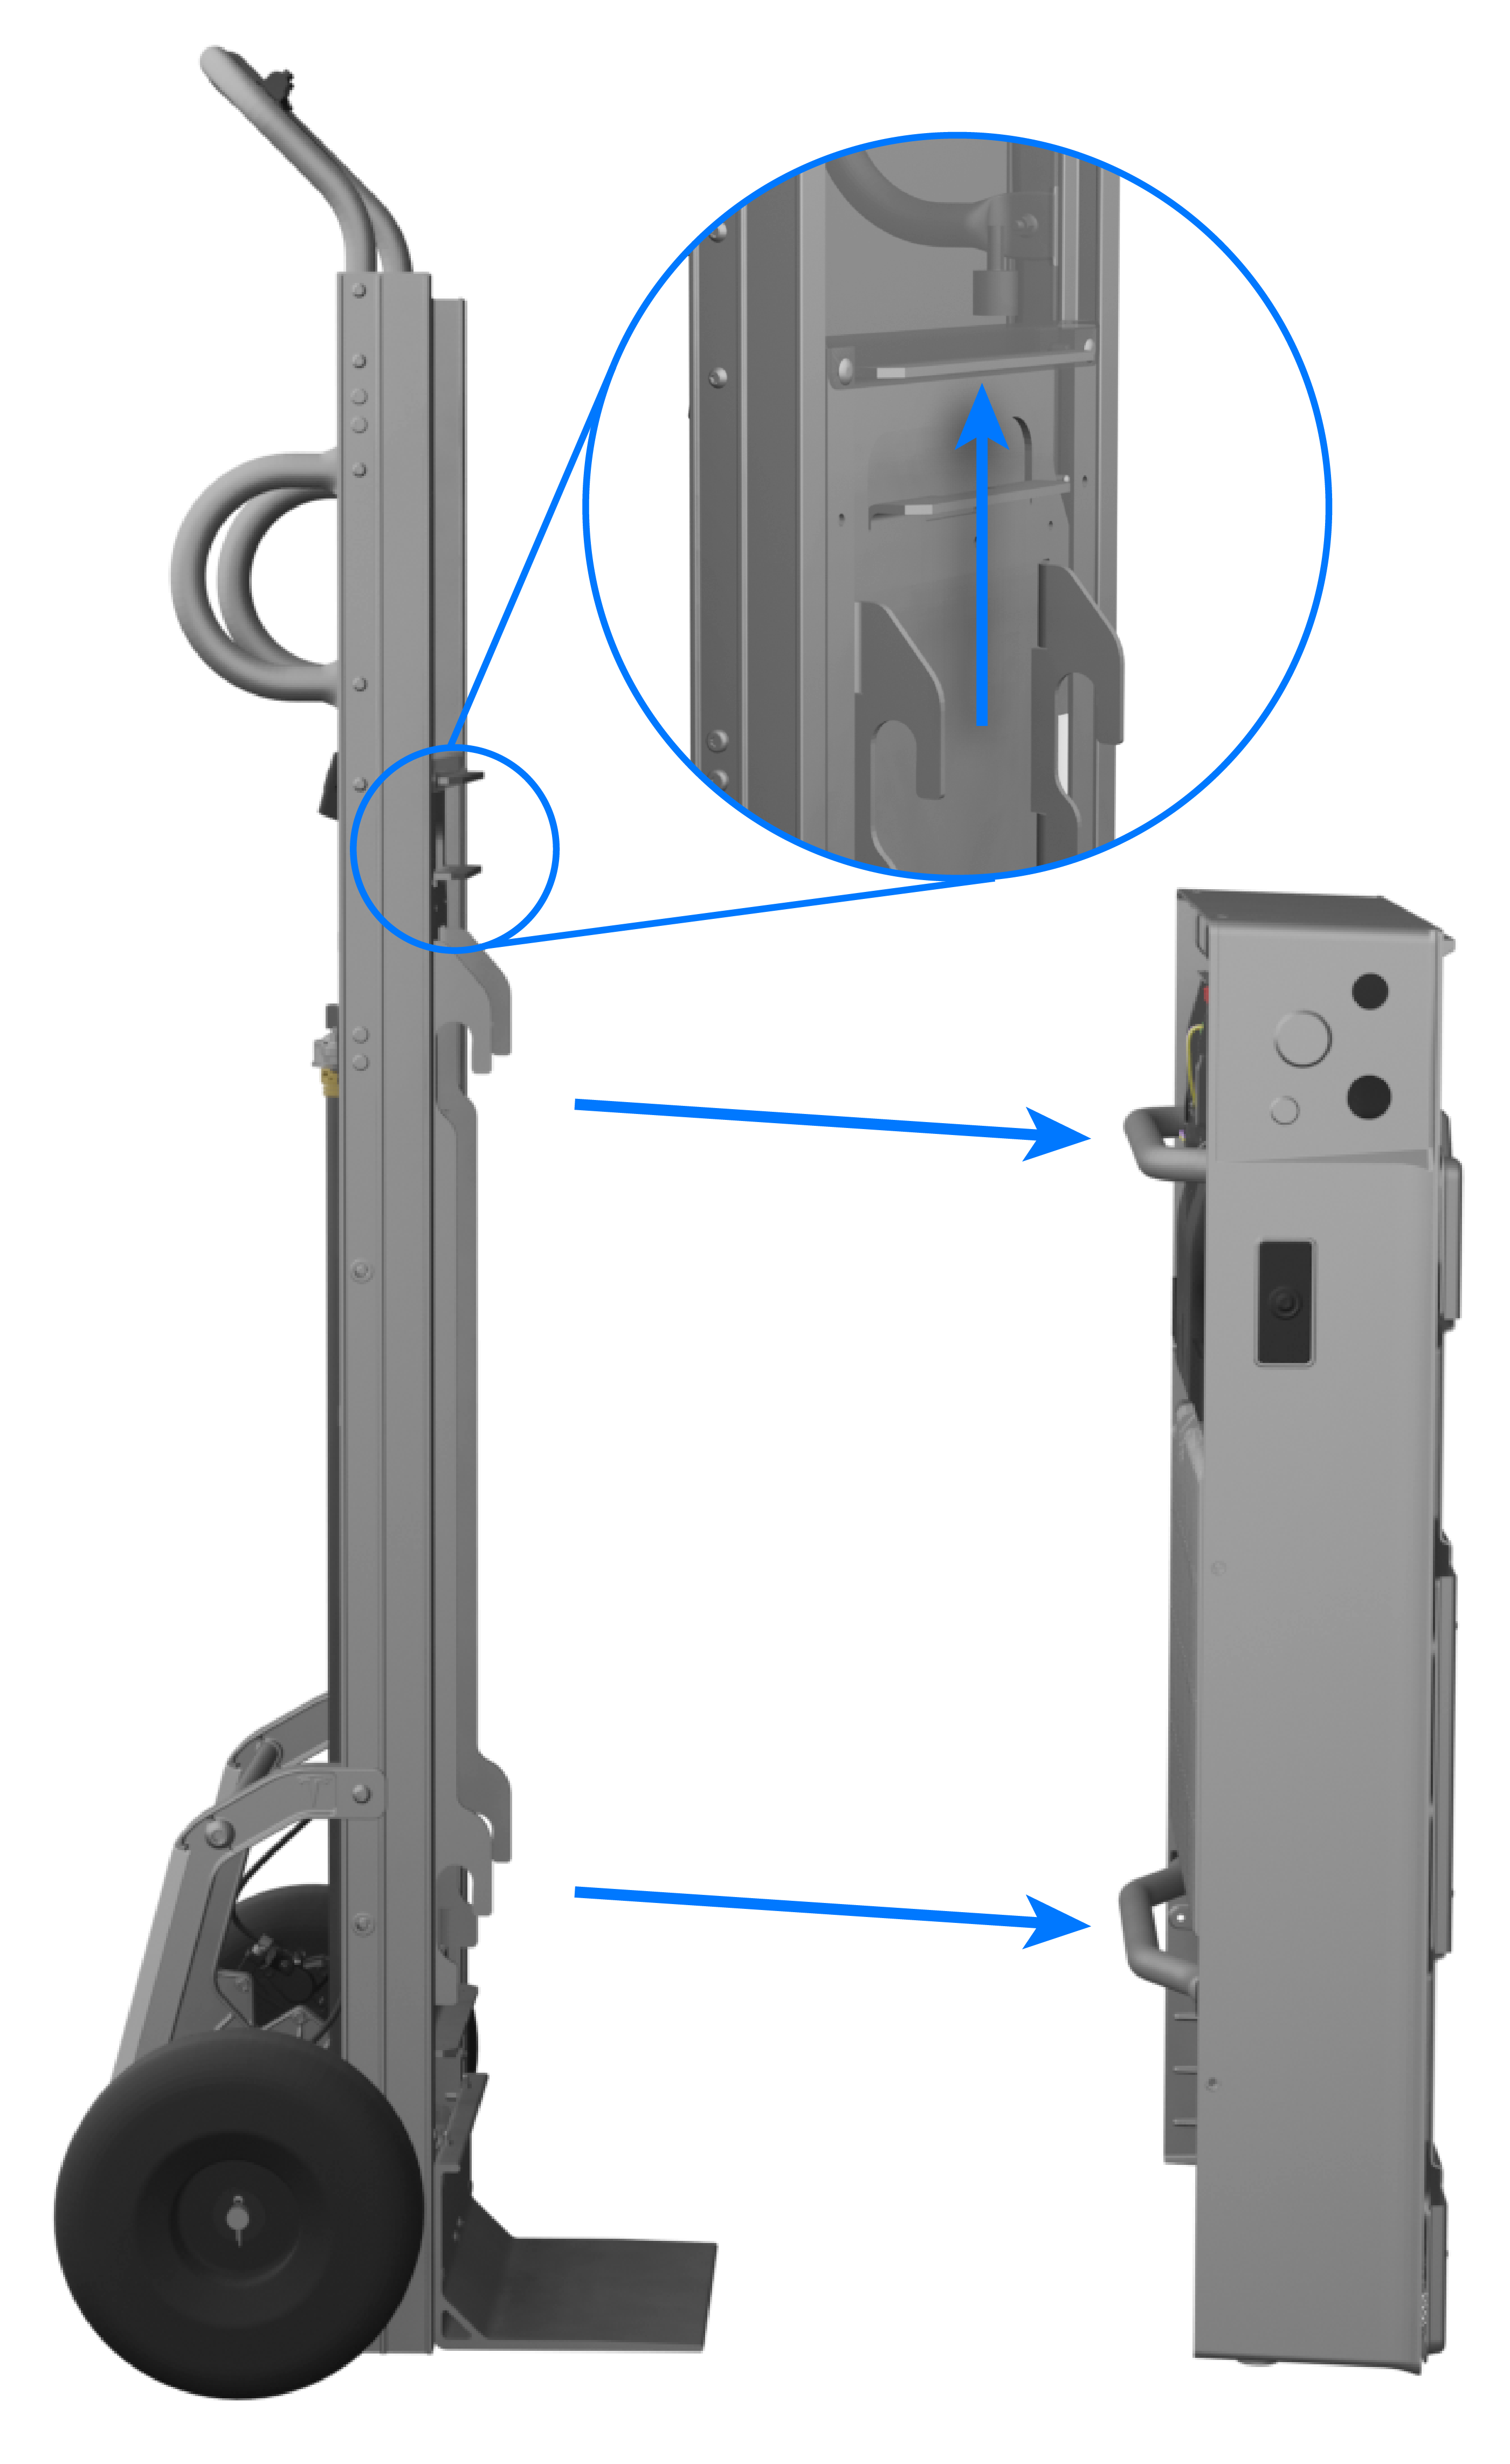
- On the Powerwall dolly, raise the lifting attachment and move the dolly toward
Powerwall 3. Lower the attachment to engage the handles.
- Using a drill on the high torque setting, drive the lifting screw to raise and
lower Powerwall.
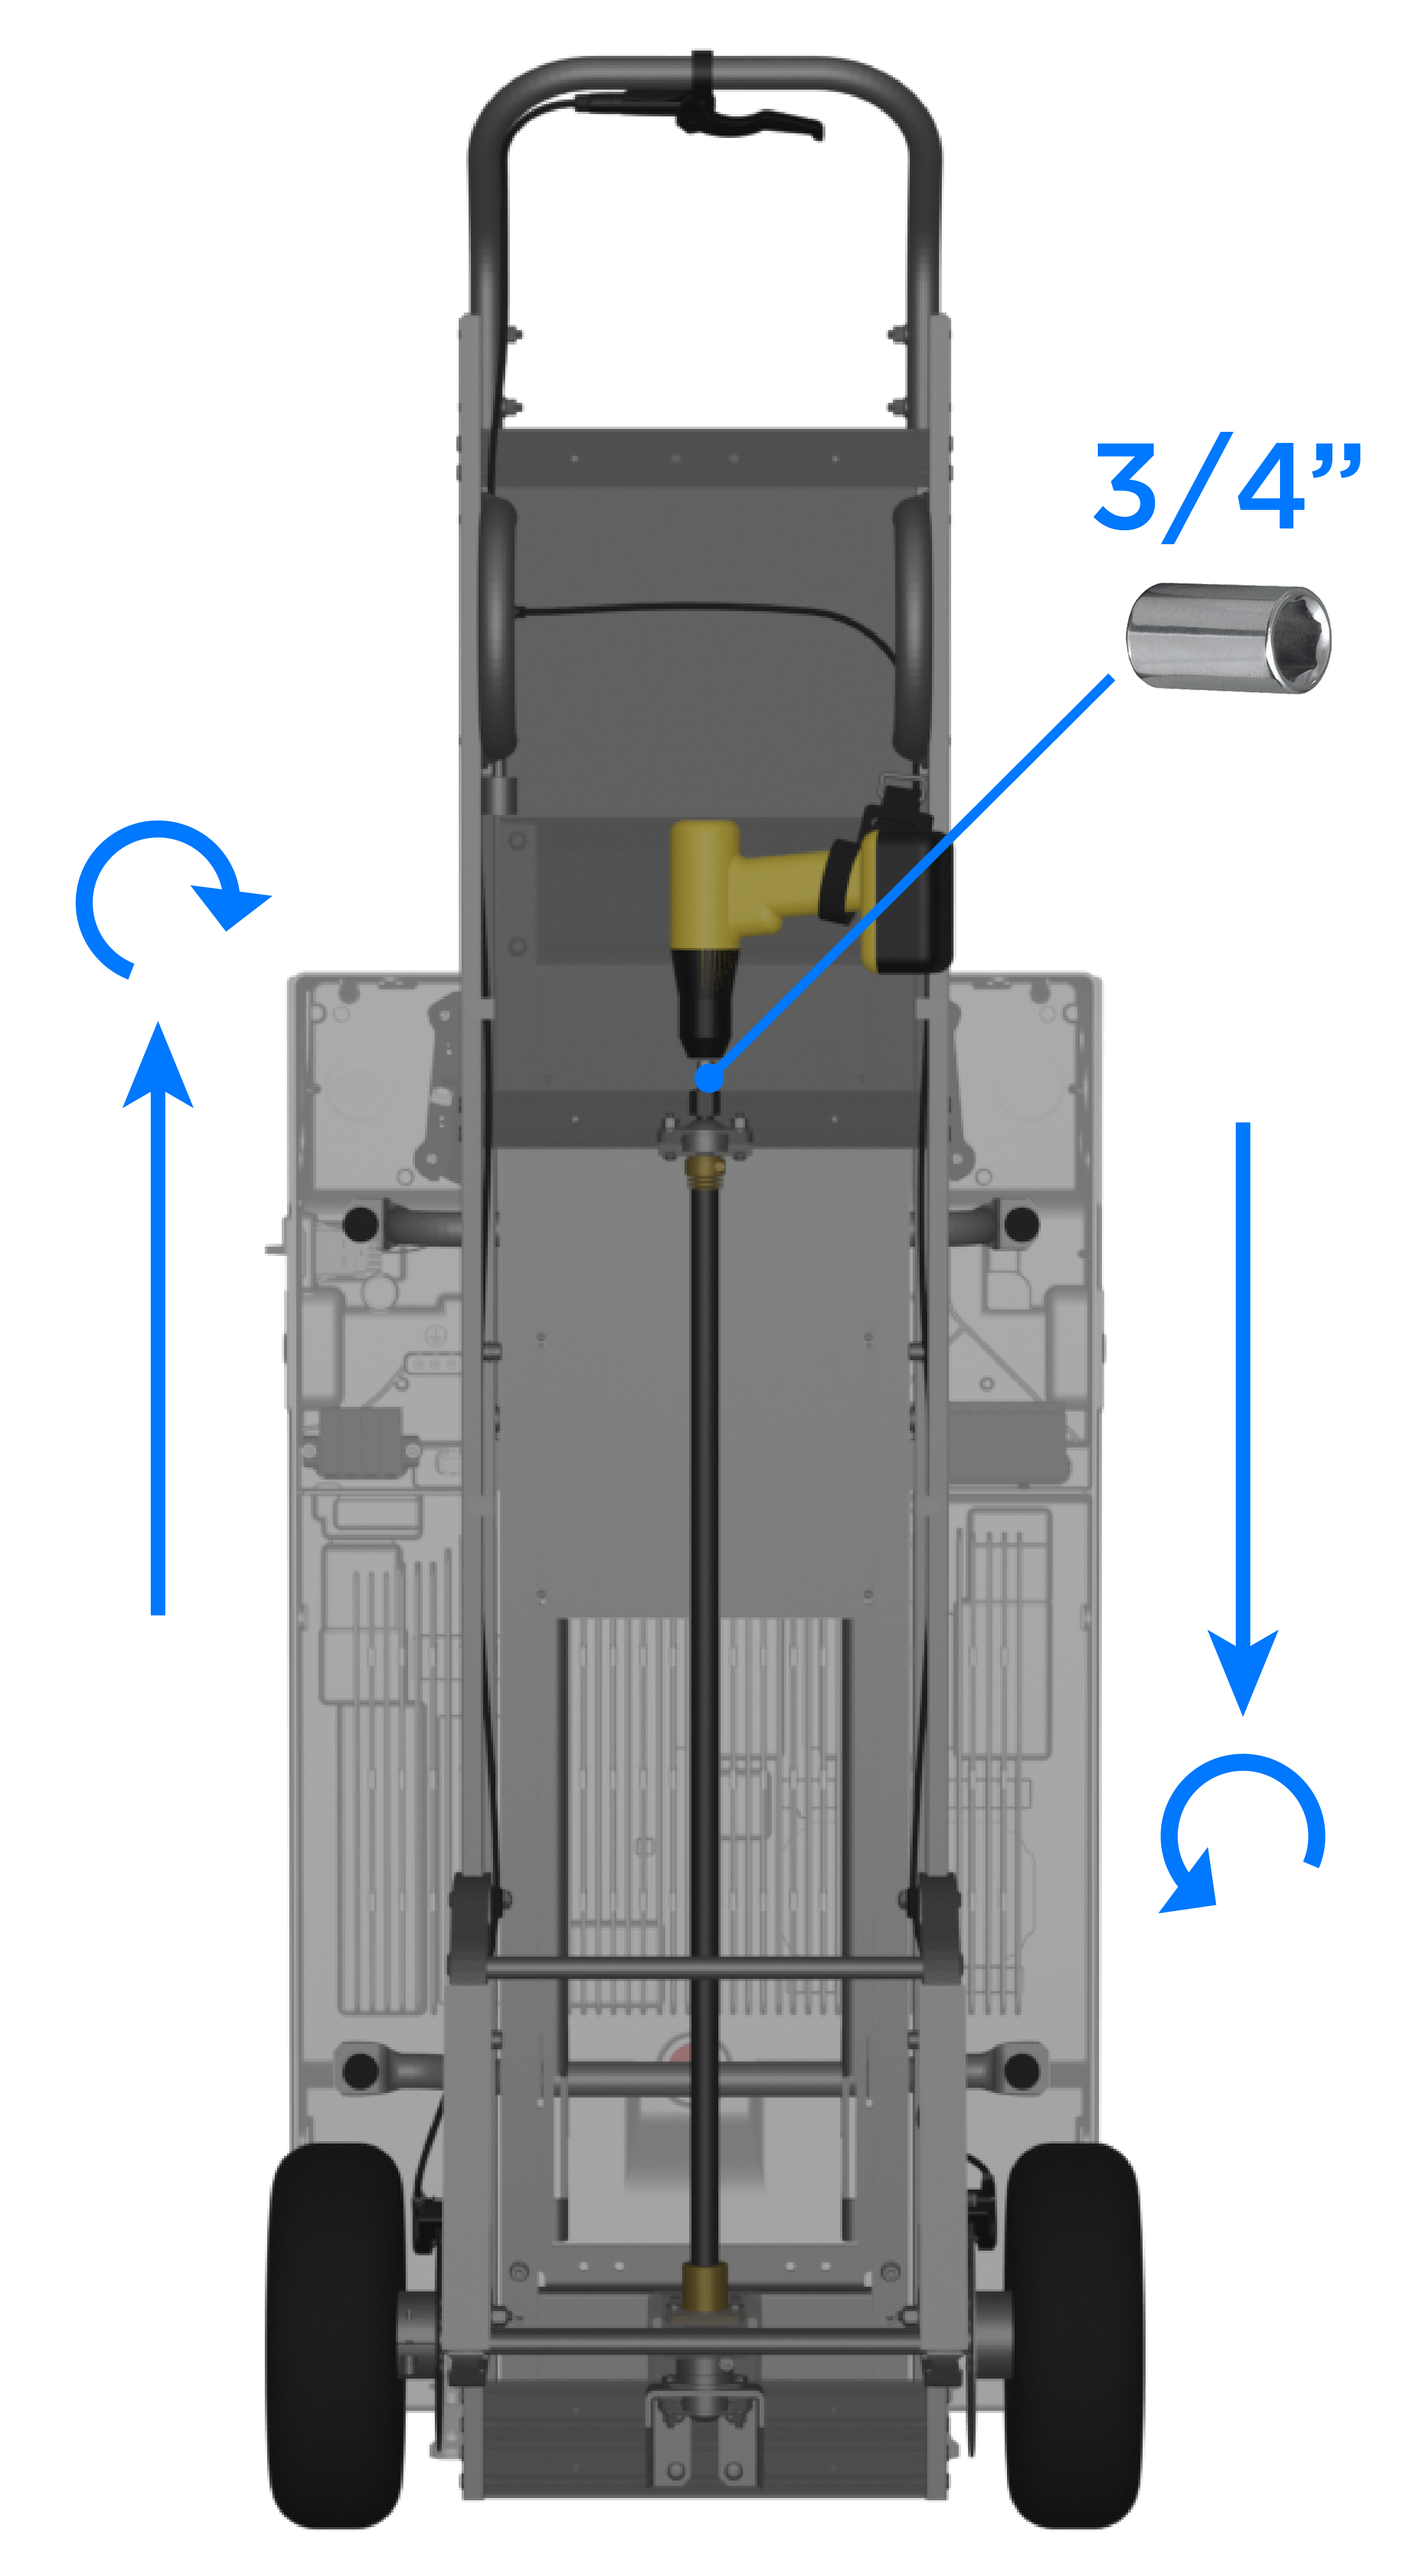 CAUTIONDo not use an impact drill.
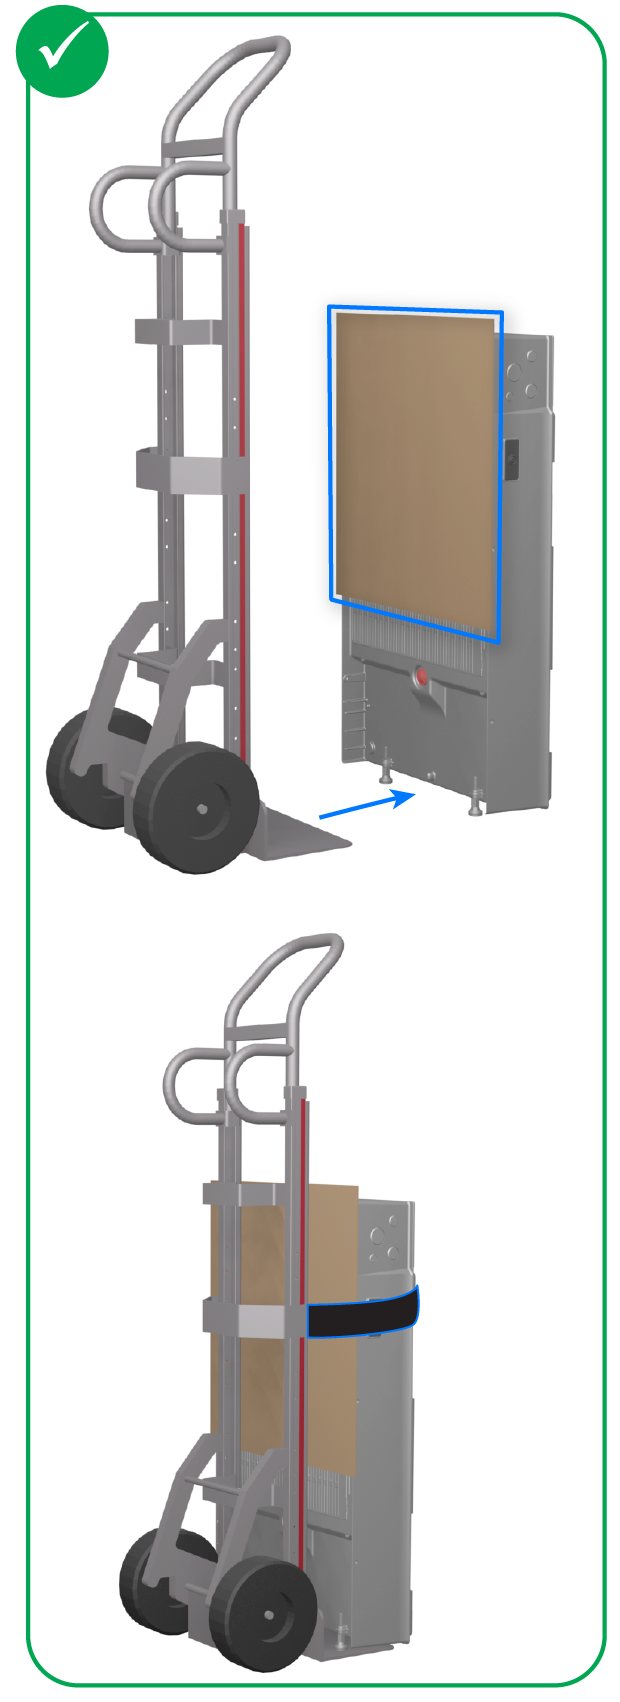
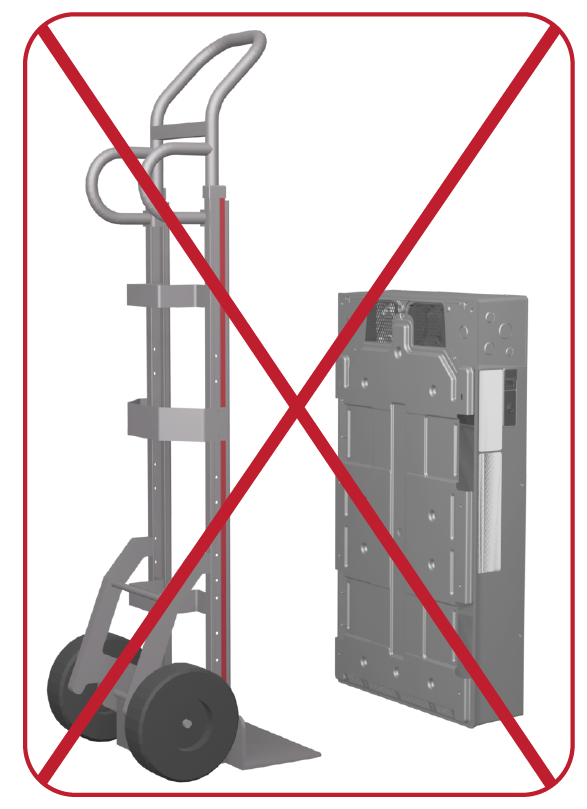
Transport Option B: Transport Powerwall 3 Using a Regular Dolly
Wall-Mount Powerwall 3 with Wall Bracket
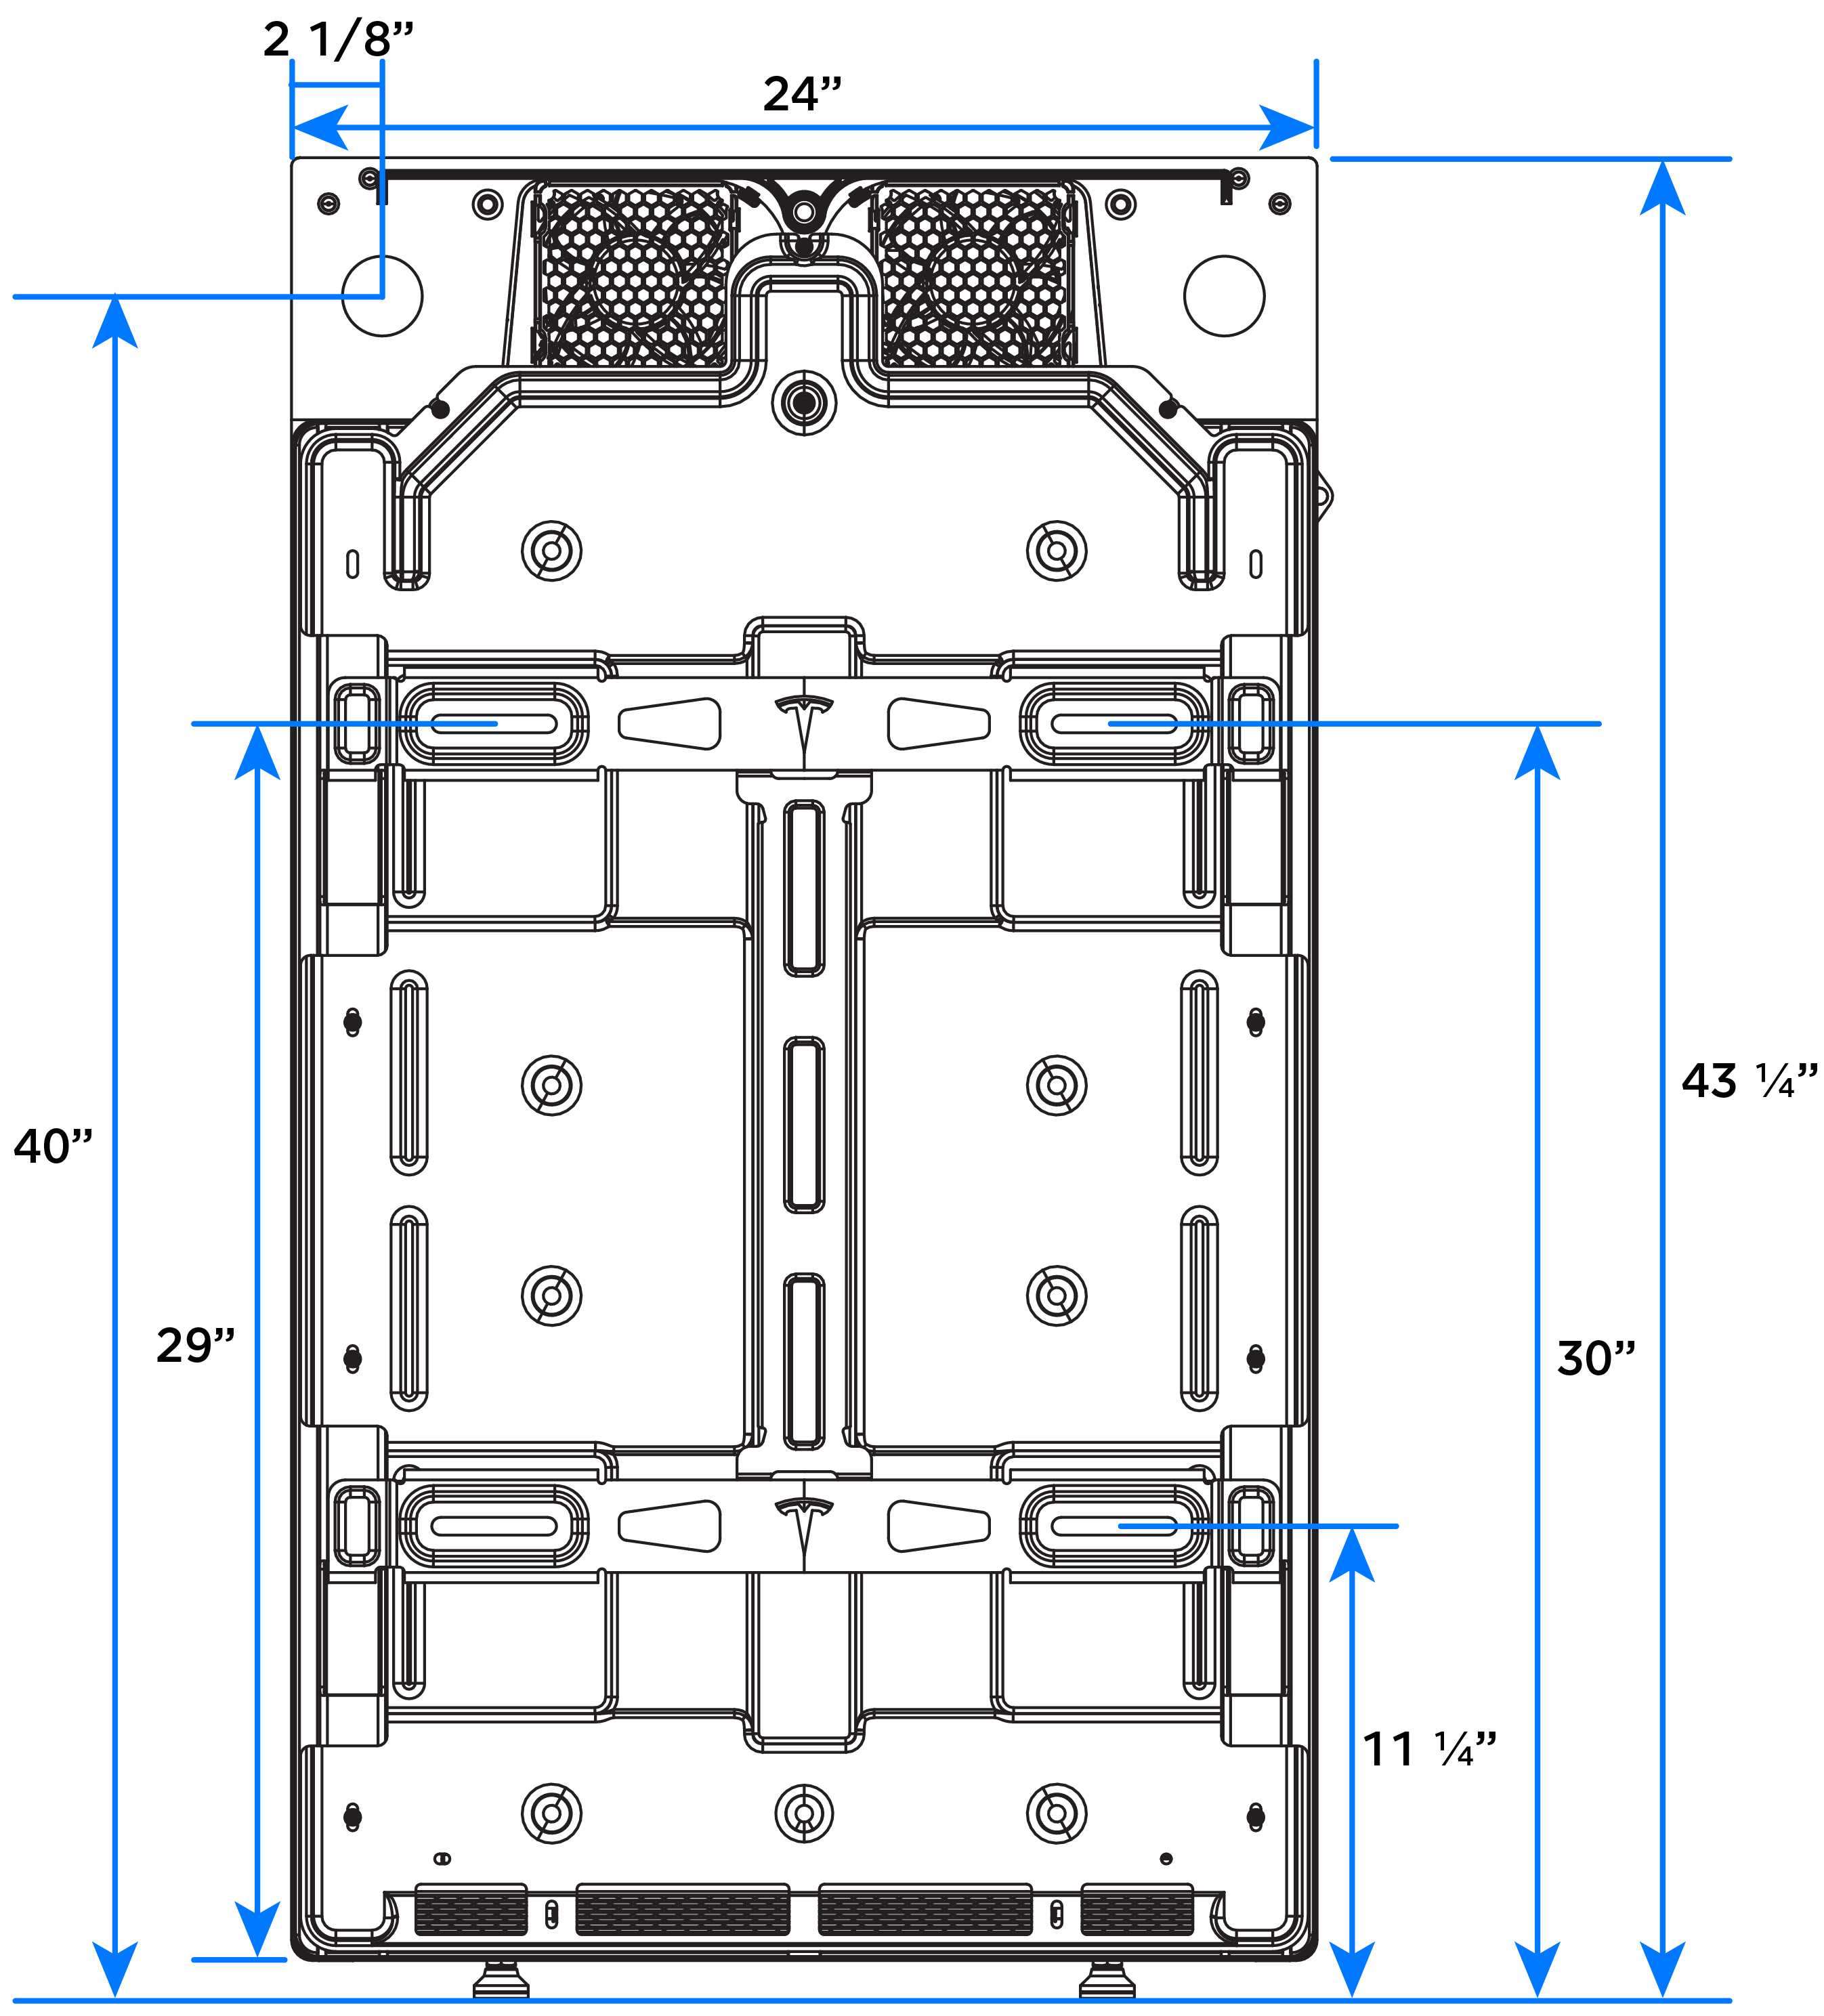
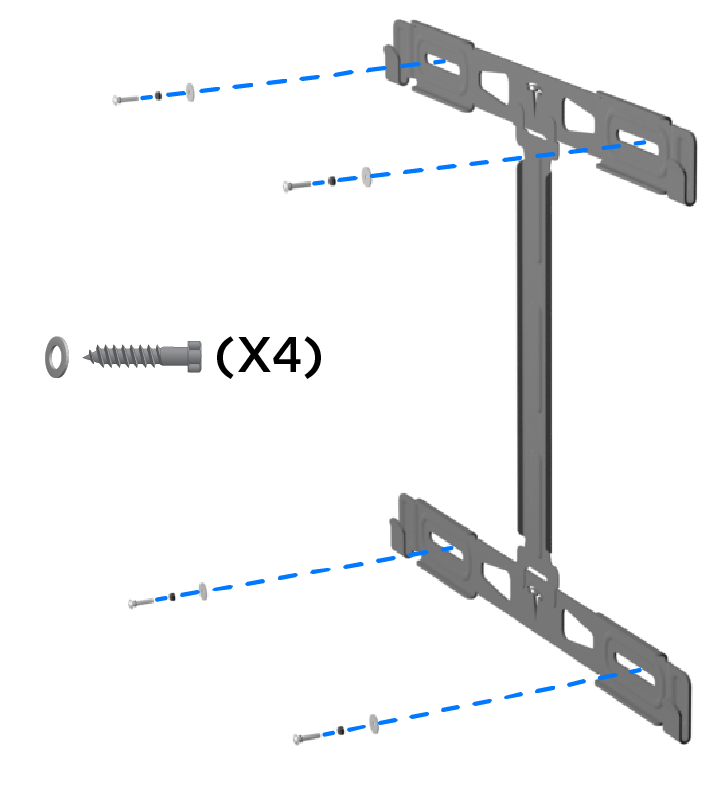
- Mount the Powerwall 3 bracket to the selected
wall.NoteSee the Powerwall 3 Installation Manual (with Backup Gateway 2 or Backup Switch) for fastener requirements based on wall type and for seismic / wind design criteria.
- Use the Powerwall dolly or a platform lifting tool to position Powerwall 3 at the wall and raise it.
- Lower Powerwall 3 onto the bracket, ensuring the unit is fully seated on the bracket cleats.
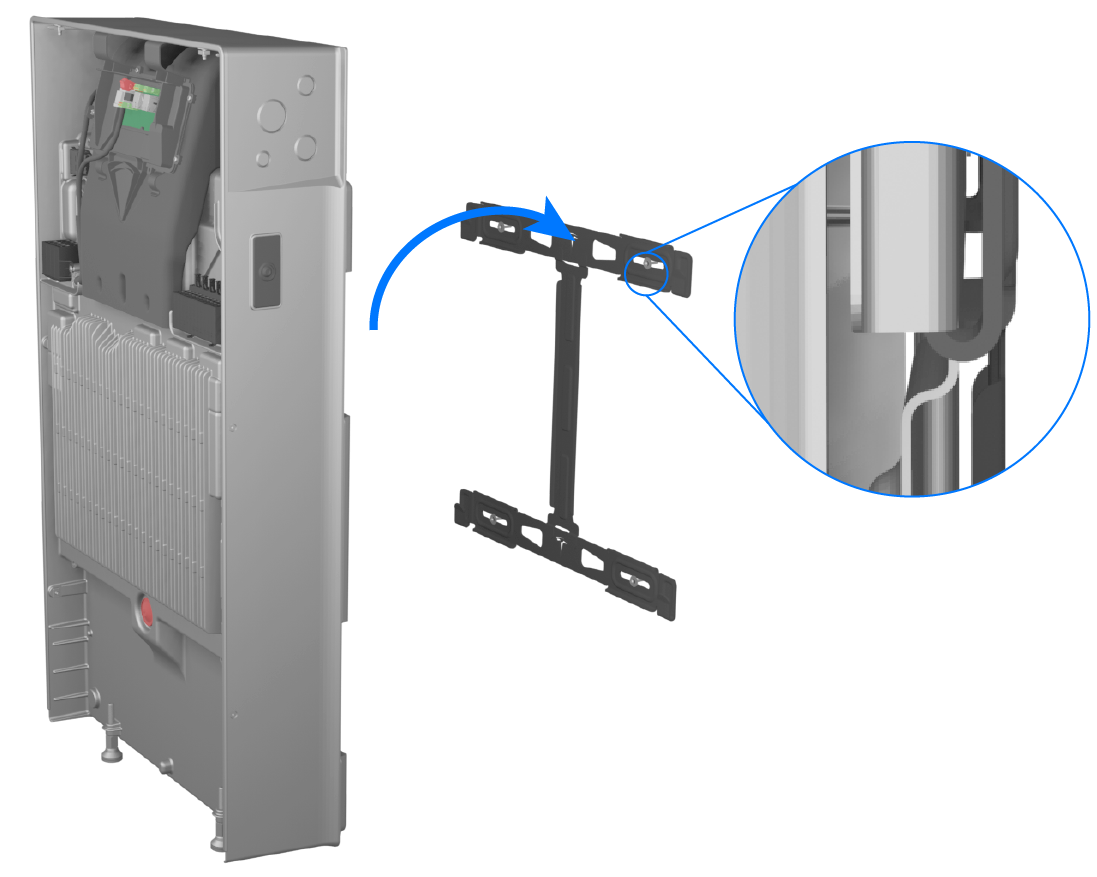
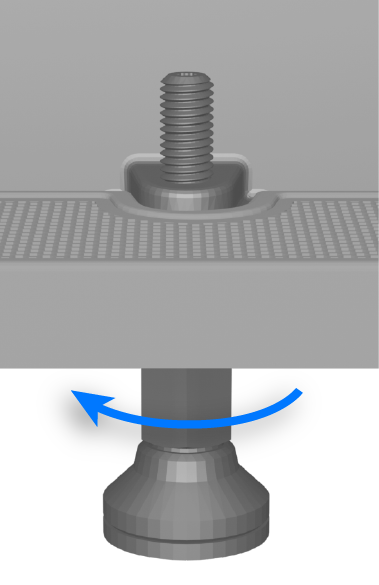
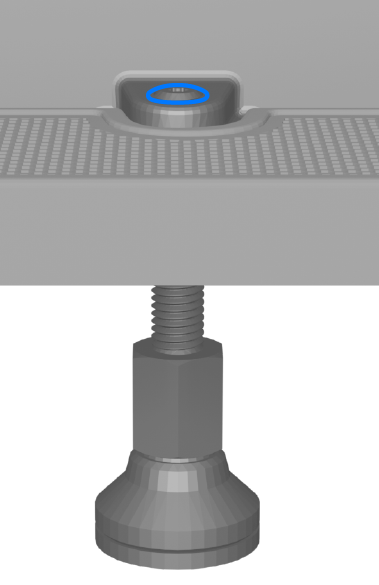
- Level Powerwall 3 as needed using the leveling feet.
