Using Dolly with Powerwall 3
Watch the video below for instructions on mounting Powerwall 3 using the Powerwall dolly.
Preparing to Use Dolly
Before operating the dolly or handling Powerwall, wear all required PPE (personal protective equipment):
- Safety glasses
- Cut-resistant gloves
- Protective footwear
Warning
Do not use the dolly
to transport or mount Powerwall without PPE, especially protective footwear. Failure
to do so could result in serious injury.
Prepare the Drill
- Install the ¾ inch socket.
- Tighten the drill chuck.
- Lock the drill chuck (turn it clockwise until it clicks once).
- Set the clutch one level below the maximum setting.
- Set the drill to low gear.

- Mount the drill to the lifting screw.
- Secure the drill with the
included drill strap.
 WarningNot strapping the drill may result in injury.
 - Drill forward to raise the base plate.
- Drill in reverse to lower the base plate.
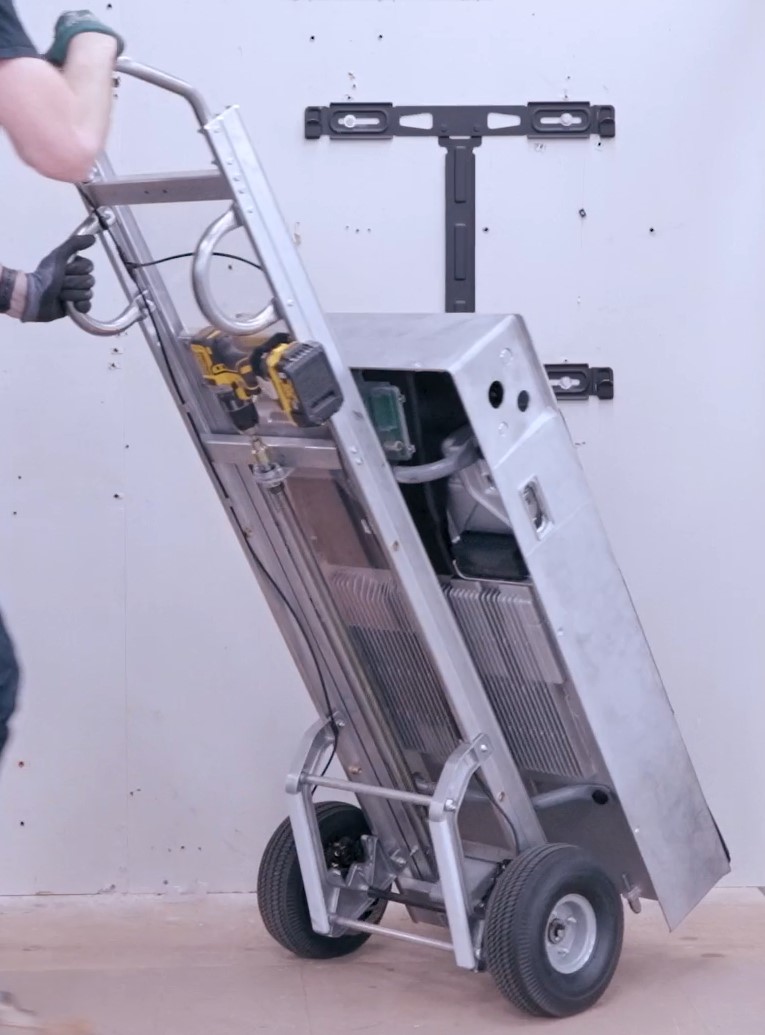
Secure Powerwall to the Dolly
- Unscrew and remove the lift
handles from the dolly.
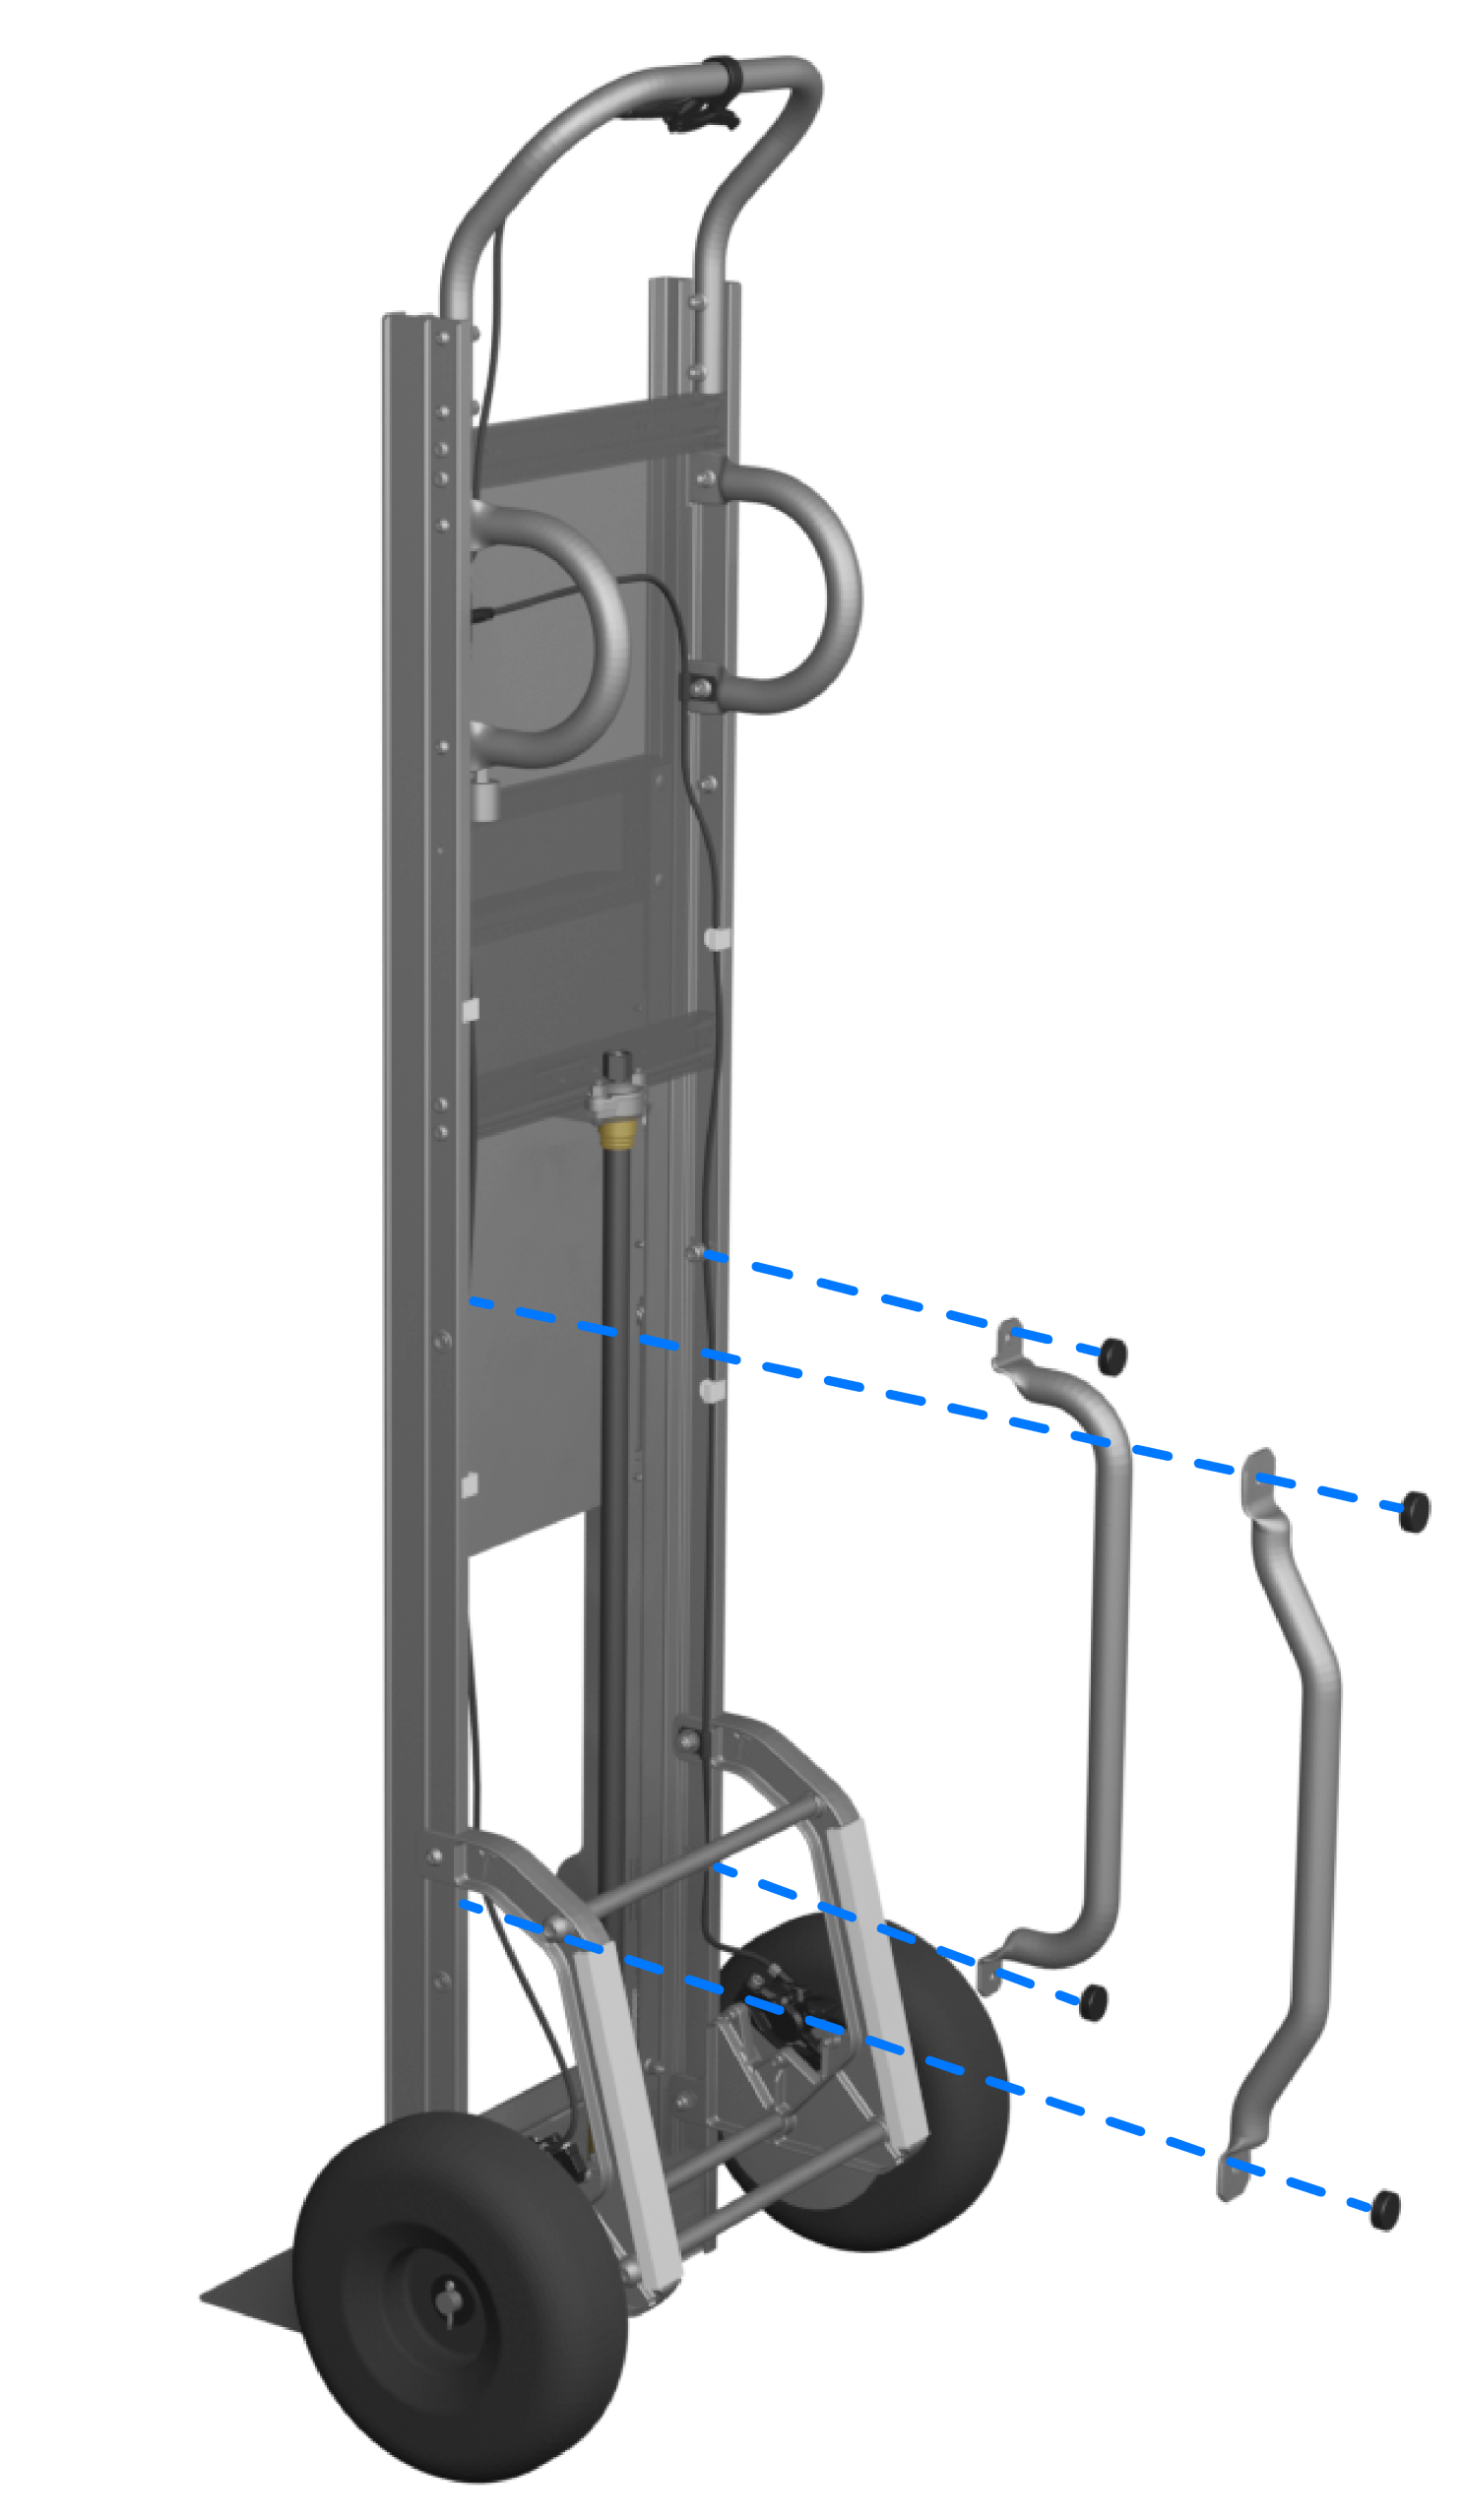
- Attach the lift handles to
Powerwall with the included fasteners, tightening the fasteners until hand
tight.
- Attach the larger rounded handle to the top of Powerwall.
- Attach the smaller angled handle to the bottom of Powerwall.
CAUTIONDo not use a wrench or other tools to tighten the fasteners. Only hand tighten the fasteners.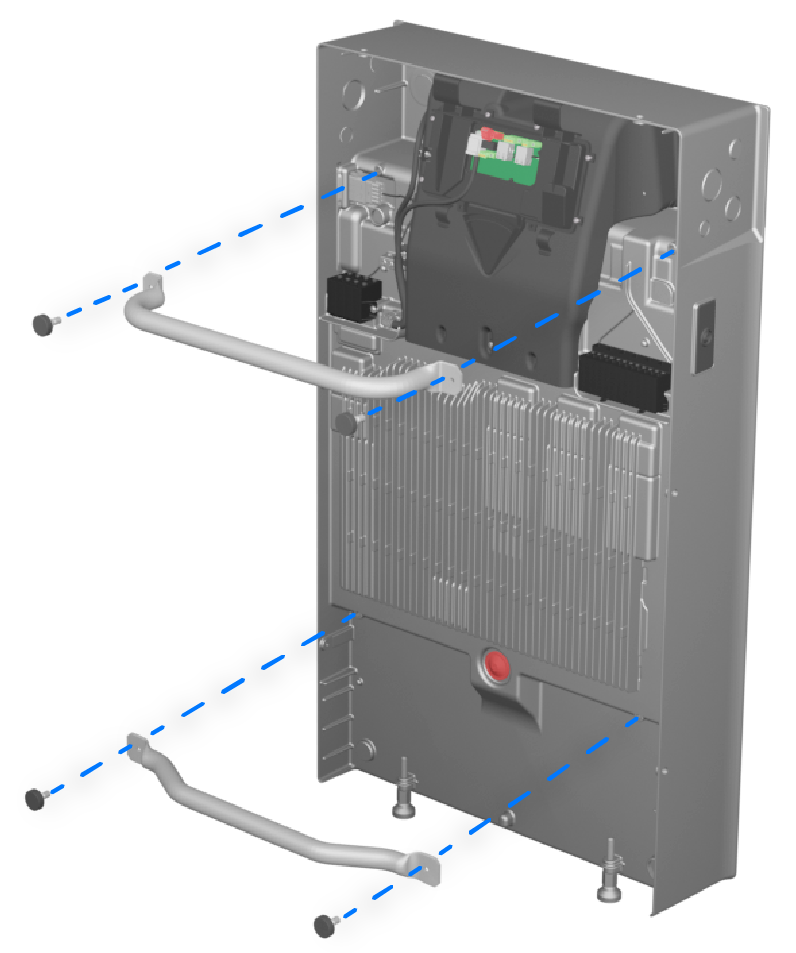 WarningConfirm the fasteners are fully threaded and the lift handles are secured to Powerwall before proceeding.
 - Engage the dolly on Powerwall
while the unit is still in the box:
- Insert the lifting plate
between the bottom of Powerwall and the bottom of the packaging.
Figure 1. Lifting Plate in Gap Below Powerwall 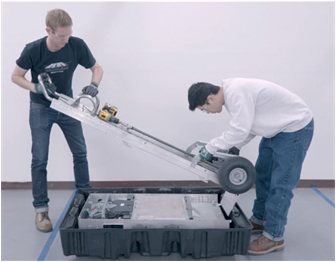
- Raise and then release
the lifting attachment to allow the locking plate to engage the lift
handles on Powerwall.
Figure 2. Locking Plate Being Raised to Engage Lift Handles 
Figure 3. Locking Plate Being Released to Engage Lift Handles 
- Verify that both sets of
lift handles are locked into the dolly.
Figure 4. Lift Handles Securely Locked to the Locking Plate on Top and Bottom 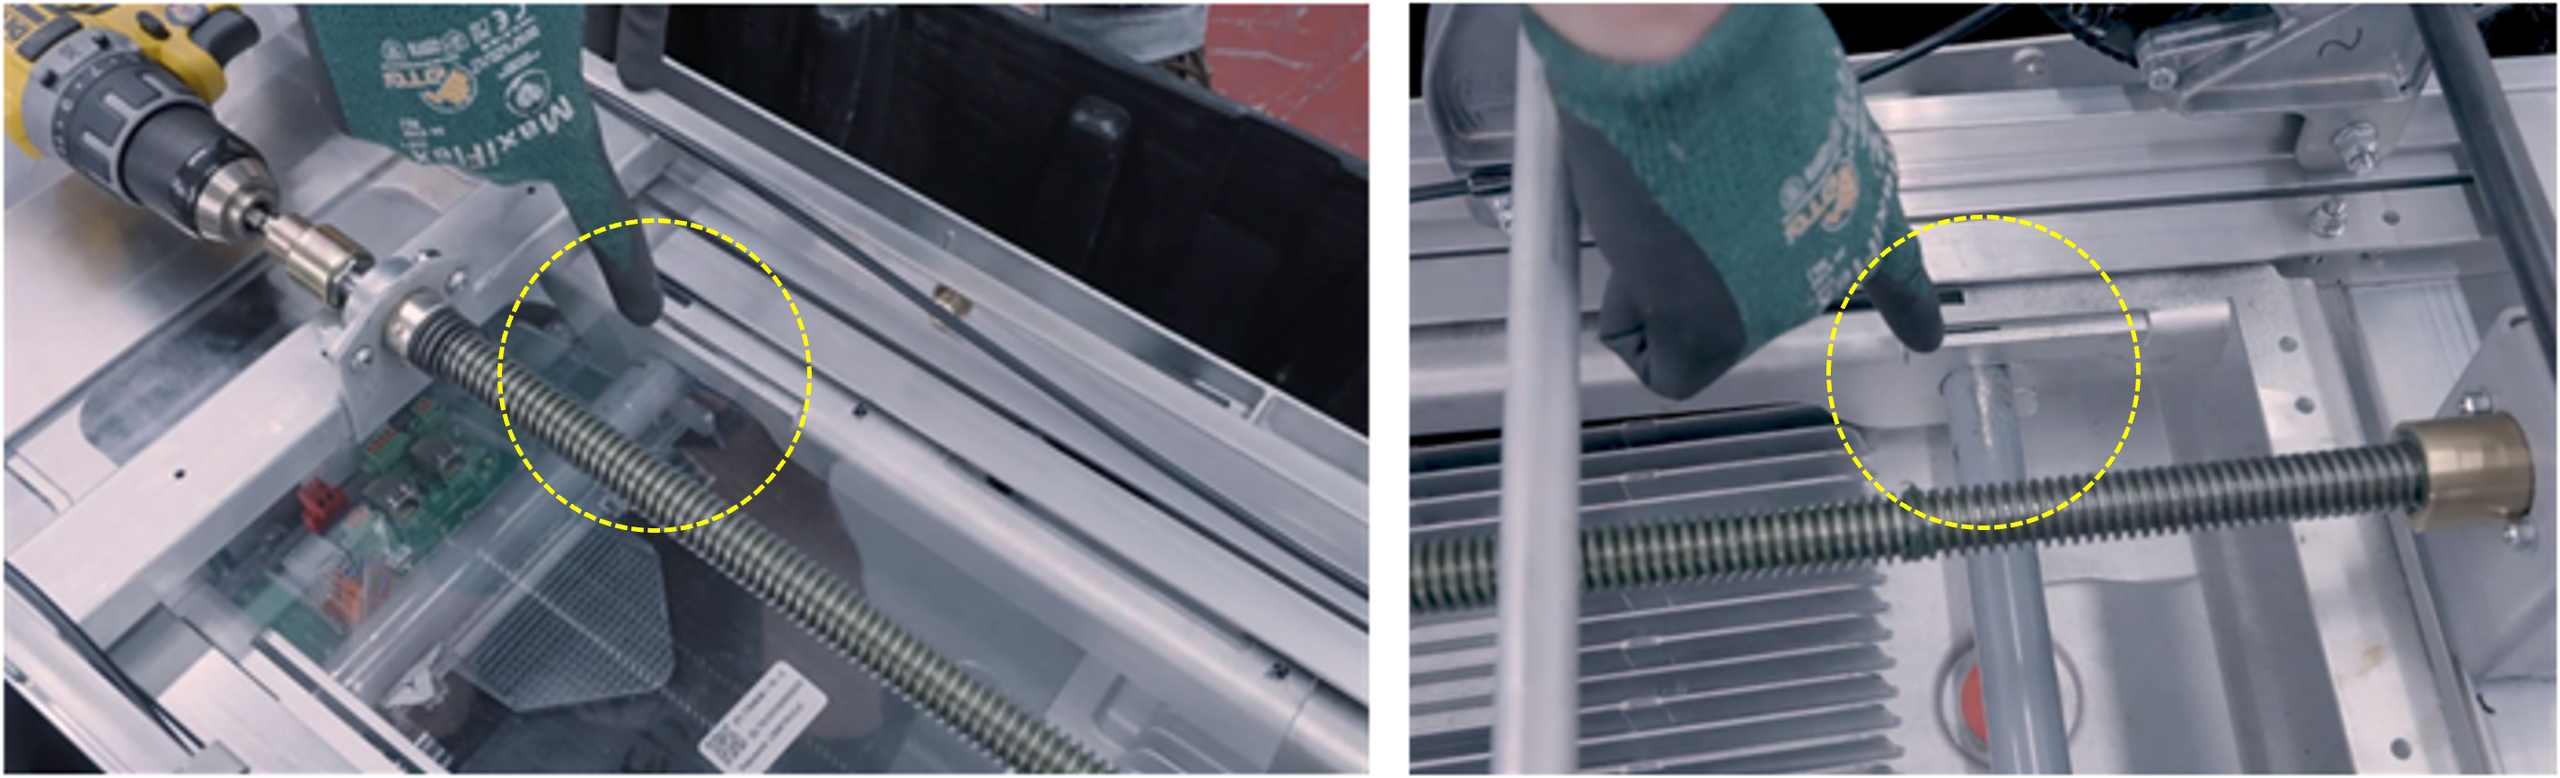
- With a partner, stand the
unit:WarningAlways work with a partner to stand the unit up. Failure to do so could result in serious injury.
- Place a foot behind Powerwall to assist in tilting the unit upward.
- Engage the brake before the wheels contact the ground to keep the dolly from rolling.
Figure 5. Tilting the Dolly and Powerwall Up with the Brake Engaged 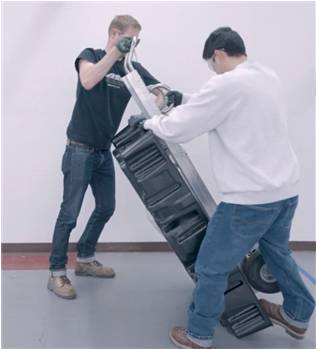
- Insert the lifting plate
between the bottom of Powerwall and the bottom of the packaging.
- Once the dolly and Powerwall are stood up, remove the packaging from Powerwall.
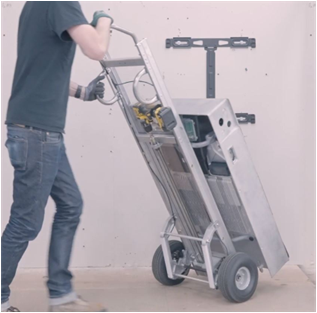
Transport Powerwall
Before tilting back the dolly, squeeze the hand brake. Use the brake to control the dolly when Powerwall is raised, or when the dolly is moving.
Warning
Always have one hand
ready to operate the brake during Powerwall transport.

Mount Powerwall
Warning
Never release the
brake lever while mounting Powerwall. If adjustments are needed during mounting, be
sure-footed and keep both hands on the dolly, with one hand on the brakes at all
times.
- Position Powerwall and align with the wall bracket.
- Hold the hand brake when lifting or adjusting Powerwall.
- Tilt the dolly back and drill
forward to raise Powerwall until the mounting cleats are positioned above the
flanges on the bracket.


- Confirm Powerwall is aligned with the bracket.
- Tilt the dolly forward and drill
in reverse to lower Powerwall until the mounting cleats engage the bracket flanges.

- Once Powerwall is seated on the bracket, remove the lift handles and pull up on the locking plate to disengage it from the unit.
- Reattach the lift handles to the dolly and drill in reverse until the lifting plate is fully lowered.