Install Main Breaker in Gateway 3
When Gateway 3 is installed as Service Equipment, a main breaker must be installed.
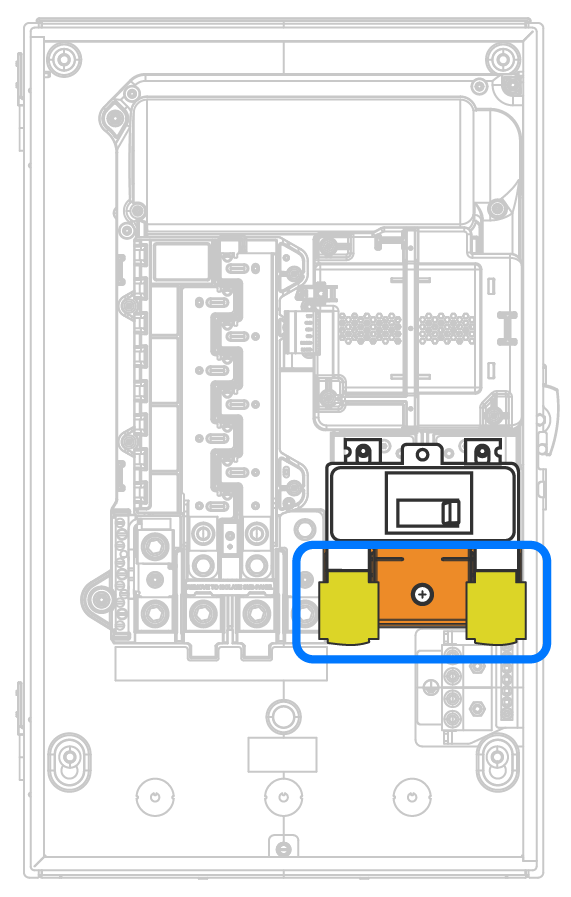
- Remove the S1 and S2 supply lugs
using a 7/16-inch hex socket. Recycle the lug divider.
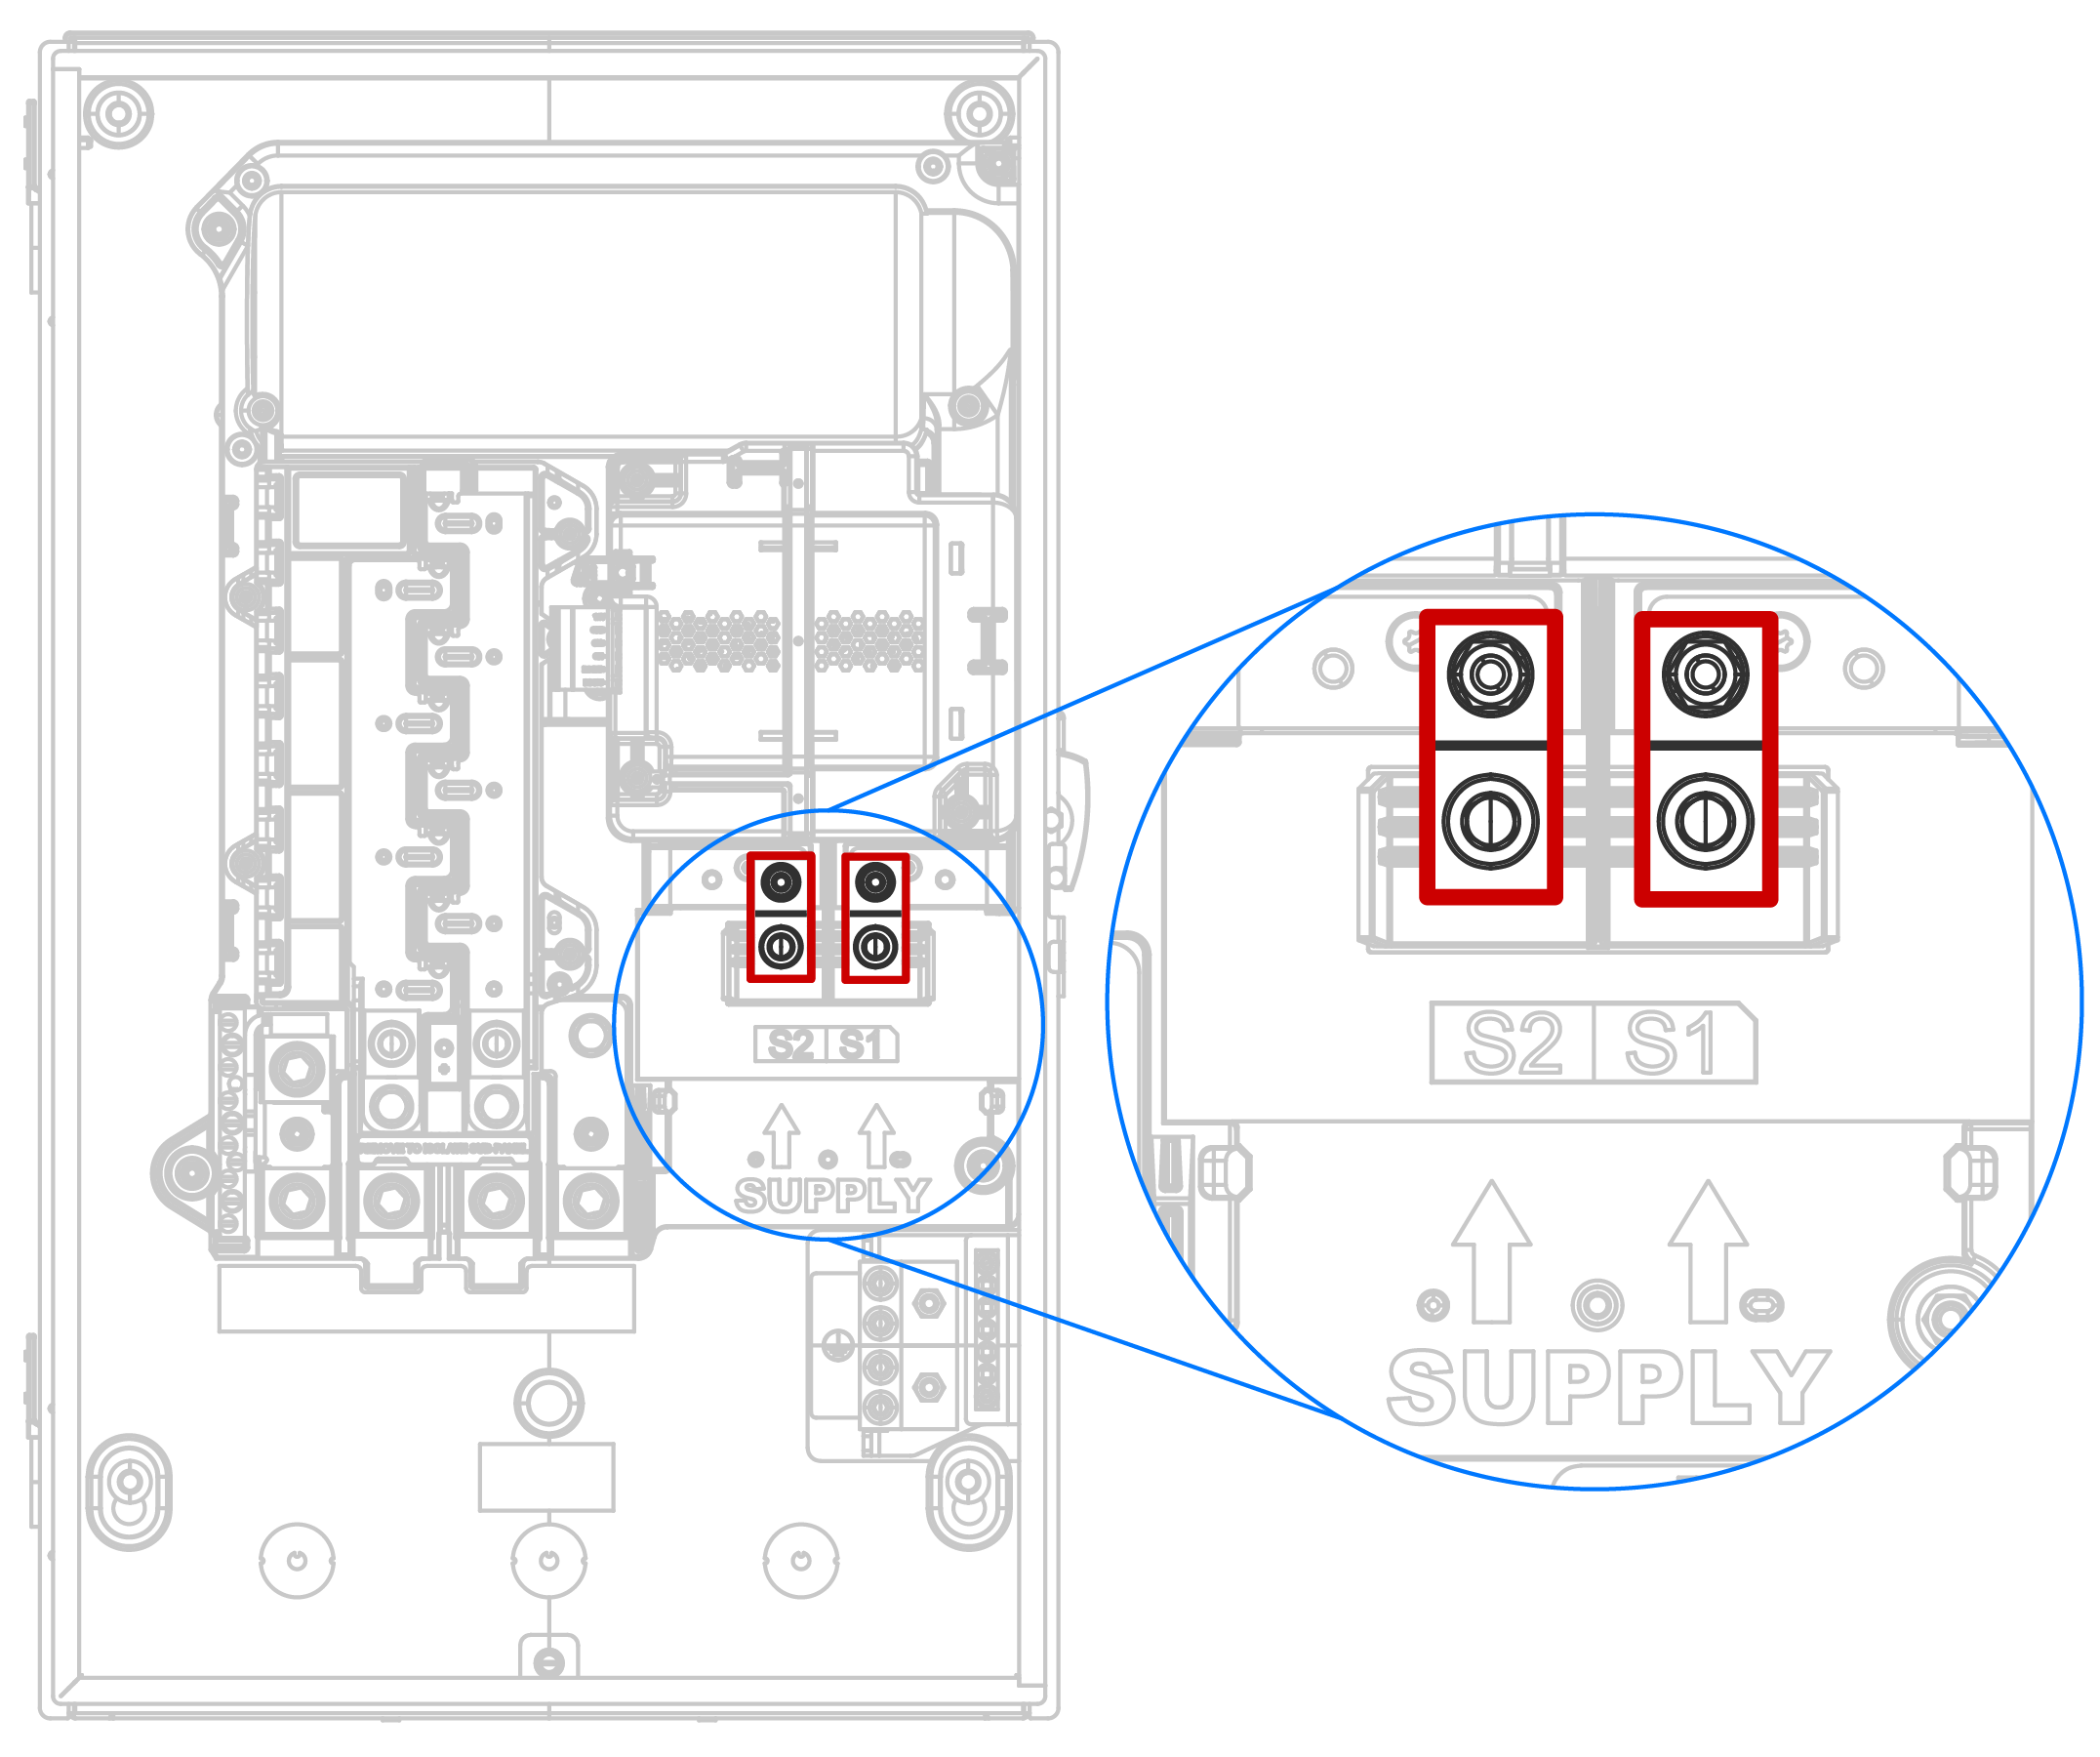
- Install an Eaton or Square D main
breaker (see Acceptable Circuit
Breakers for all compatible breakers):
Action Square D Main Breaker Only Install the Square D lug divider (Tesla P/N 2065063-xx-y). 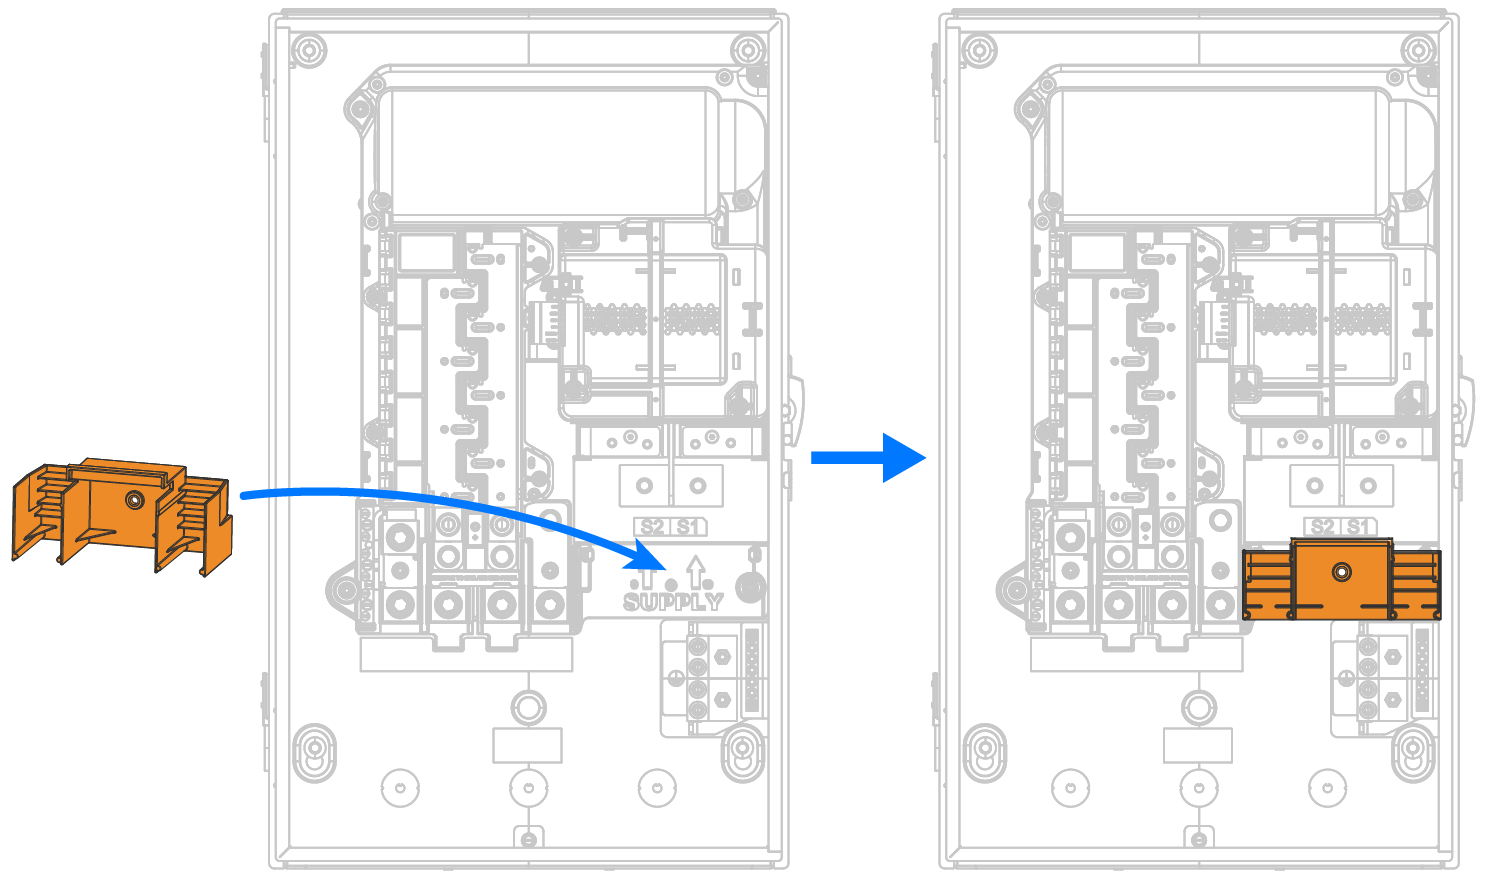
Remove and discard the fastener included with the Square D main breaker. It will not be used. 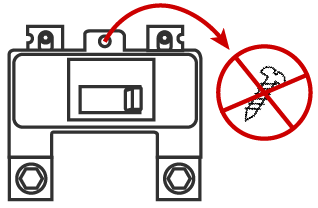
Action Eaton Main Breaker Square D Main Breaker Install the main breaker and torque the two S1 and S2 nuts to 65 in-lb (7.4 N-m) using a 7/16-inch hex socket. 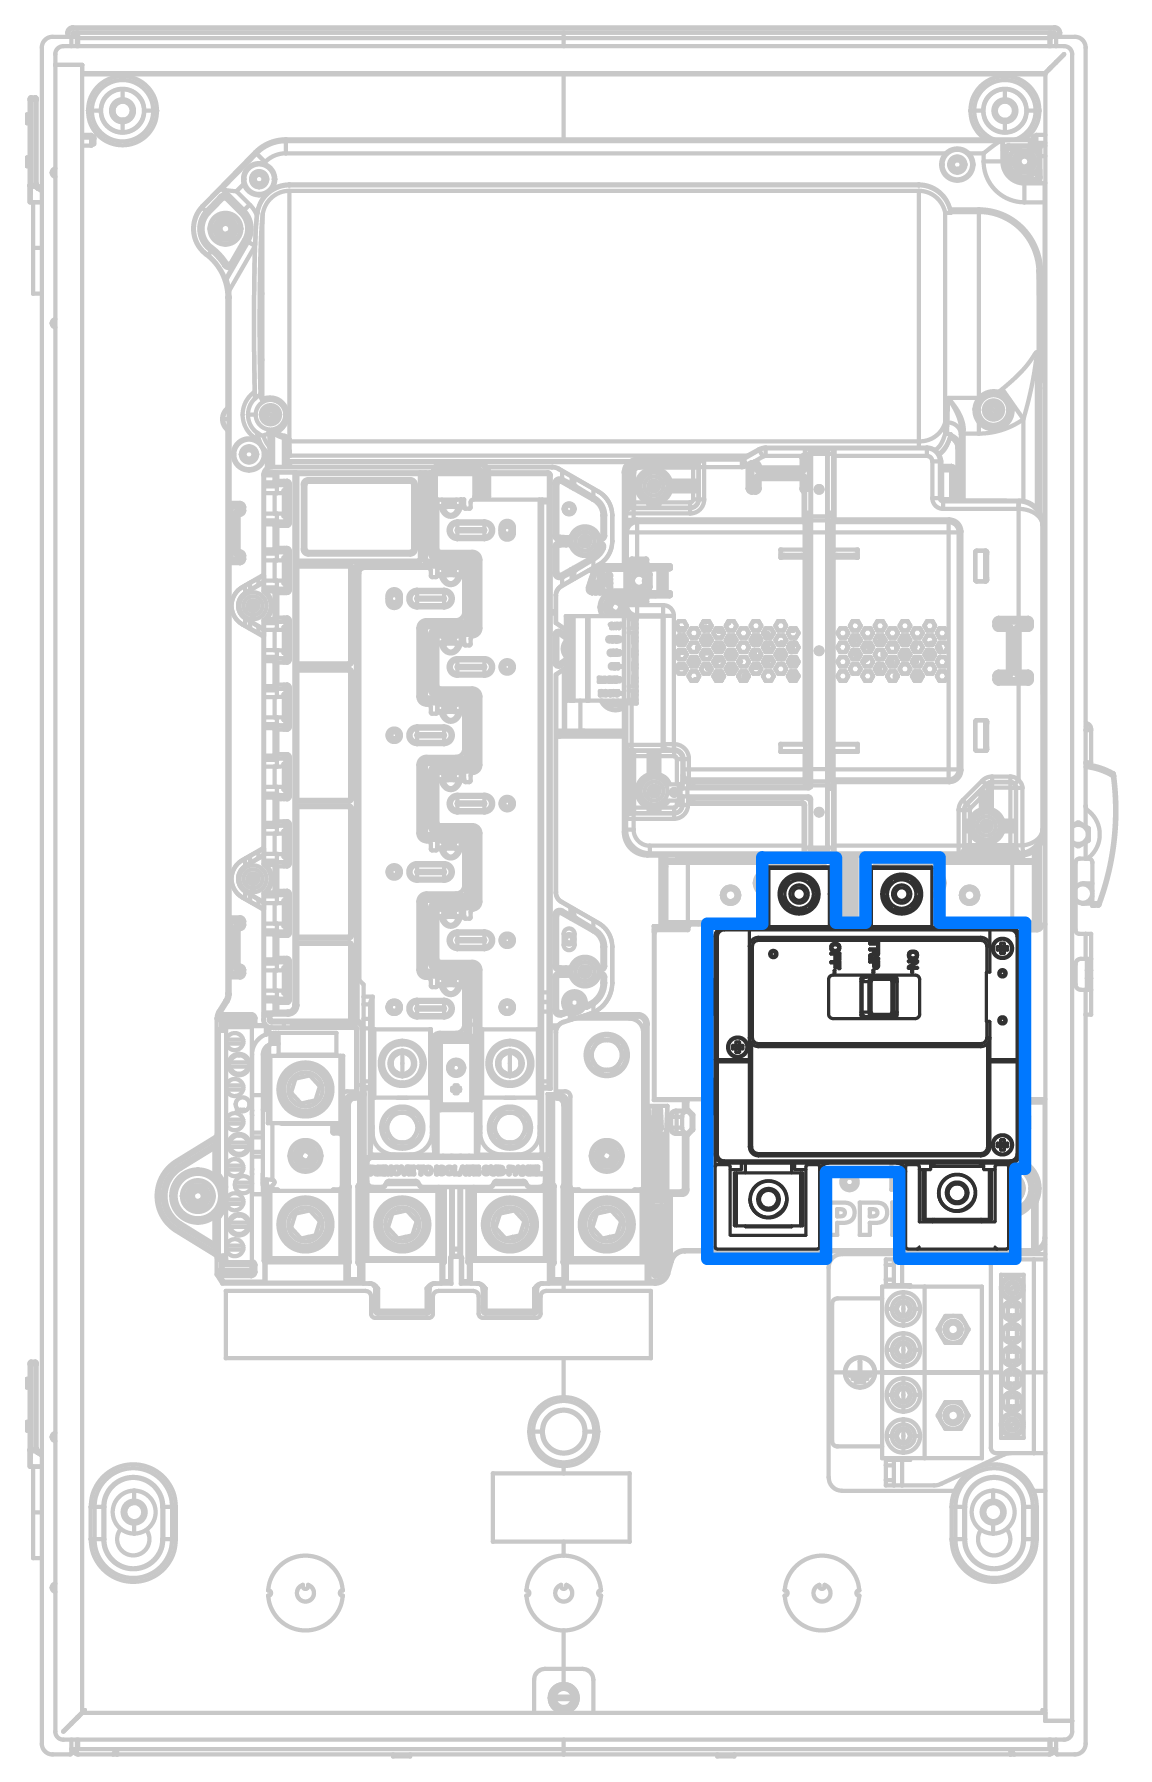
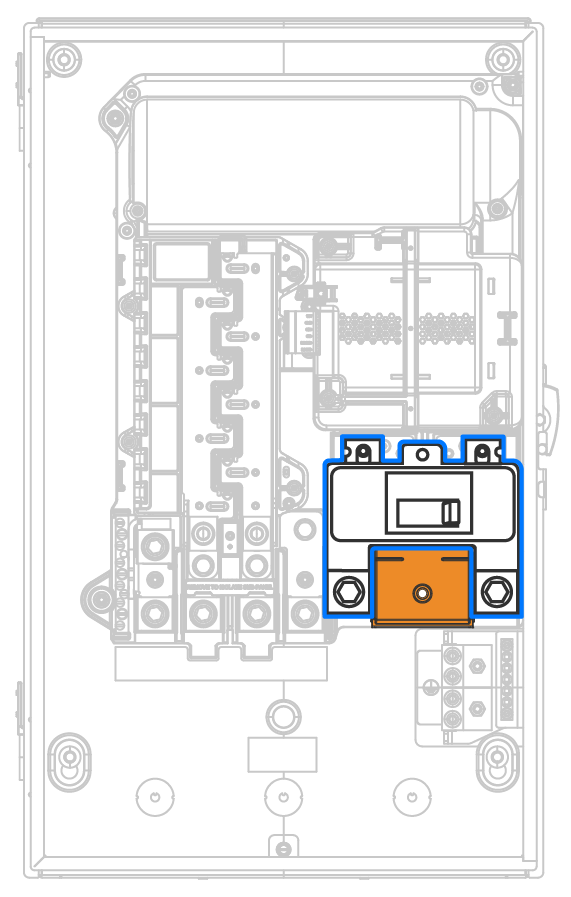
Secure the main breaker with the hold-down screw. 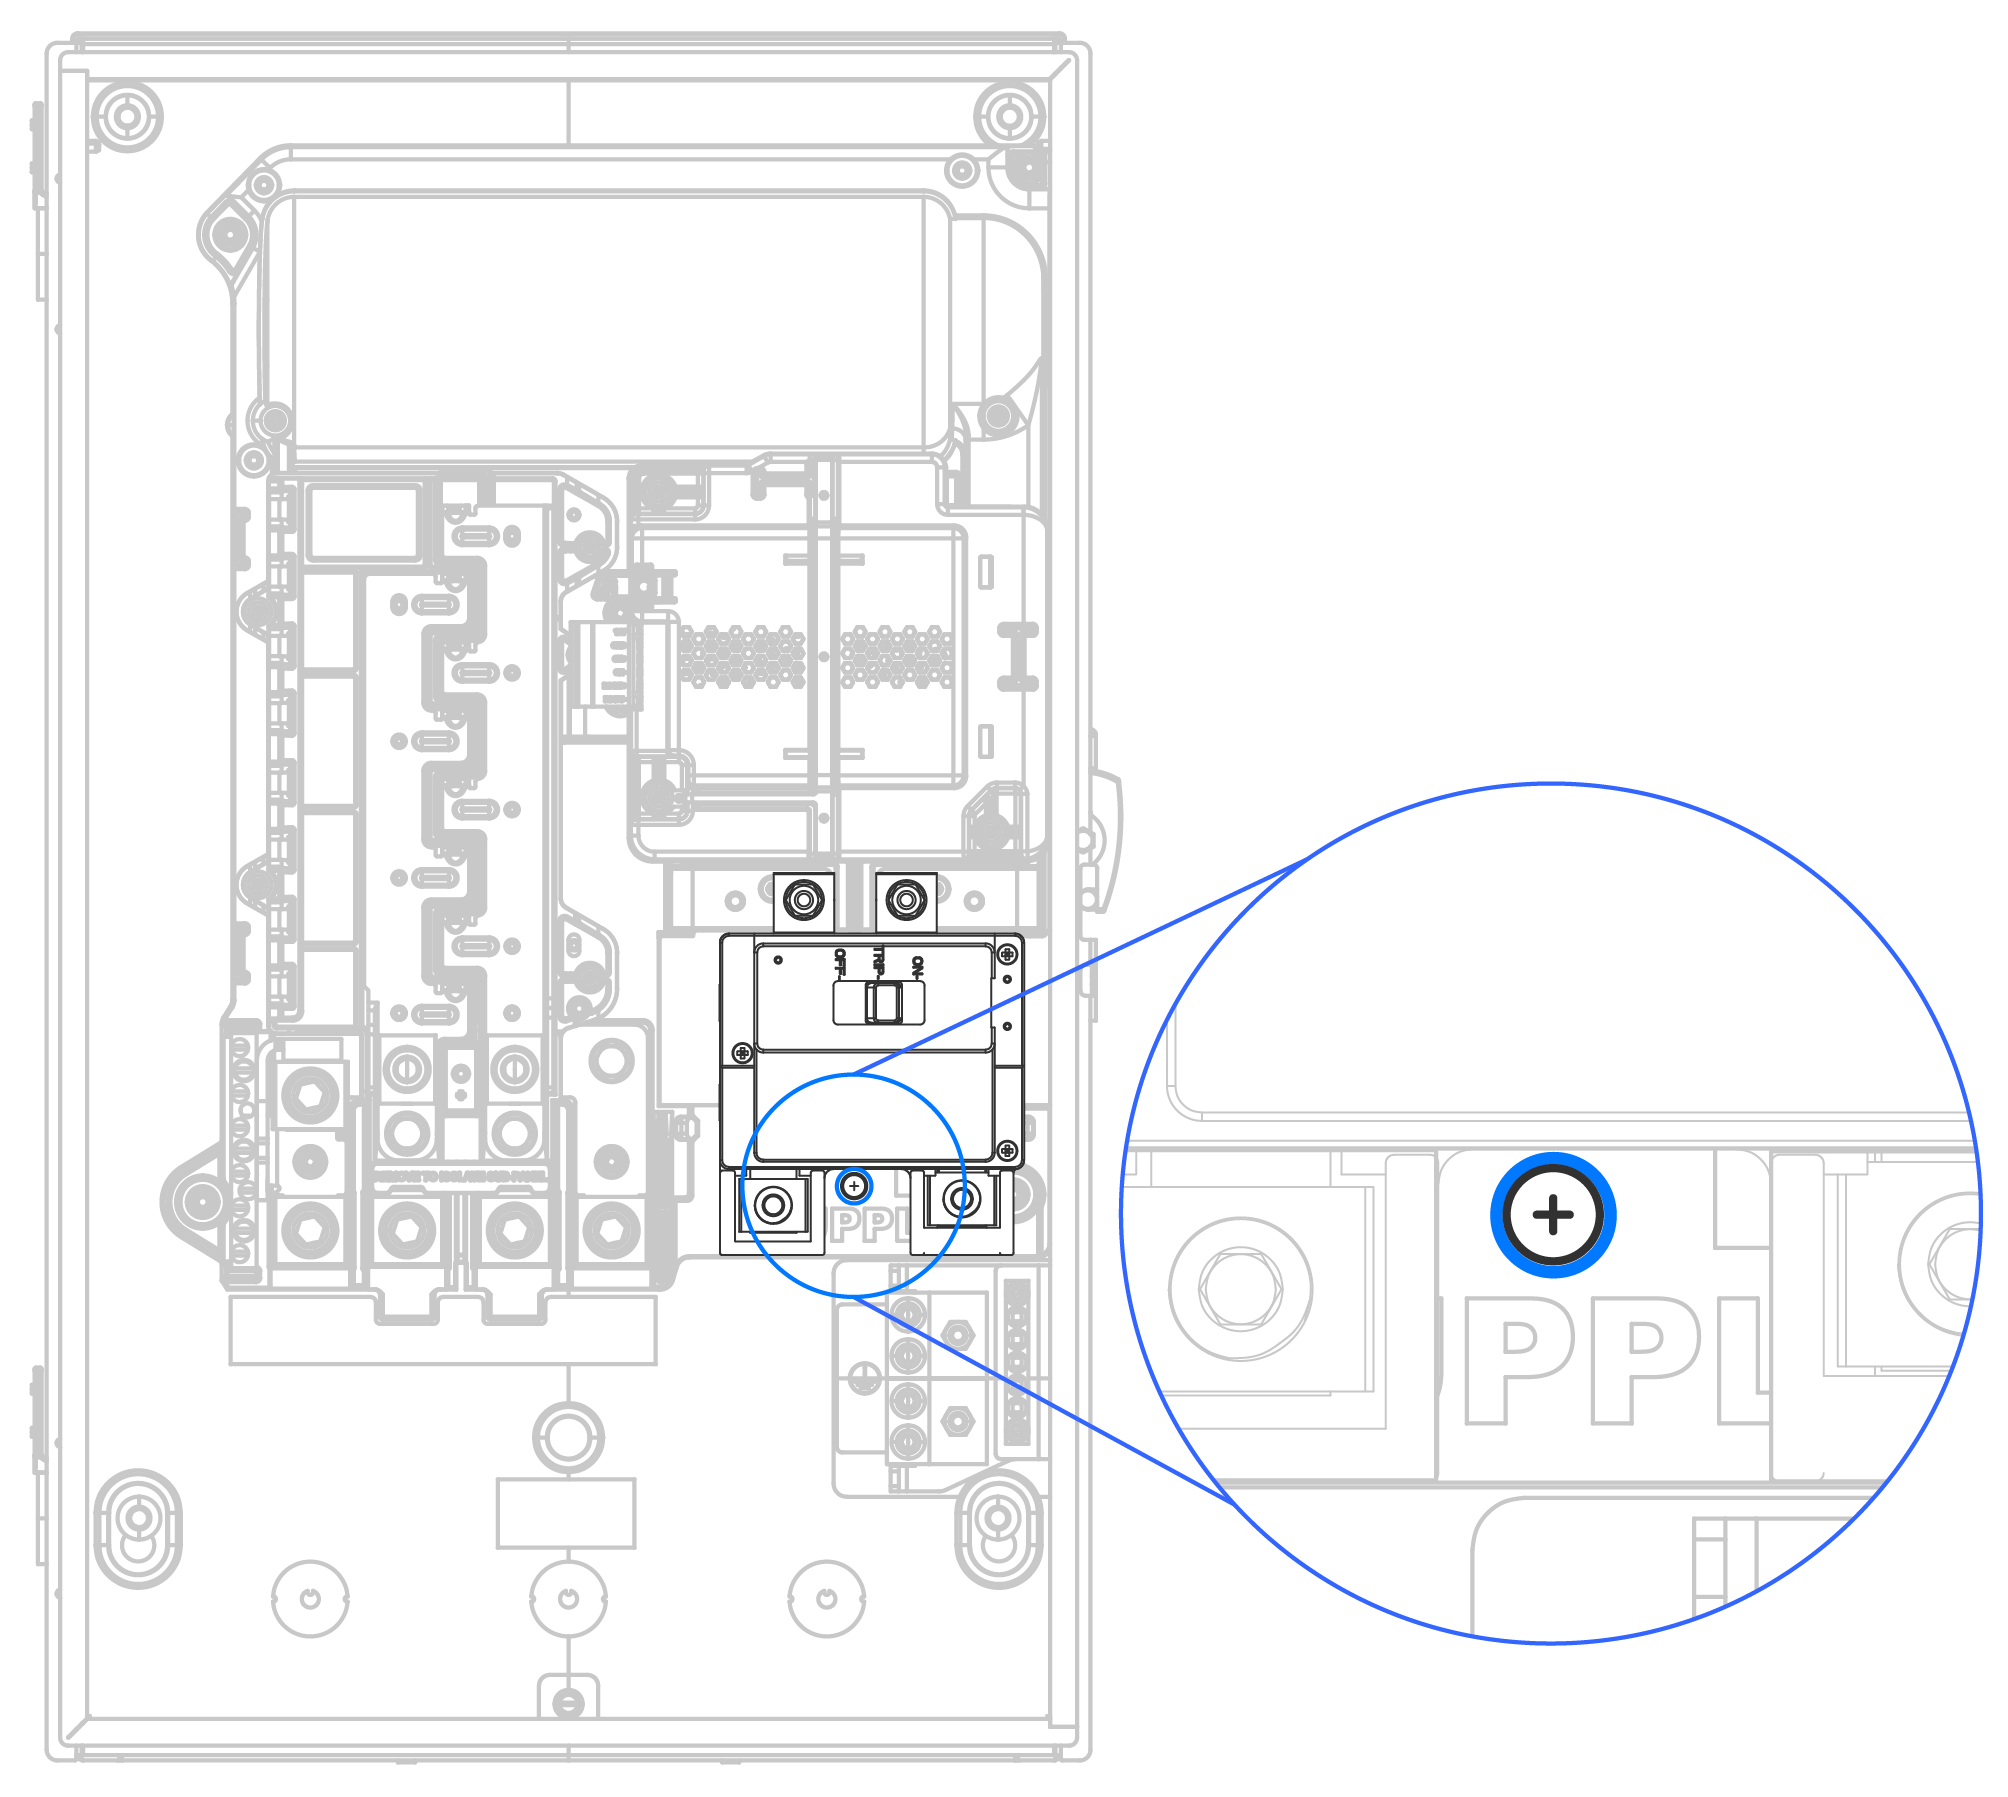
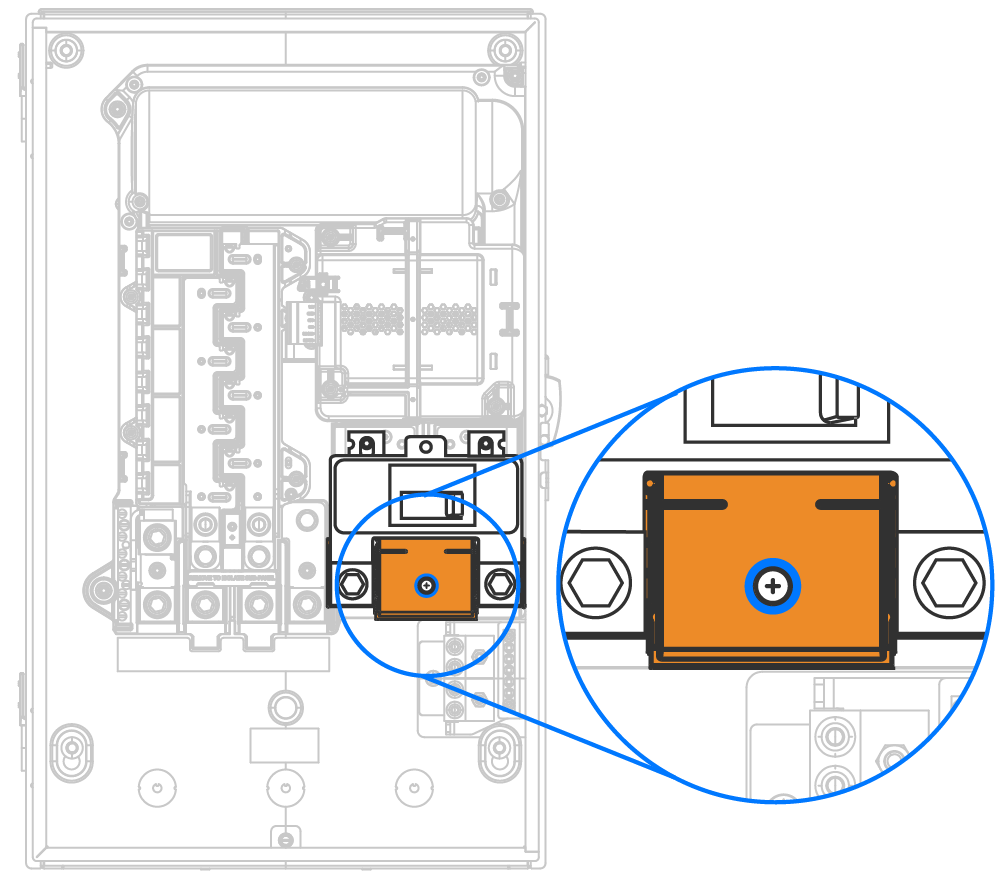
Action Eaton Main Breaker Square D Main Breaker If required by local code, install the lug covers provided with the main breaker. 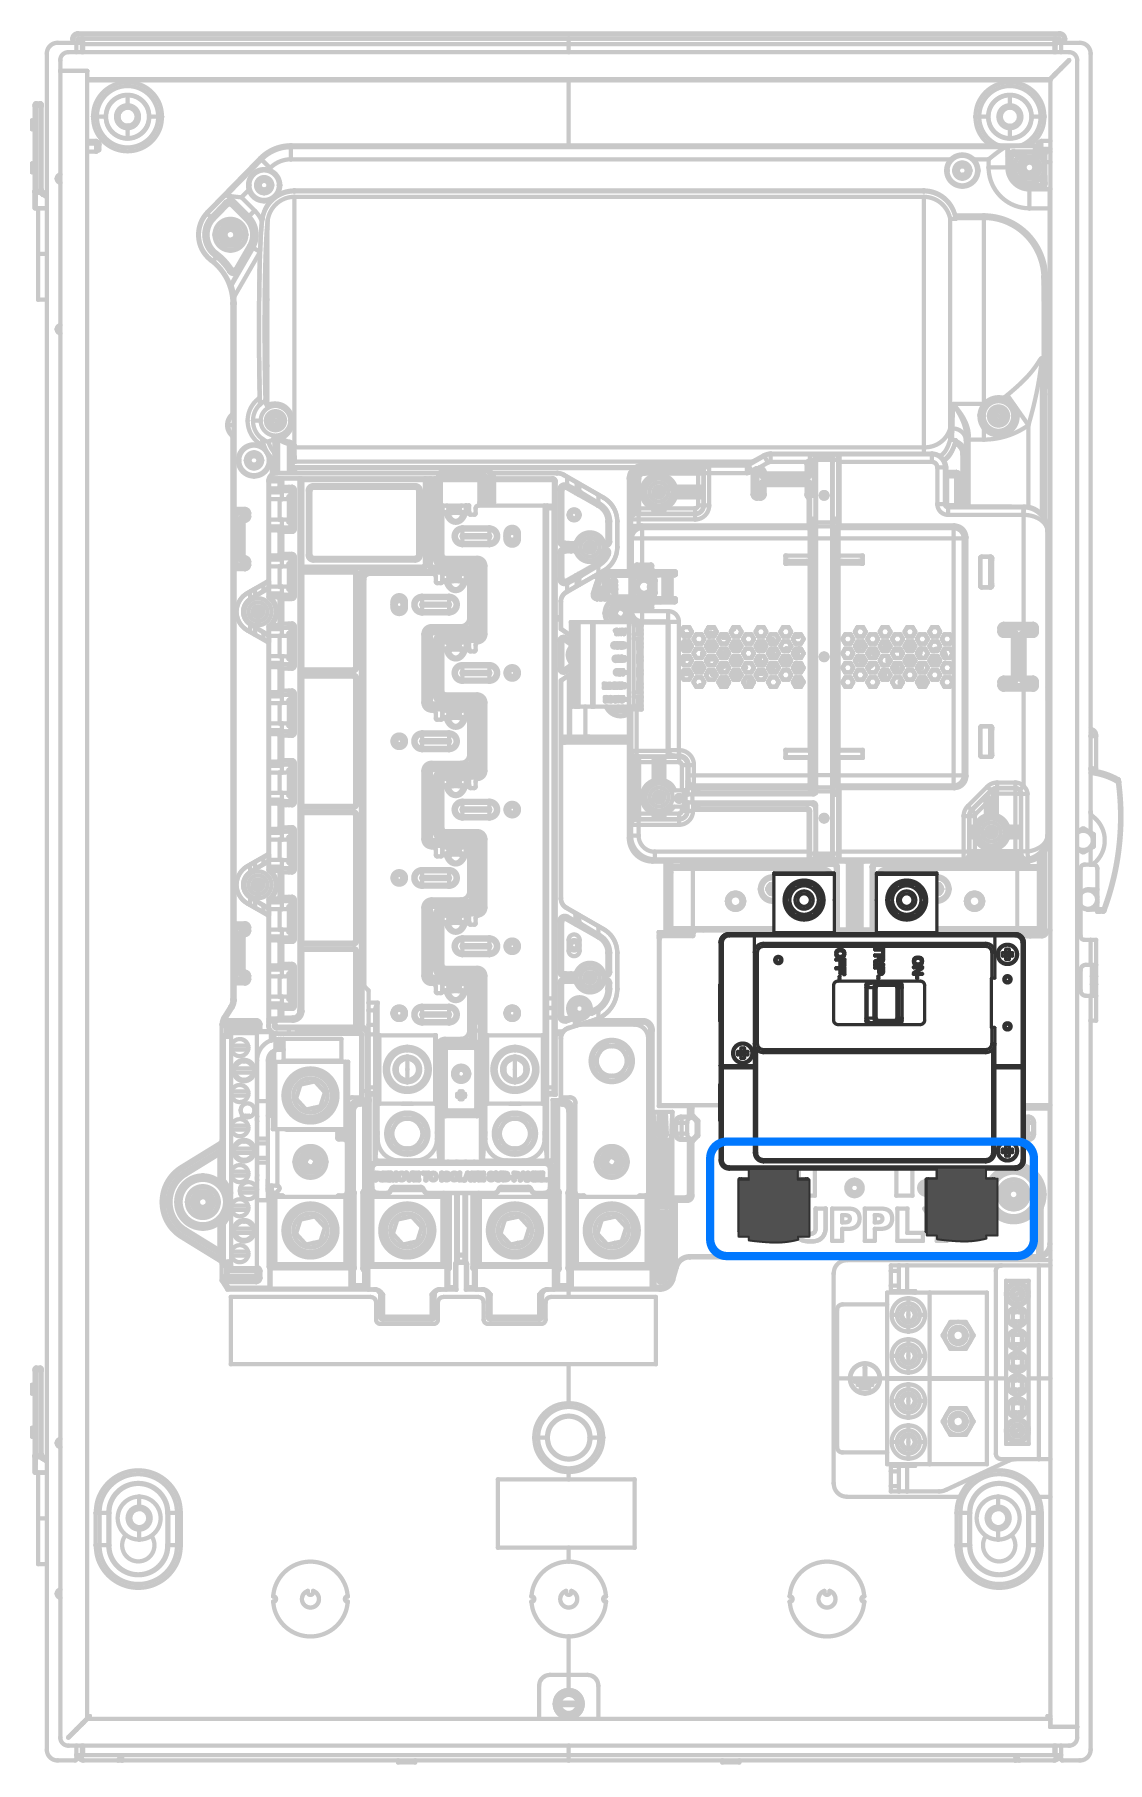
Remove the appropriate main breaker knockout from the Gateway 3 deadfront. 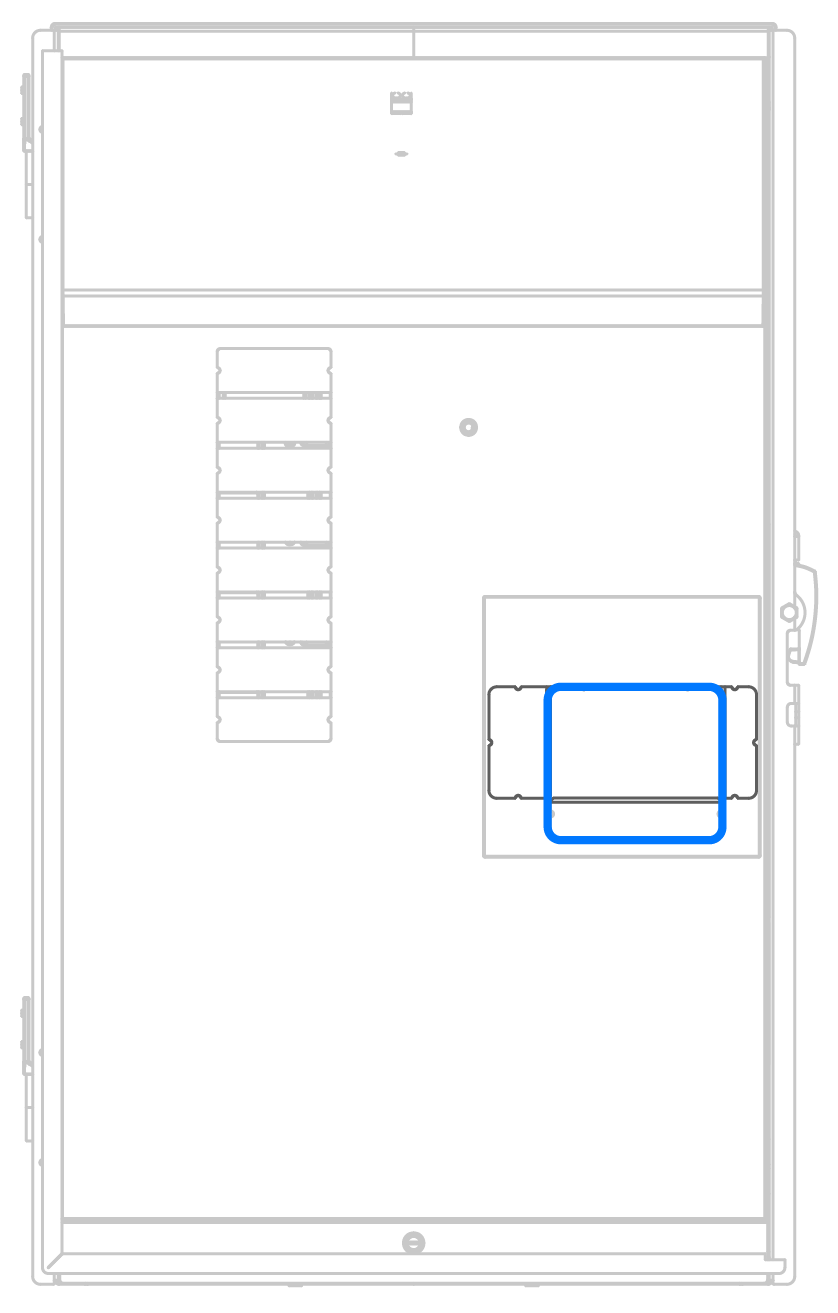
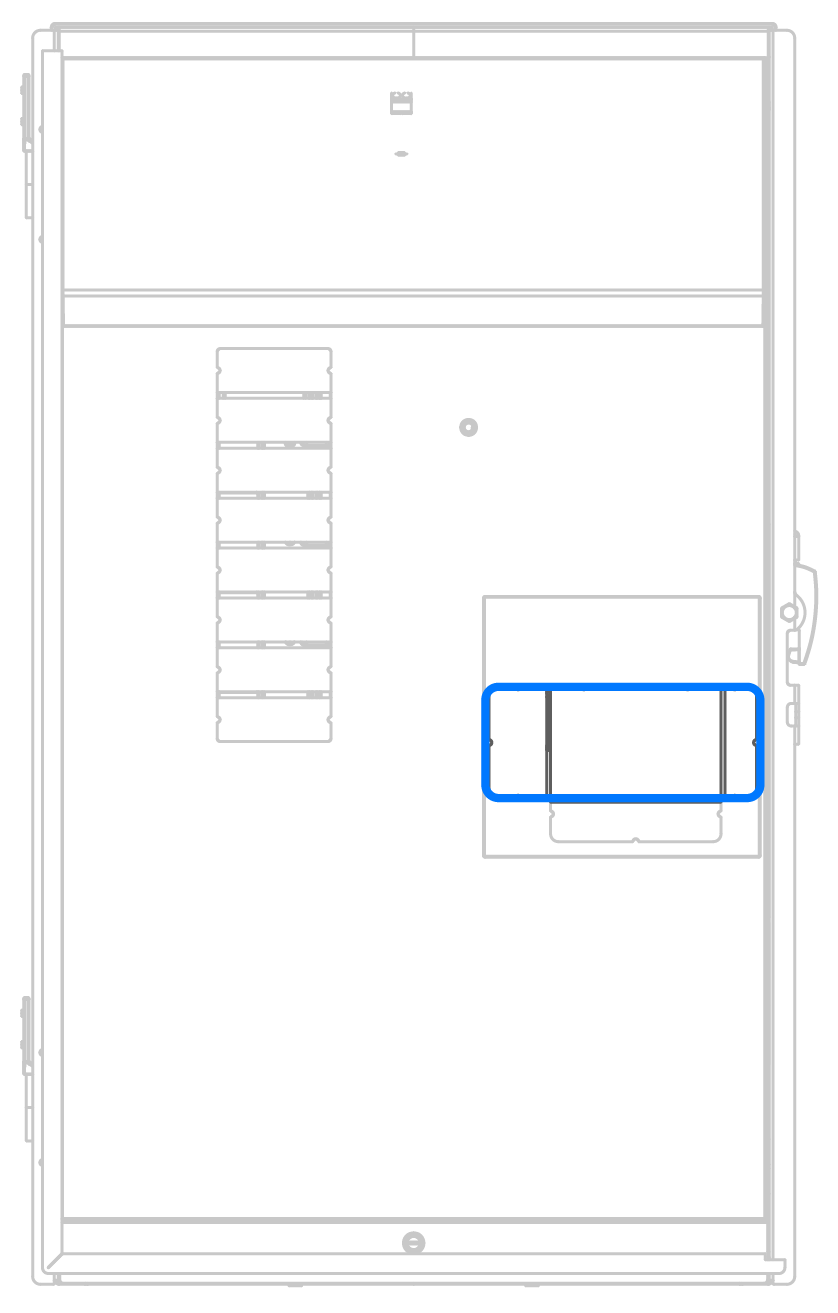 NoteIf a main breaker knockout is punched out but not used, the deadfront must be replaced.