2025-01-15
Log in to the Configuration Interface
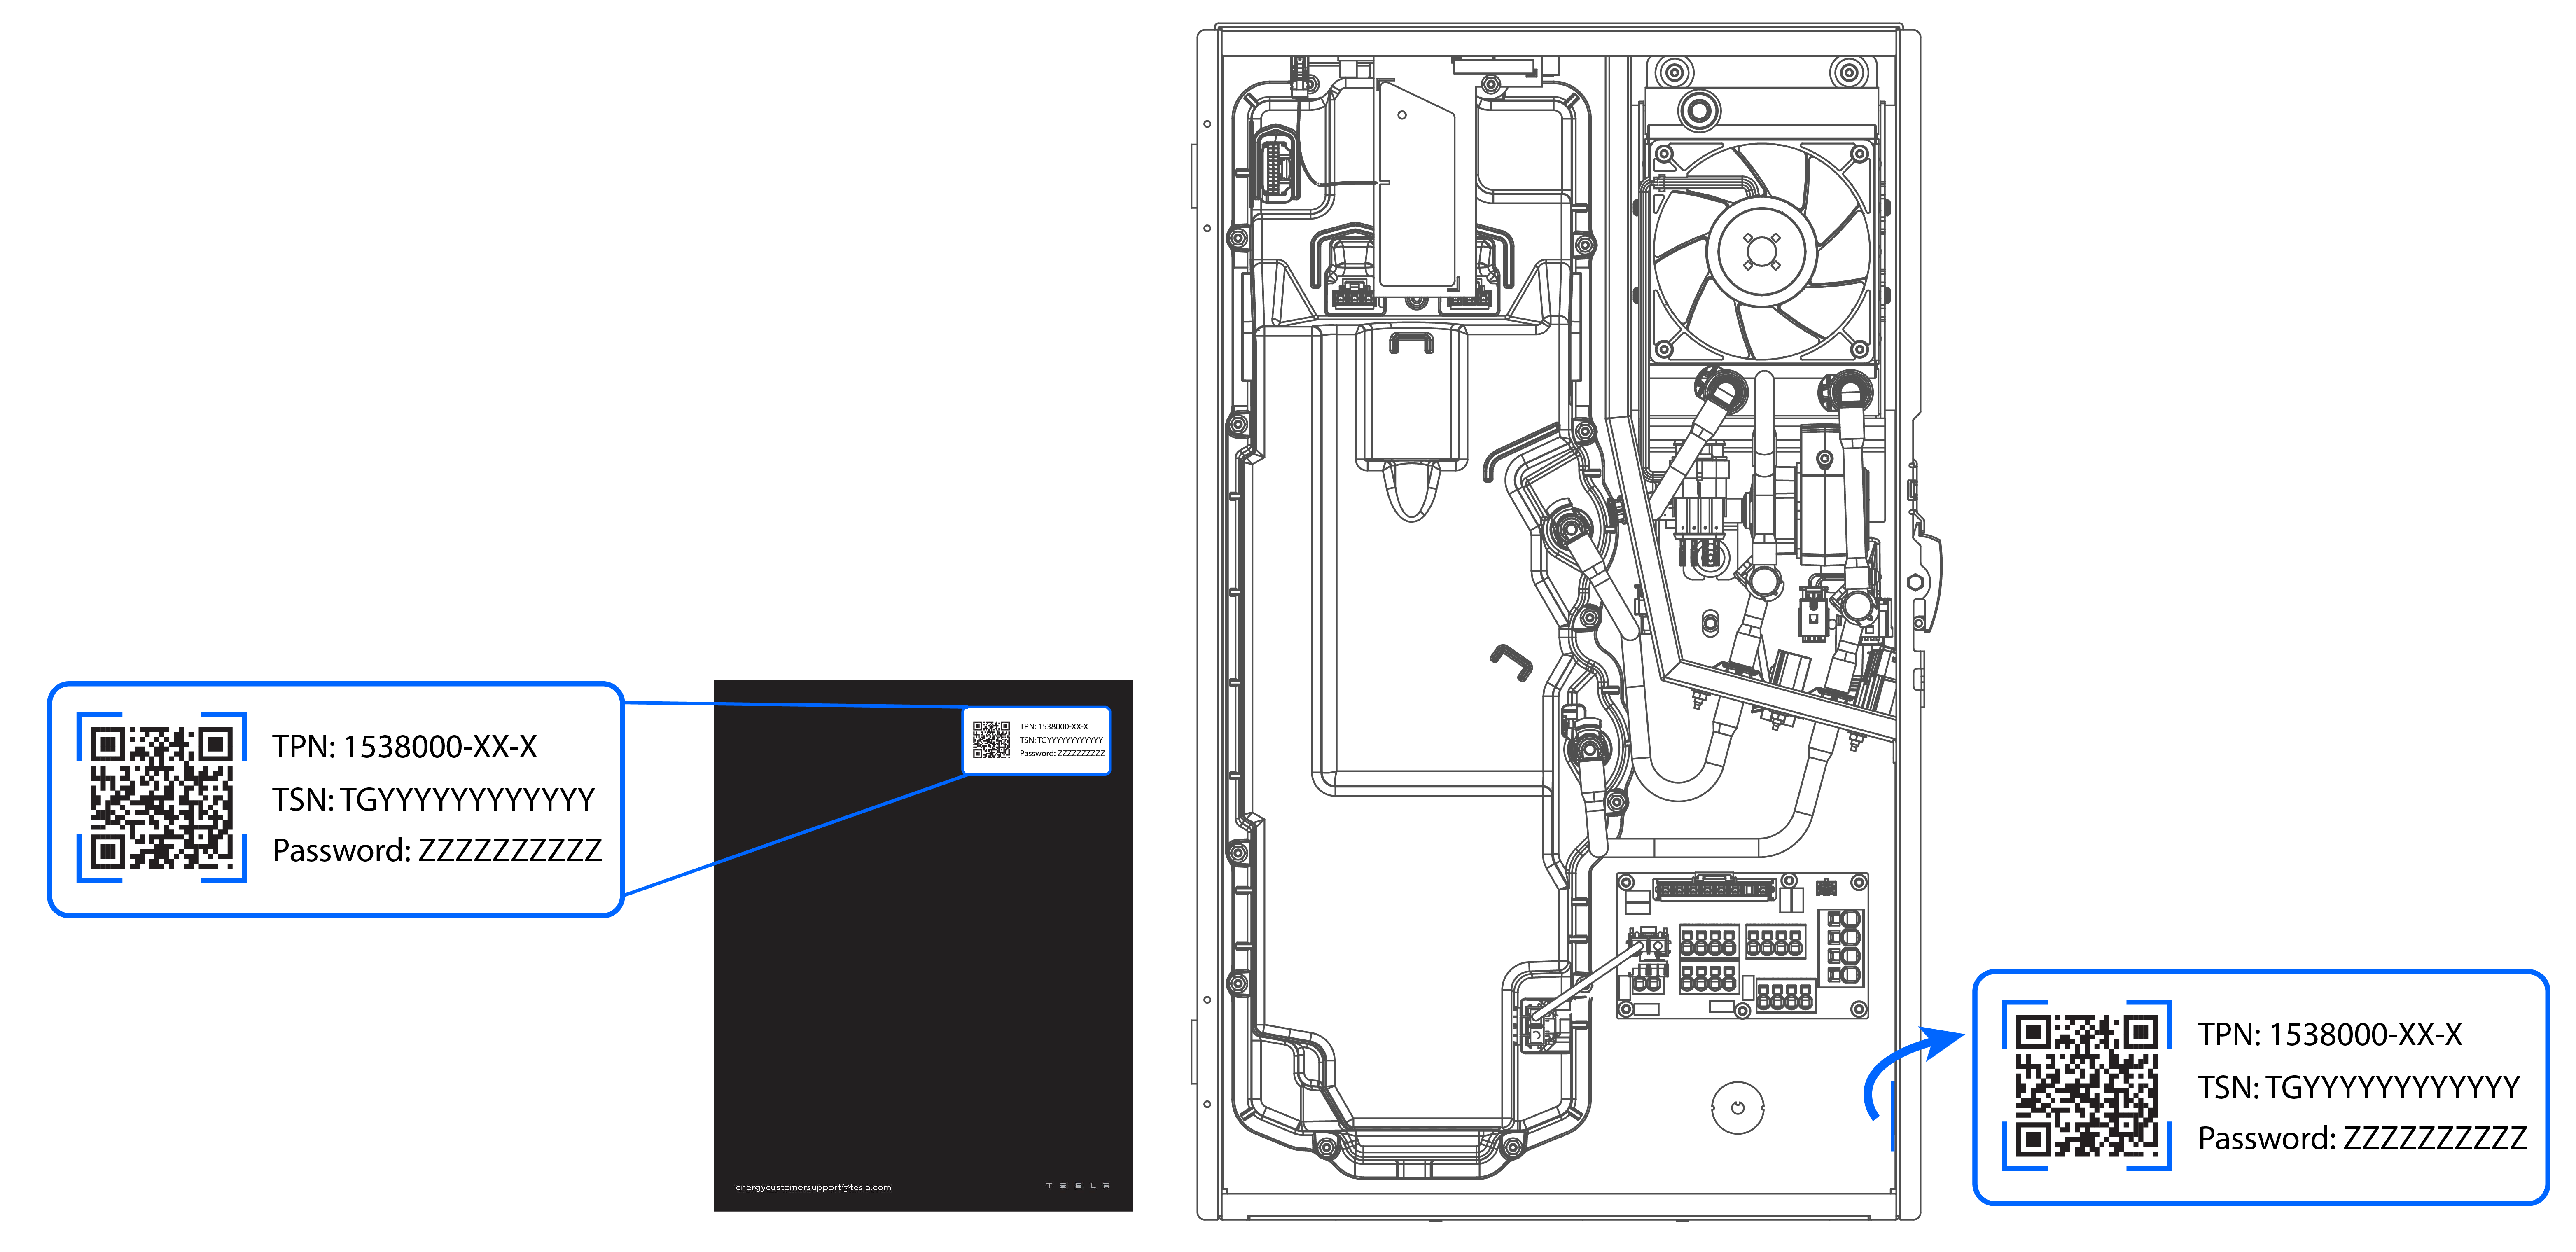
- Locate the label on the back of the printed Owner's Guide that was included in the Solar Inverter accessory bag. Alternatively, a second label is included on the inside of the Solar Inverter enclosure. Using a smartphone, scan the QR code on the label to establish Wi-Fi connection with the Solar Inverter.
-
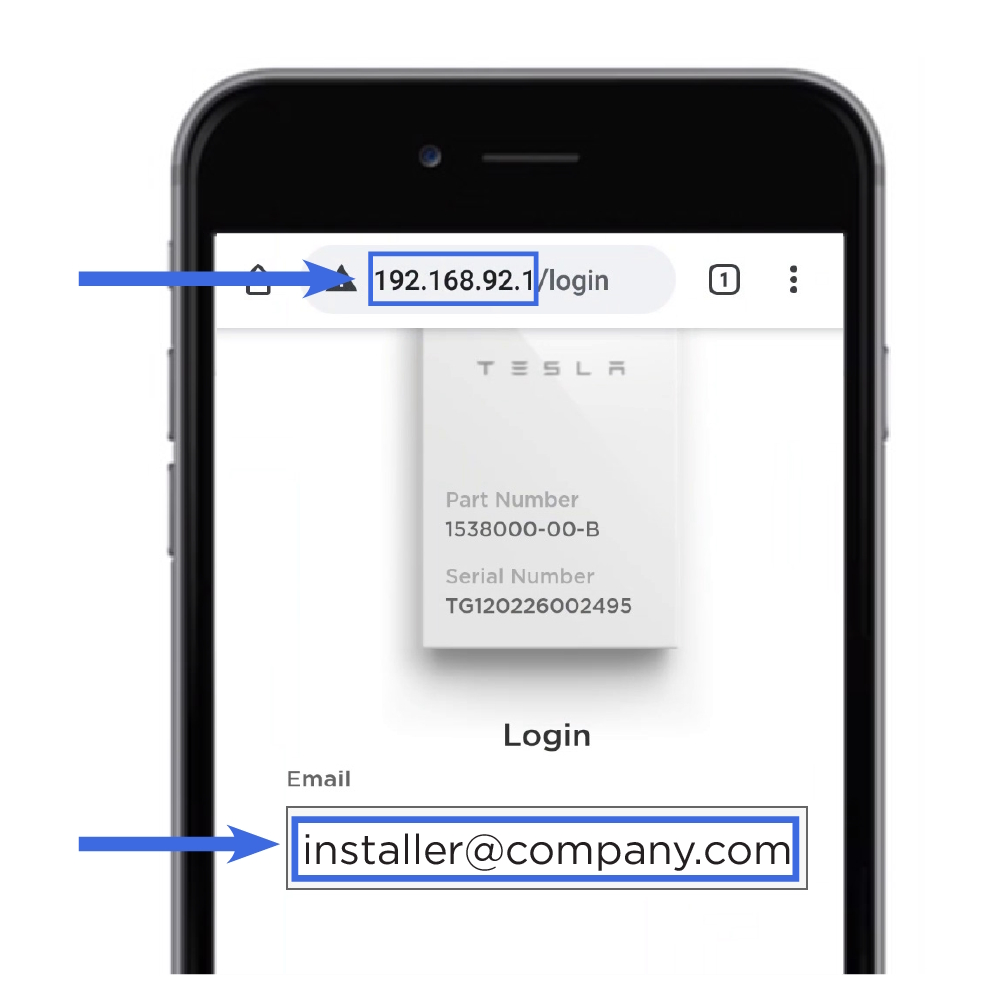
Open a browser and navigate to
192.168.92.1.
NoteIf the TeslaPV Wi-Fi network doesn’t appear or the connection to Solar Inverter fails, ensure that Solar Inverter is powered as indicated by the slow flashing LED. If the issue persists, power cycle Solar Inverter and try connecting again.
-
Log in to the Configuration Interface:
NoteIf the Configuration Interface does not load for more than 40 seconds, try connecting to the TeslaPV network again.
- Repeat Step 1 to reconnect to the TeslaPV network.

