2023-06-19
Step 3: Prepare for Concealed Wiring
- Disconnect all wiring from the wiring compartment of Powerwall+.
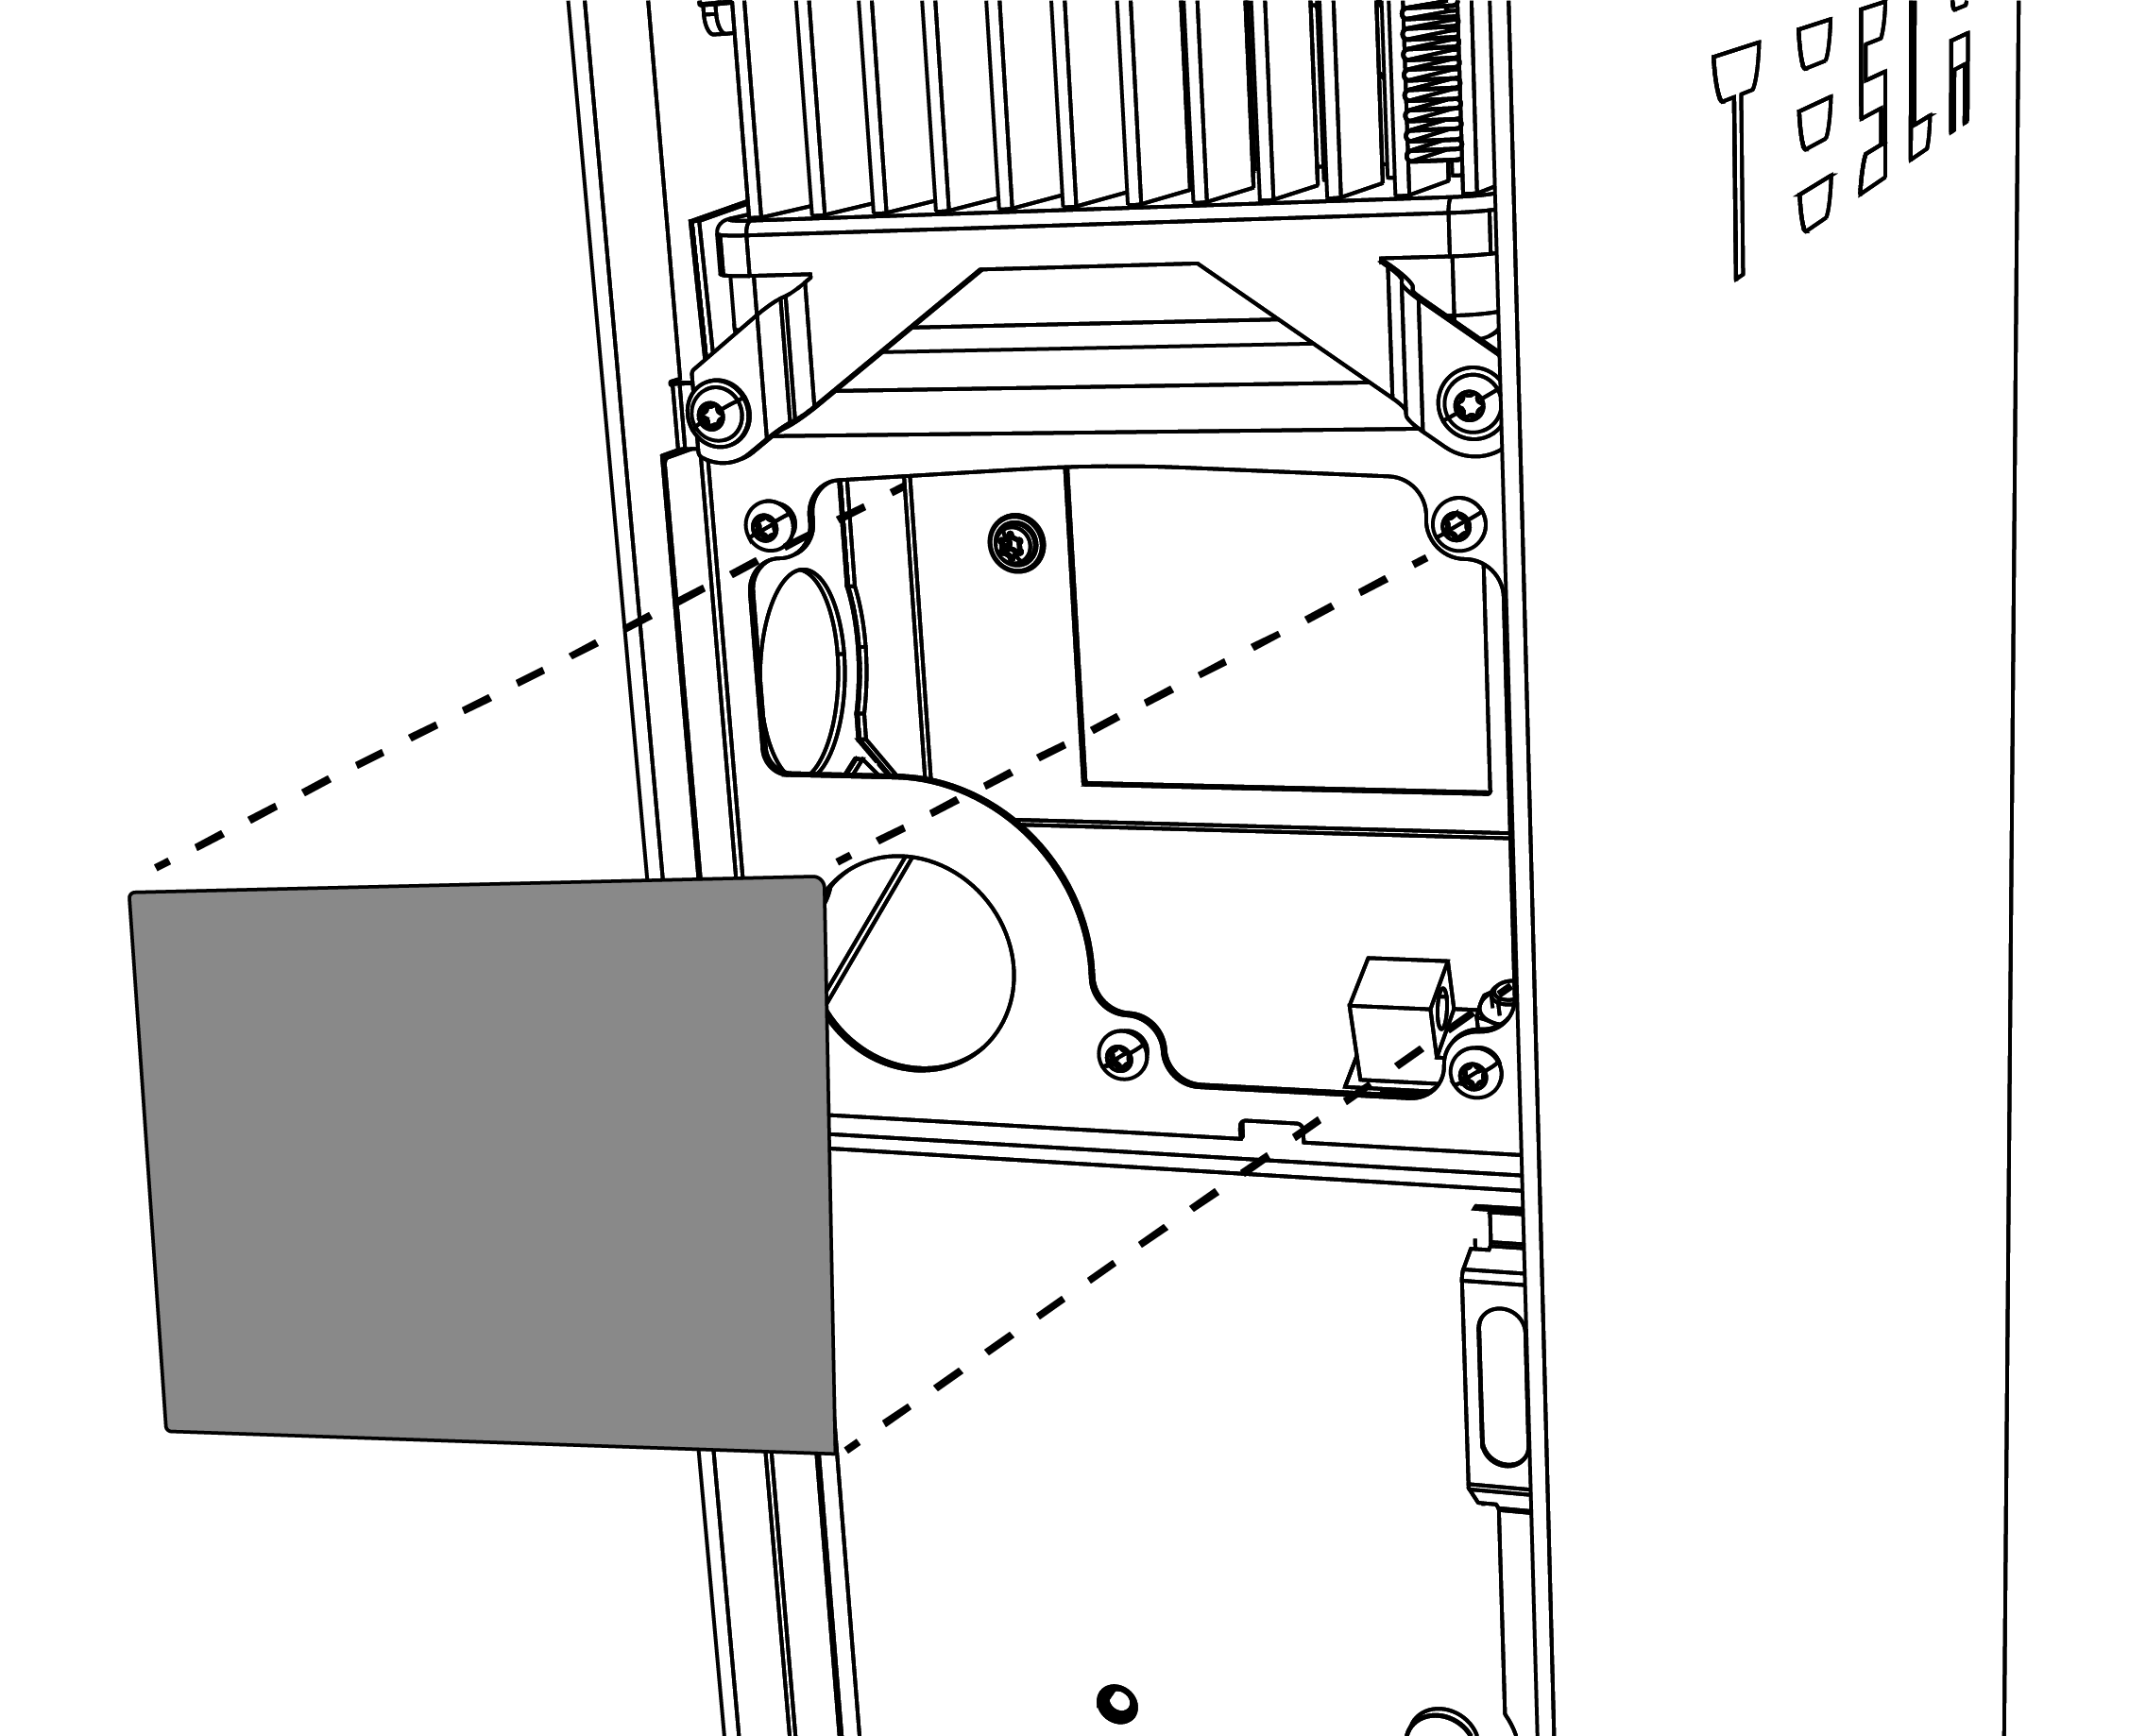
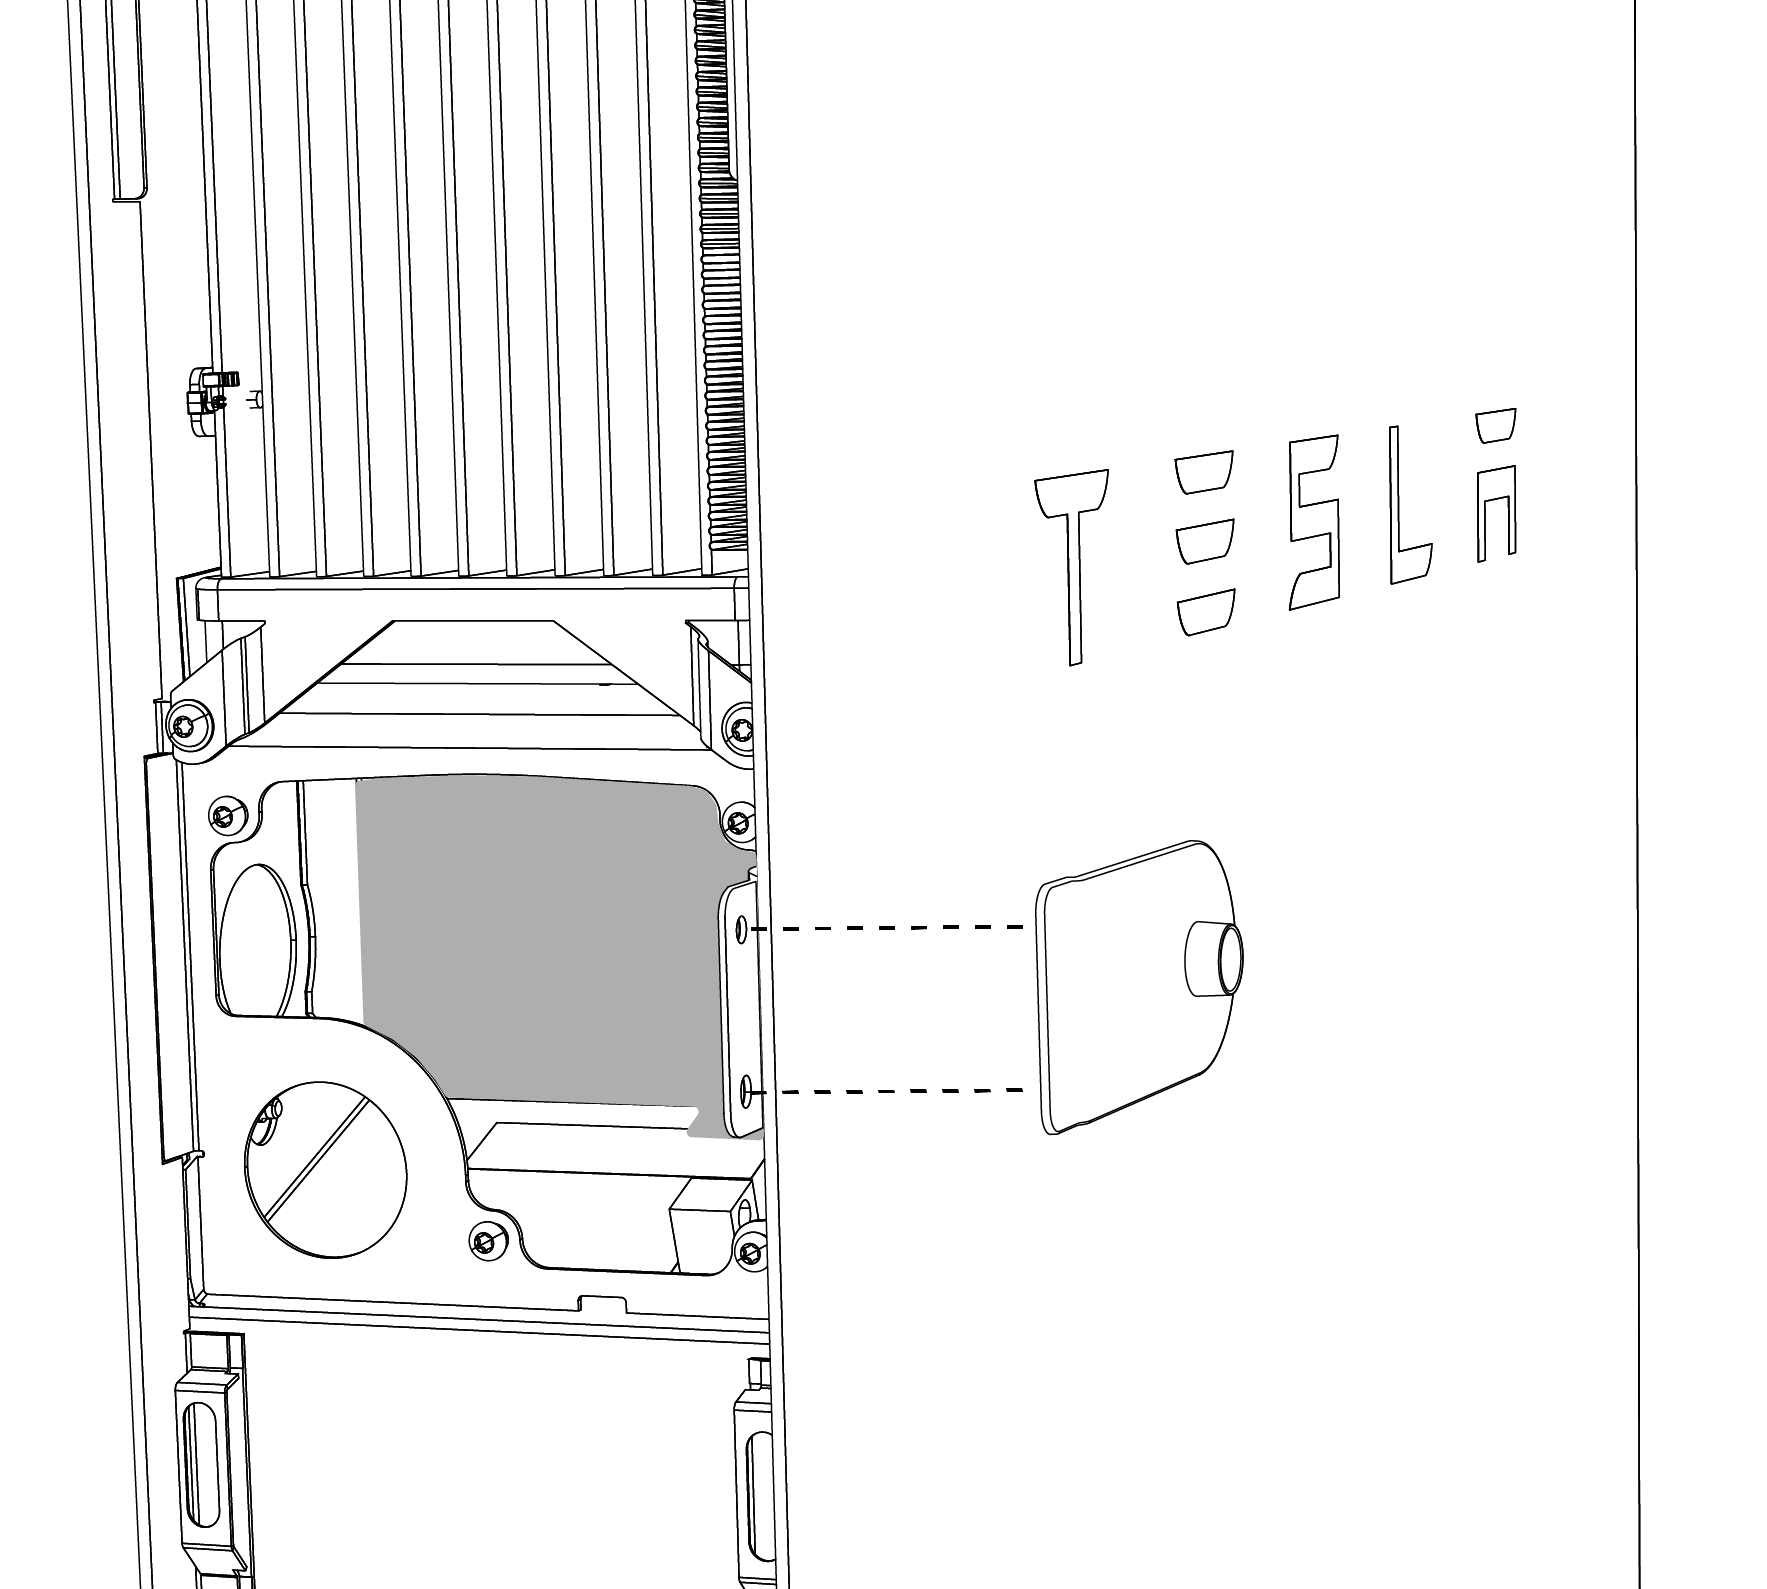
- Locate the wiring interface cover and peel back the film to expose the adhesive on the cover gasket. With the gasket facing inward, place the cover over the interface board at the back of the wiring compartment. The cover is intended to protect the circuit board and its components from metal shavings while drilling into the wiring compartment.
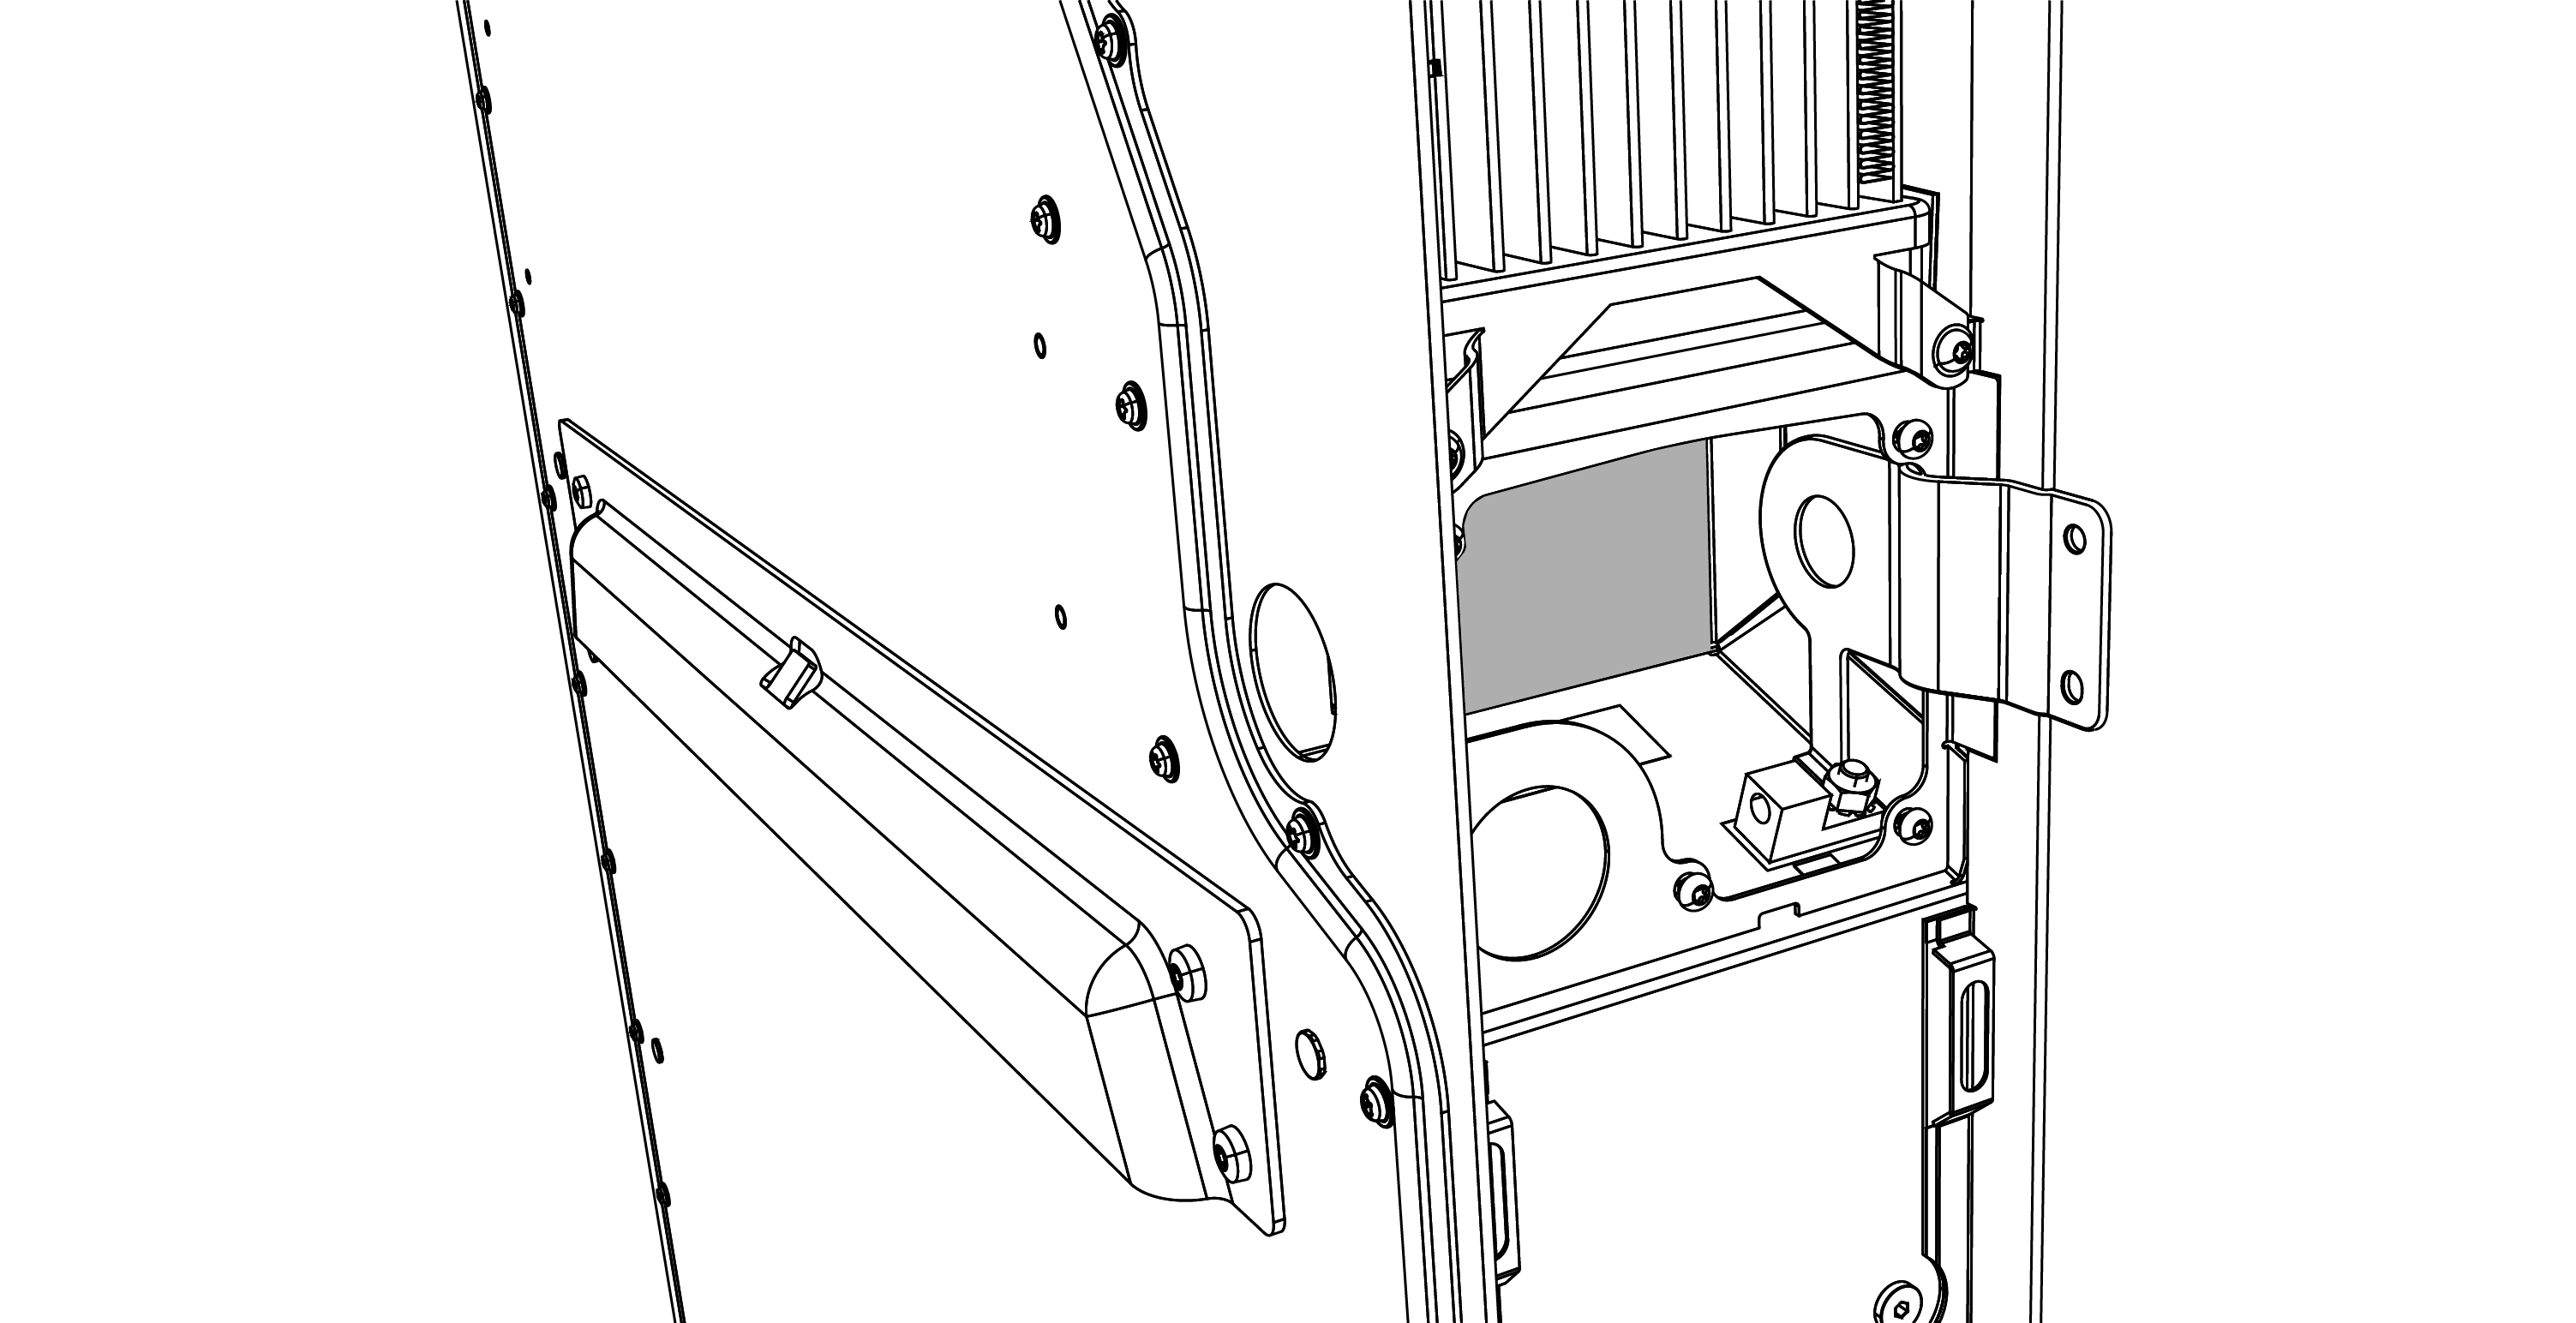
- Attach the included drill guide to the front of Powerwall+ by bracing the inside half of the guide against the bottom of its wiring compartment.
- Clip the outside half of the drill guide to the inside half so that the guide engages the hem of the Powerwall+ enclosure.
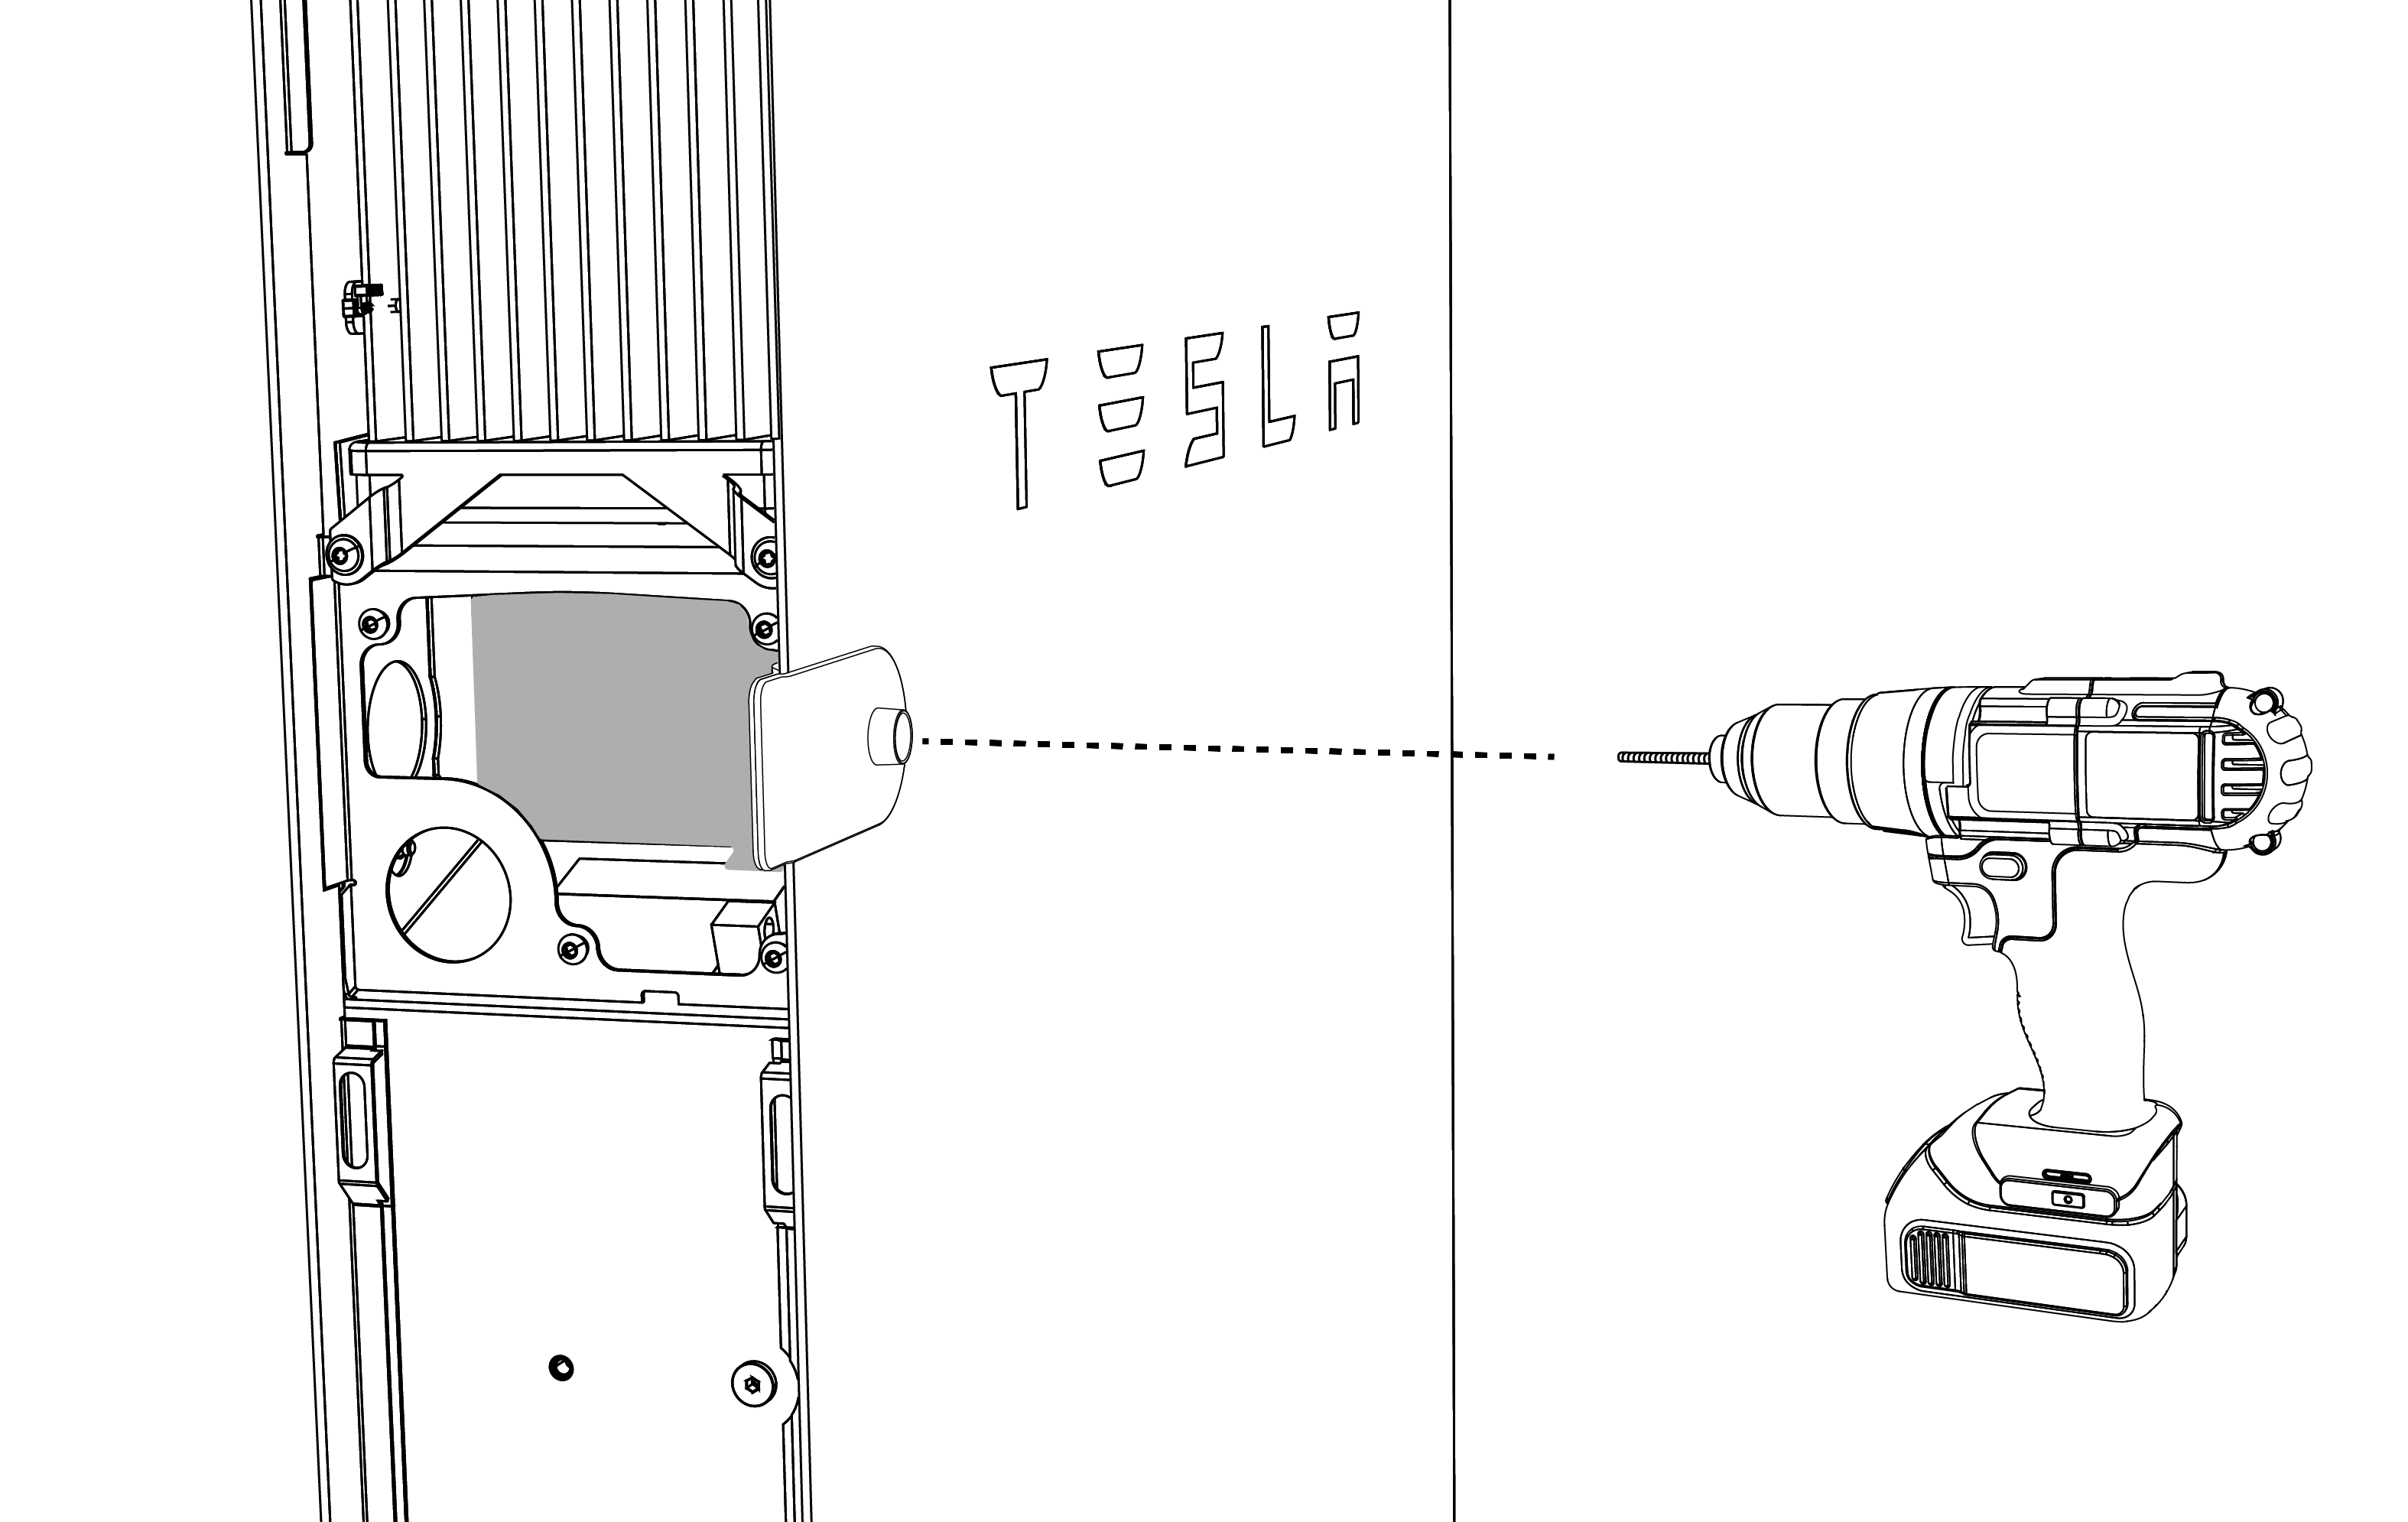
- While holding the drill guide to make sure it conforms to the edge of the Powerwall+ chassis, drill a ¼ inch (6 mm) pilot hole using the small hole in the drill guide.
- Remove the drill guide.
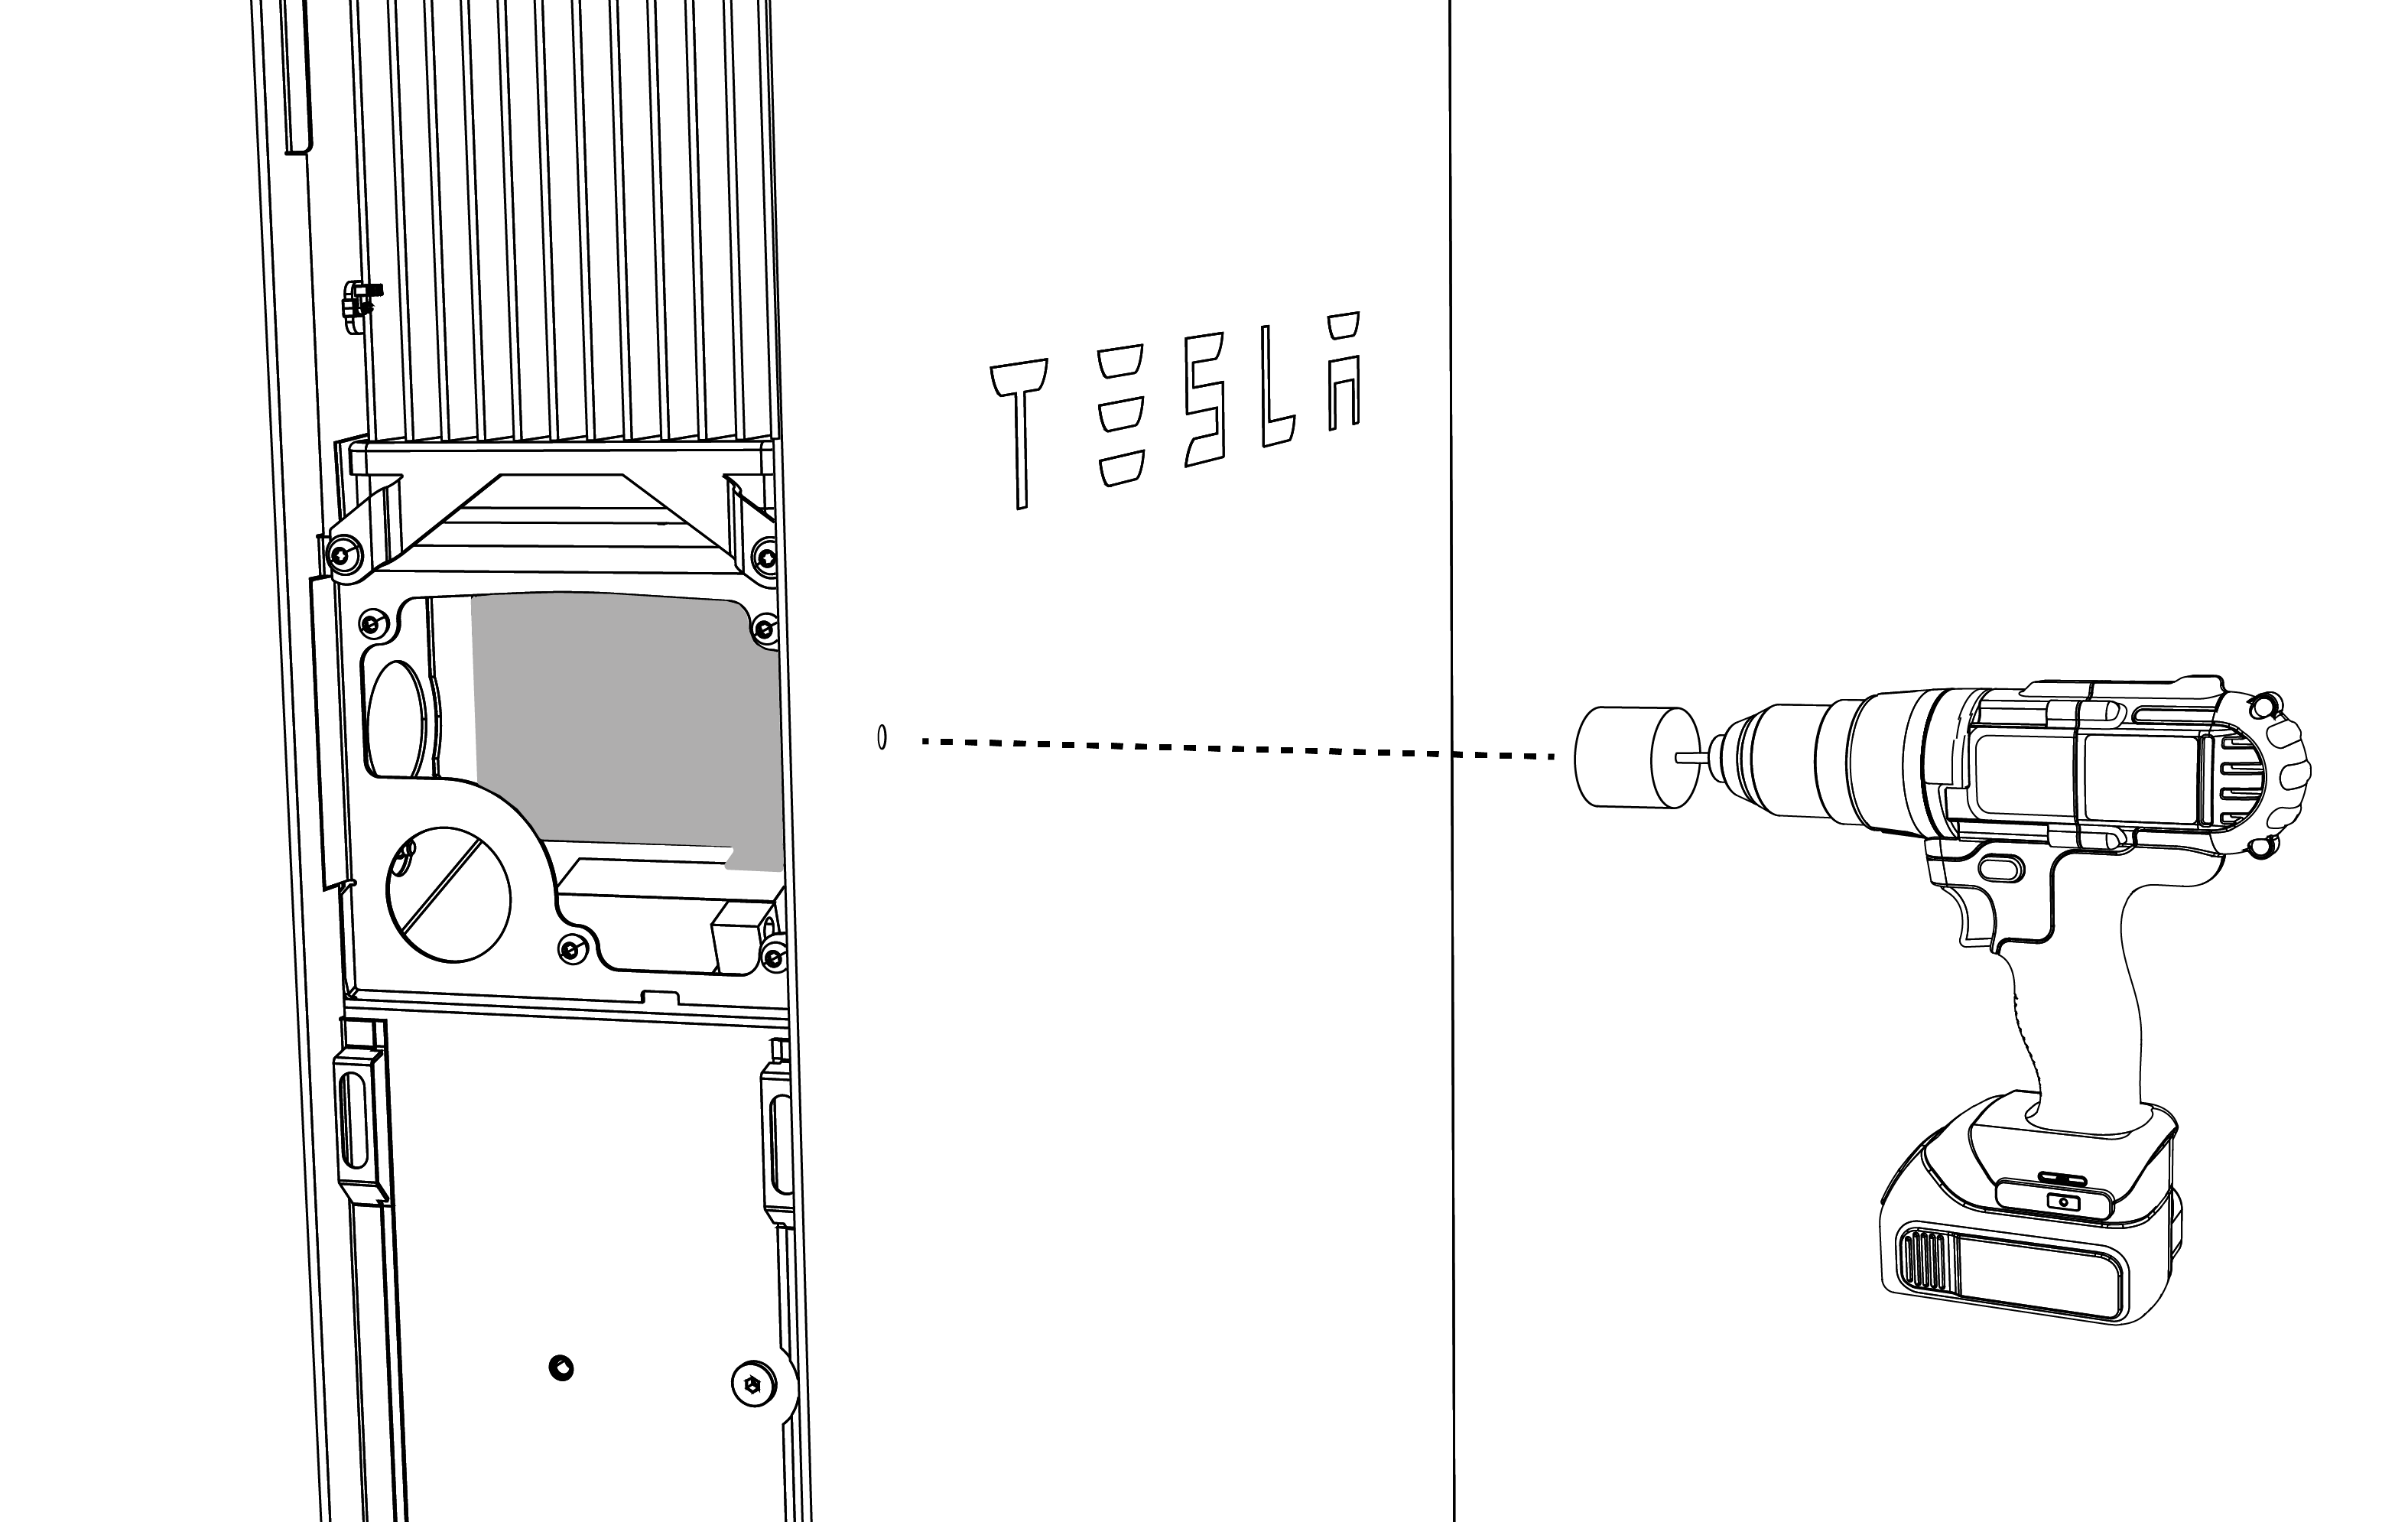
- Drill the full-size 1-3/8 in (35 mm) hole with a hole saw, using the pilot hole as a guide.
- File the edges of the hole to remove any burrs.
- Clear the wiring compartment of all metal shavings and debris.
- Remove the protective cover from the wiring compartment.
- If Powerwall+ still has its protective film, remove the film.
- Peel back the protective film from the feet of the Powerwall before moving it into place.
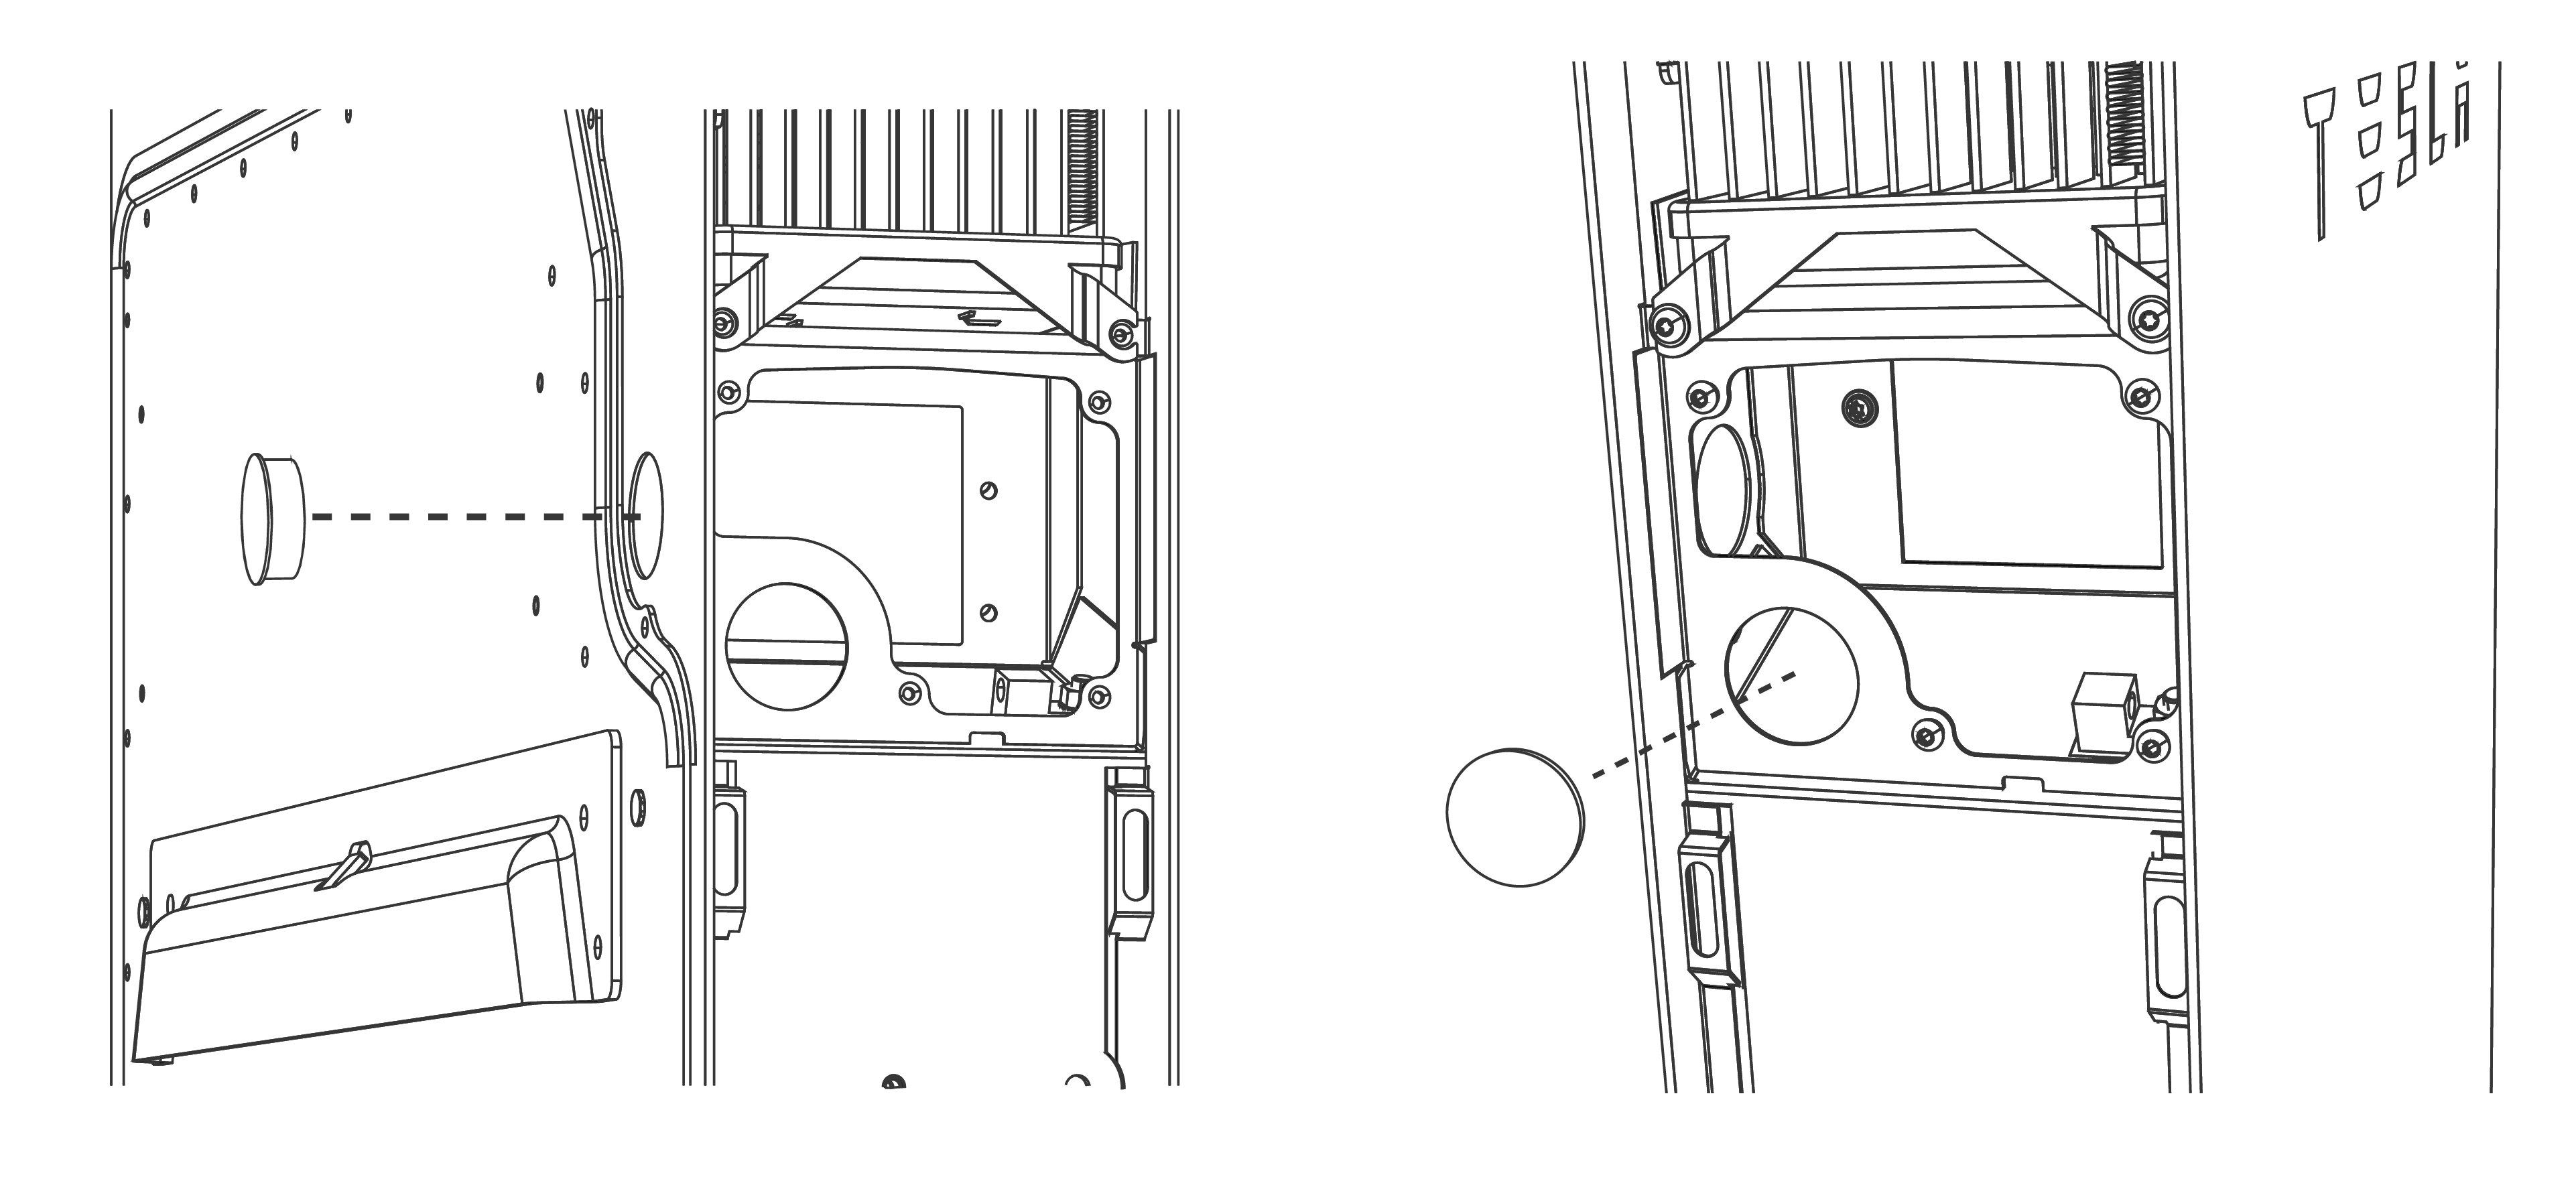
- Remove the plug from the back cable entry port of the Powerwall and place it in the side cable entry port.
